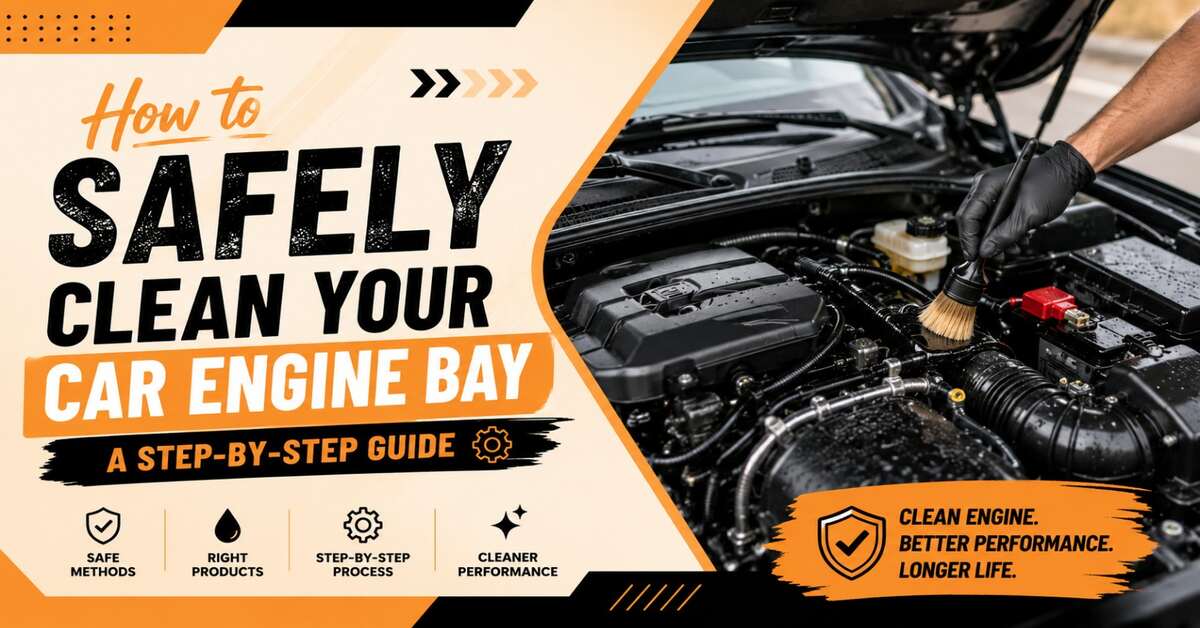
Cleaning your car engine bay involves safely applying an automotive degreaser to a cool engine, agitating built-up grime with soft-bristle brushes, and rinsing with low-pressure water while isolating sensitive electronics. Executing this process prevents premature component degradation, improves engine thermal efficiency, and makes spotting hazardous fluid leaks significantly easier.
Key Facts / At a Glance:
- Safe Water Pressure: Never exceed 1,000 PSI; a standard garden hose delivering 40–60 PSI is the safest liquid method.
- Temperature Protocol: Engines must cool for at least 1 to 2 hours before washing to prevent thermal shock to the aluminum block and exhaust manifolds.
- Electronic Protection: Alternators, exposed air intakes, and the Electronic Control Unit (ECU) must be wrapped in watertight plastic before any liquids are introduced.
- Chemical Selection: Utilize dedicated alkaline-based automotive degreasers; household dish soaps strip plasticizers from rubber hoses and accelerate dry rot.
- Maintenance Frequency: Deep cleaning the engine compartment 1 to 2 times annually removes seasonal road salt and organic debris effectively.
What Are the Benefits of Engine Bay Detailing?
Engine bay detailing removes corrosive road salts, baked-on oil, and organic debris that trap heat and degrade rubber and plastic components over time. Heavy layers of grease act as a thermal blanket, forcing the engine’s cooling system to work harder to dissipate heat. Furthermore, a degreased engine block allows mechanics to instantly identify the source of fresh oil or coolant leaks, reducing diagnostic times and preventing catastrophic failures. Regular cleaning also prevents leaves and pine needles from clogging the cowl drainage system, which can flood the interior cabin during heavy rain.
Which Engine Cleaning Method Should You Choose?
The optimal engine bay cleaning method depends entirely on the vehicle’s age, the complexity of its electrical system, and the severity of the grease buildup. Hand washing remains the safest baseline, while dry ice blasting offers the pinnacle of restorative detailing.
| Cleaning Method | Best Suited For | Prep / Clean Time | Water Damage Risk | Average Cost |
| Traditional Hand Wash | Vintage cars, beginners, complex EVs | 15 mins / 60 mins | Zero | $15 – $30 (DIY) |
| Low-Pressure Rinse | Modern daily drivers (post-2000) | 20 mins / 30 mins | Moderate | $20 – $40 (DIY) |
| Steam Cleaning | Heavy sludge, neglected engines | 10 mins / 20 mins | Low | $100+ (Pro Service) |
| Dry Ice Blasting | Exotic cars, concours restorations | 5 mins / 45 mins | Zero | $500 – $1,500+ (Pro) |
- Quick Verdict for Beginners: Choose the traditional hand wash. Spraying degreaser onto a towel rather than the engine eliminates the risk of hydro-locking or shorting sensors.
- Quick Verdict for Daily Drivers: Choose the low-pressure rinse. Modern weather-sealed connectors (like weather-pack seals) can easily withstand indirect garden hose pressure.
- Quick Verdict for Exotics/Classics: Choose dry ice blasting or waterless steam. Subjecting irreplaceable vintage carburetors or dense exotic wiring looms to water is an unnecessary risk.
What Do You Need Before You Start?
Before You Start:
- Total Time: 1 to 1.5 hours
- Difficulty: Medium
- Estimated Cost: $20 to $50 (DIY supplies)
- Prerequisites: A shaded workspace with a cool engine block.
- Tools & Materials:
- Dedicated automotive degreaser (alkaline-based preferred over acidic).
- Water-based engine dressing (avoid silicone, which attracts dust).
- Detailing brushes (boar’s hair or flagged-tip nylon).
- Plastic bags and rubber bands or painter’s tape.
- Microfibre towels (3 to 5).
- Leaf blower or compressed air.
- Standard garden hose with a shower/mist nozzle.
How to Clean Your Engine Bay: The Step-by-Step Process
The following low-pressure wash method is designed for modern, fuel-injected vehicles manufactured after the year 2000.
Step 1: Cool the Engine Completely
Park the vehicle in a shaded area and allow the engine to cool for a minimum of 1 to 2 hours if it has been driven.
- Specifics: The metal should be only slightly warm to the touch. Spraying cold water onto a hot cast-iron or aluminum engine block causes rapid, uneven contraction.
- Success Checkpoint: You will know the engine is ready when you can comfortably rest your bare hand on the intake manifold and valve cover for 10 seconds.
- Common Mistake: Rushing the cooling process, which can warp brake rotors, crack exhaust manifolds, or fracture the engine block itself.
Step 2: Disconnect and Isolate Power
Disconnect the vehicle’s battery to prevent electrical shorts when water spans the gap between live terminals and grounded metal.
- Specifics: Always disconnect the negative (black/ground) terminal first, followed by the positive (red) terminal. Tuck the cables away from the battery posts.
- Success Checkpoint: You will know the system is safe when the cabin dome lights fail to illuminate upon opening the door.
- Common Mistake: Touching a metal wrench simultaneously to the positive terminal and the car chassis, which causes a violent electrical arc.
Step 3: Waterproof Vulnerable Components
Wrap all sensitive air intakes and electrical modules tightly in plastic bags to prevent moisture intrusion.
- Specifics: Secure plastic bags with painter’s tape or rubber bands around the alternator, the main fuse box, the Engine Control Unit (ECU), exposed aftermarket air filters, and the distributor cap (on older vehicles).
- Success Checkpoint: You will know the components are secure when pulling gently on the plastic bags does not expose any wiring harnesses.
- Common Mistake: Forgetting the air intake. Water ingested into the engine cylinders leads to hydro-locking, a catastrophic failure that destroys pistons and connecting rods upon engine startup.
Step 4: Perform a Dry Debris Blowout
Use forced air to remove organic matter before introducing any liquids.
- Specifics: Sweep a leaf blower or compressed air nozzle back and forth across the cowl base (near the windshield wipers), the radiator fins, and deep crevices to remove trapped leaves, pine needles, and dust.
- Success Checkpoint: You will know this step is complete when no loose debris flies up when blowing air directly into the spark plug valleys.
- Common Mistake: Pushing debris deeper into the radiator fins by blowing directly into the grille instead of blowing downward from the top.
Step 5: Apply the Automotive Degreaser
Chemically break down baked-on oil and road grime by applying an even coat of automotive degreaser.
- Specifics: Spray the degreaser from the bottom of the engine bay upward. This prevents the chemical from aggressively dripping down dry, dirty components and leaving permanent streak marks on bare aluminum. Let the product dwell for 3 to 5 minutes.
- Success Checkpoint: You will know the chemical is working when the heavy black grease turns into a brown, emulsified liquid that begins to run off the engine components.
- Common Mistake: Allowing the degreaser to dry on the surface, which bakes the chemical into plastic covers and causes severe white staining.
Step 6: Agitate Stubborn Grime
Physically loosen the emulsified dirt from textured plastics and tight metal crevices using a detailing brush.
- Specifics: Use a soft boar’s hair brush for delicate plastic engine covers and a stiffer nylon brush for cast metal components like the valve cover or block. Reapply small amounts of degreaser if the area begins to dry.
- Success Checkpoint: You will know the agitation is effective when the foam generated by the brush turns dark brown or black.
- Common Mistake: Using wire brushes, which instantly scratch plastic covers and strip the protective galvanized coating off metal nuts and bolts, leading to rapid rust.
Step 7: Perform a Low-Pressure Rinse
Wash away the suspended dirt and chemicals using a gentle flow of water.
- Specifics: Set the garden hose nozzle to a “shower” or “mist” setting (40 to 60 PSI). Hold the nozzle at least 3 feet (1 metre) away from the engine. Sweep the water systematically from the firewall toward the front bumper.
- Success Checkpoint: You will know the rinse is complete when the runoff water dripping beneath the car changes from muddy brown to entirely clear.
- Common Mistake: Using a high-pressure washer (1,500+ PSI) up close. High pressure easily slices through wire insulation and defeats rubber weather-pack seals on electrical connectors.
Step 8: Dry and Displace Moisture
Remove standing water immediately to prevent water spots and ensure electrical connectors are entirely dry.
- Specifics: Use a leaf blower to blast water out of bolt heads, the alternator housing, and spark plug wells. Follow up by wiping down all flat plastic and painted metal surfaces with clean microfibre towels.
- Success Checkpoint: You will know the bay is sufficiently dried when pooling water is completely eliminated from the deep valleys on top of the engine block.
- Common Mistake: Leaving standing water in the spark plug wells, which shorts the ignition coils and causes violent engine misfires upon startup.
Step 9: Apply Protectant and Heat Cure
Rehydrate plastics and rubber hoses by applying a water-based dressing, then utilize the engine’s natural heat to cure it.
- Specifics: Spray a light, even coat of water-based protectant over all plastic and rubber components while they are still slightly damp. Remove all plastic bags, reconnect the battery terminals (positive first, then negative), and start the engine. Close the hood and let the engine idle for 10 to 15 minutes.
- Success Checkpoint: You will know the cure is successful when the plastics exhibit a uniform, dry-to-the-touch satin finish rather than a wet, greasy glare.
- Common Mistake: Using heavy, silicone-based tire shines on engine components. Silicone remains sticky, causing the engine bay to attract heavy dust and turn brown within a week.
What Are the Variations for Different Vehicles?
Hybrid and Electric Vehicles (EVs):
Cleaning an EV or hybrid engine compartment requires extreme caution. Never spray water near the bright orange cables—these denote high-voltage lines capable of delivering lethal electrical shocks. Stick strictly to the hand wash method using damp towels, avoiding the power inverter and charging modules entirely.
Heavily Neglected Engines:
If the engine has decades of baked-on sludge, a single pass with degreaser will fail. You must use a plastic scraper to physically remove the top layer of hardened sludge before applying the chemical degreaser. Laying a large oil drip pan under the vehicle is mandatory in this scenario to catch the heavy runoff and prevent environmental contamination of storm drains.
How Do You Troubleshoot Post-Wash Issues?
If the vehicle runs poorly after a detail, moisture intrusion is almost certainly the culprit. The following failure modes represent the most common post-wash issues and their exact remedies.
Squealing Noise on Startup
Water or degreaser has temporarily lubricated the serpentine accessory belt or its pulleys, causing the belt to slip. Let the engine idle; the friction will naturally heat and dry the belt, and the noise typically disappears within 2 to 3 minutes.
Engine Misfires or Rough Idle
Water has bypassed the seals and seeped down into the spark plug wells, disrupting the electrical spark from the ignition coils. Turn off the engine immediately. Unbolt and remove the coil packs, blow compressed air down into the wells to dry them completely, and spray a light moisture displacer (like WD-40) into the rubber boots before reinstalling.
Check Engine Light (CEL) Illuminates
Moisture is temporarily bridging a connection inside a sealed sensor plug (often the Mass Air Flow sensor or an O2 sensor). Do not panic. Disconnect the affected sensor, blow the connector dry, and re-seat it. The light will typically clear itself after 3 to 5 normal driving cycles once the computer registers consistent, dry electrical resistance.
Frequently Asked Questions
Is it safe to clean an engine bay at a self-serve car wash?
Using a self-serve car wash is highly discouraged. The wands at these bays operate at 1,500 to 3,000 PSI, which is far too powerful for engine components. Furthermore, the recycled water and harsh acidic tire chemicals used at these bays can heavily oxidize bare aluminum engine parts.
Can I use Simple Green to clean my engine?
Standard Simple Green is highly alkaline and corrosive to bare aluminum if allowed to dwell too long. If you use it, you must dilute it significantly (at least 1:10 with water) and rinse it off within 2 minutes. Alternatively, opt for aluminum-safe degreasers explicitly formulated for automotive use.
How long does it take for an engine bay to dry completely?
With the assistance of a leaf blower, the visible engine bay dries in about 5 minutes. However, running the engine at idle for 10 to 15 minutes is required to force trapped moisture out of the deep crevices and electrical housings via radiant engine heat.
Do you leave the car running while washing the engine?
Never leave the car running while washing the engine. A running engine is hot, which vaporizes chemicals and causes thermal shock when hit with cold water. Additionally, a running engine creates a vacuum that can actively suck water past seals and into the intake.