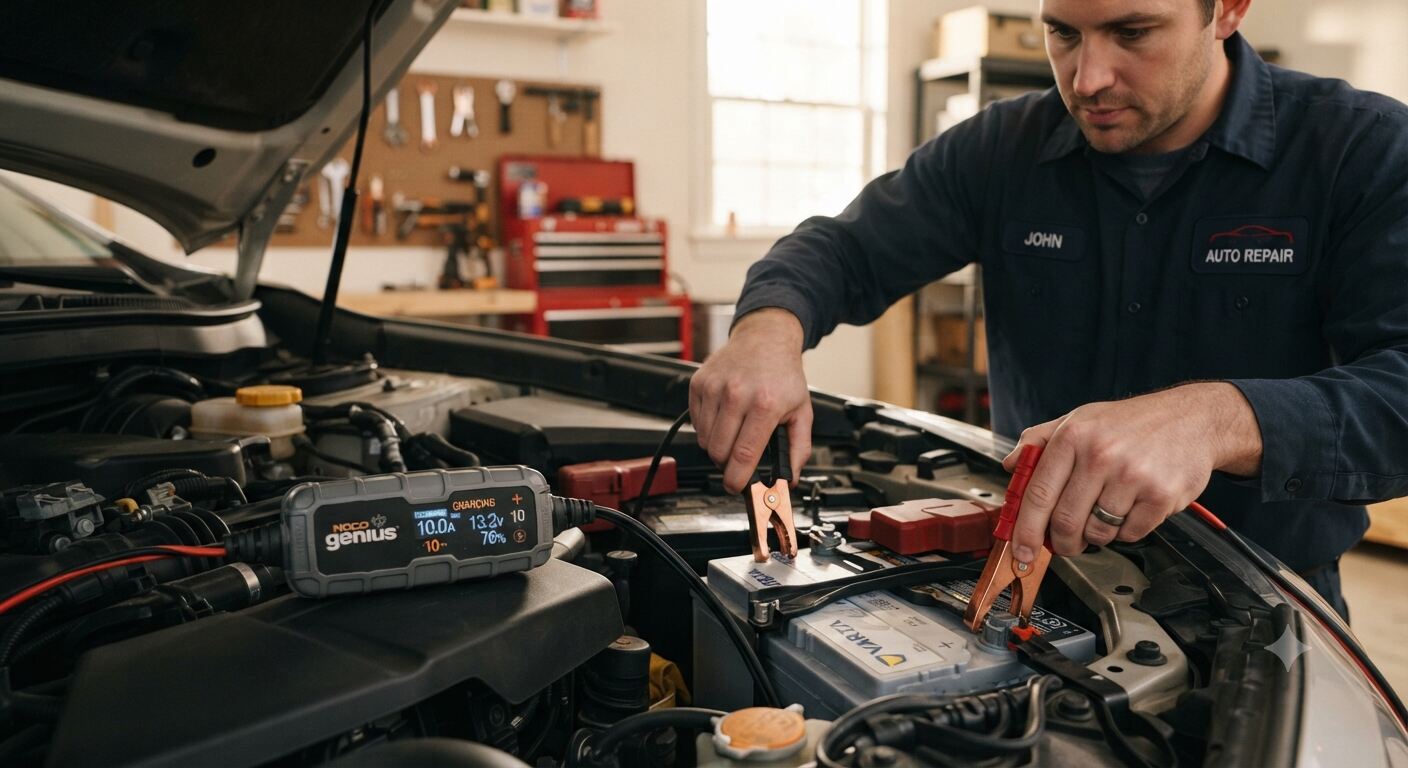
Turning your ignition key to absolute silence is one of the most frustrating experiences for any driver. Whether you accidentally left your interior dome light on overnight, parked your car for weeks during a vacation, or your alternator failed to keep up with your short daily commutes, facing a dead battery can instantly derail your schedule. When this happens, a reliable battery charger becomes your best friend.
If you have a mid-range unit sitting in your garage, you likely find yourself asking: how long to charge a car battery 10 amp charger realistically takes? Finding the right balance between a fast recovery and a safe, complete recharge is key to preserving your battery’s internal health and extending its lifespan. A 10-amp charger represents the “sweet spot” for DIY mechanics—powerful enough to restore a dead battery in a reasonable timeframe, yet gentle enough to avoid the damaging thermal spikes associated with rapid jump-starters.
Let’s break down everything you need to know about using a 10-amp charger efficiently, safely, and like a seasoned professional.
Anatomy of a Car Battery & Why a 10-Amp Charger is the Sweet Spot
To truly understand how long a charging cycle takes, it helps to understand what is happening inside your car’s power source. Modern passenger vehicles rely almost exclusively on 12-volt lead-acid or AGM (Absorbed Glass Mat) batteries. These units consist of six internal cells, each producing roughly 2.1 volts when fully charged, combining for a nominal 12.6-to-12.8-volt capacity at rest.
When choosing a charger, you generally encounter three main tiers:
- Trickle Chargers (1 to 2 Amps): Designed strictly for long-term storage maintenance. Using a 2-amp charger on a completely dead car battery can take anywhere from 24 to 48 hours, making them impractical for emergency recoveries.
- Mid-Range Chargers (10 Amps): The industry gold standard for home garages. A 10-amp charger provides an optimal balance, pumping enough amperage into the system to achieve a full charge in a few hours without overwhelming the lead plates.
- High-Output / Jump Chargers (30 to 50+ Amps): Often found in professional repair shops or heavy-duty bench units. While they can quickly force a charge, high amperage puts immense thermal stress on the battery and can warp plates or boil electrolyte fluid if left unmonitored.
By choosing a 10-amp charger, you are opting for a controlled, thorough recharge that restores capacity without sacrificing battery longevity.
Comprehensive Charging Times: What to Expect from a 10-Amp Charger
The exact duration of your charging session depends heavily on the initial state of discharge. Batteries do not charge linearly; they accept current much faster when they are deeply depleted and slow down significantly as they approach full capacity.
Here is what you can realistically expect from a 10-amp charger under various conditions:
- Completely Dead Battery (0% to 10% Charge Remaining): If your battery is completely flat—reading below 10.5 volts—a 10-amp charger will typically take 5 to 8 hours to achieve a true 100% recharge.
- Partially Drained Battery (40% to 60% Charge Remaining): If your car struggled to crank or your lights were dim but functional, expect a wait time of 2 to 4 hours to get back to peak power.
- Emergency Surface Charge (Just Enough to Start): If you are running late and simply need enough electrical power to fire up the alternator, you can often disconnect the charger after just 1 to 2 hours. Once the engine starts, the alternator will take over running the electrical systems and finish topping off the battery during your drive.
The Physics and Math Behind the Charge
Curious how engineers and automotive technicians calculate these timelines precisely? You can easily estimate your charging timeline using basic electrical formulas and your battery’s specific rating.
Most standard passenger vehicle batteries hold between 48 to 60 Amp-hours (Ah) of total energy capacity. Larger vehicles, such as full-sized trucks, SUVs, or diesel engines, often feature batteries rated between 70 to 100 Ah.
To find your base charging time, use the following equation:
$$\text{Charging Time (Hours)} = \frac{\text{Battery Capacity (Ah)}}{\text{Charger Amperage (Amps)}}$$
For example, if you have a standard mid-size sedan battery rated at 60 Ah and you are using a 10-amp charger:
$$\text{Charging Time} = \frac{60 \text{ Ah}}{10 \text{ Amps}} = 6 \text{ Hours}$$
Pro Tip: Always add roughly 15% to 20% more time to your calculated math. The electrochemical process of charging is not 100% efficient; some electrical energy is naturally lost as ambient heat and gas dissipation within the cells. Therefore, a theoretical 6-hour charge will often take closer to 7 hours in real-world conditions.
Key Factors That Impact Your Charging Time
Even with accurate math, several external variables can speed up or significantly delay your charging session:
1. Battery Physical Size and Capacity
As noted in the mathematical formula, a larger Ah rating inherently demands more time. A compact hatchback battery rated at 45 Ah will charge much faster on a 10-amp unit than a heavy-duty 85 Ah battery pulled from a V8 pickup truck.
2. Ambient Temperature
Chemistry is temperature-sensitive. Lead-acid batteries charge efficiently in moderate temperatures (around 20°C / 68°F). If you are charging your battery in a freezing winter garage (near or below freezing), the internal chemical reaction slows down dramatically, extending your charge time by several hours. Conversely, extreme summer heat can cause a smart charger to throttle its output to prevent overheating.
3. Battery Health, Age, and Sulfation
As car batteries age, lead sulfate crystals form on the internal plates. If a battery has suffered from chronic undercharging or is over 4 years old, severe sulfation increases internal resistance. This resistance forces the charger to work harder and longer, and the battery may ultimately fail to hold a true 100% charge.
4. Smart Charger Microprocessor Throttling
Modern smart chargers utilize multi-stage charging algorithms. During the final 15% to 20% of the charge cycle (known as the absorption and float stages), the charger intentionally tapers down the amperage flow to protect the battery cells. This protective throttling ensures longevity, but it makes the final stretch of the charging process take noticeably longer.
Quick Reference: 10-Amp Charger Breakdown Table
| Battery State | Estimated Time Required | Expected Voltage Target | Best Practice & Objective |
| Completely Dead | 5 to 8 Hours | 12.6V+ | Full structural recharge to maximize lifespan and prevent sulfation. |
| Partially Drained | 2 to 4 Hours | 12.4V – 12.6V | Restore normal daily driving reliability and electrical accessories. |
| Emergency Crank | 1 to 2 Hours | 11.8V – 12.2V | Provide just enough surface charge to start the vehicle. |
| AGM / Specialized | 6 to 9 Hours | 12.8V+ | Requires sensitive handling; follow manufacturer voltage limits. |
Smart vs. Manual Chargers: Understanding the Technology
Before leaving your charger unattended, it is vital to know whether you are using a modern smart unit or an older manual model:
- Smart Chargers: Equipped with advanced internal microprocessors, these modern units analyze battery health, select the optimal amperage curve, and automatically cut off current or switch into a safe “float mode” once the battery hits 100%. You can safely leave these plugged in overnight without worrying about overcharging.
- Manual Chargers: These older analog units will continuously pump a steady, unyielding 10 amps into the battery, even long after it has reached full capacity. Failing to monitor a manual charger can cause severe fluid boiling, dangerous hydrogen gas pressure build-up, and catastrophic battery swelling, cracking, or acid leaks.
Step-by-Step Hookup Guide for Safety
Working with automotive electrical systems requires caution and precision. Follow these steps meticulously to avoid sparks, blown fuses, or personal injury:
- Power Down the Vehicle: Turn off the vehicle ignition, remove the keys, and make certain that all accessories (headlights, interior dome lights, radio, HVAC blower) are completely shut off.
- Disconnect Charger from Power: Ensure your battery charger is unplugged from the household wall outlet before you touch any battery terminals.
- Inspect and Clean: Inspect the battery terminals for white or blue powdery corrosion. If present, clean them with a wire brush and a mixture of baking soda and water to ensure a clean electrical connection.
- Attach Positive Terminal: Connect the Red (+) clamp from the charger securely to the positive battery terminal (usually marked with a “+” sign or a red plastic cover).
- Attach Negative Terminal: Connect the Black (-) clamp to the negative battery terminal, or alternatively, clamp it to a clean, unpainted piece of bare metal on the car’s engine block or frame to act as a secure ground.
- Power On the Charger: Plug the charger into the wall outlet, select the appropriate battery type (standard wet cell, AGM, or gel) if using a smart charger, and switch it on.
- Monitor the Session: Keep an eye on the progress indicators. If using a manual charger, set a timer based on your calculations.
- Safe Disconnection: When finished, reverse the process precisely—unplug the wall outlet first, then remove the negative black clamp, and finally remove the positive red clamp.
Frequently Asked Questions
Can I leave a 10-amp charger connected overnight?
If you are using a smart charger equipped with an automatic shut-off or float maintenance mode, yes, it is completely safe to leave it running overnight. The charger will drop its output to near-zero once peak voltage is reached. However, you should never leave a manual 10-amp charger unattended overnight, as it will overcharge and potentially ruin the battery.
Can a 10-amp charger damage my car battery?
Generally, no. A 10-amp charge rate is considered a safe, moderate speed for standard 12V automotive batteries. The only scenario where damage occurs is if you leave a manual charger connected long after the battery has reached 100%, leading to severe electrolyte boiling and internal grid degradation.
How do I know when my car battery is fully charged?
If you are using a smart digital charger, it will typically display a “Full” or “100%” indicator light, or its digital screen will show an amperage output dropping down to 0–1 amps in float mode. If you want to verify with a digital multimeter, a fully charged resting car battery (disconnected from the charger for at least 30 minutes) should read approximately 12.6 volts or higher.
What should I do if my battery won’t hold a charge after 8 hours?
If a 10-amp charger runs for 8 hours or more and your battery voltage immediately drops below 12 volts once disconnected, your battery likely has a “dead cell” or severe internal short circuit. In this case, the active material on the plates has degraded beyond repair, and you will need to replace the battery.
Final Verdict & Pro Maintenance Tips
Reviving a dead battery with a 10-amp charger is an empowering DIY skill that saves you time and the cost of a tow truck. By understanding that a complete recharge takes roughly 5 to 8 hours, respecting your equipment limits, and practicing rigid safety protocols, you can easily restore your vehicle’s reliability right in your driveway.
Safety Reminder: Always charge your battery in a well-ventilated space, preferably outdoors or in an open garage. Charging lead-acid batteries naturally releases small amounts of flammable hydrogen gas, so keep all open flames, sparks, and smoking materials far away from the work area