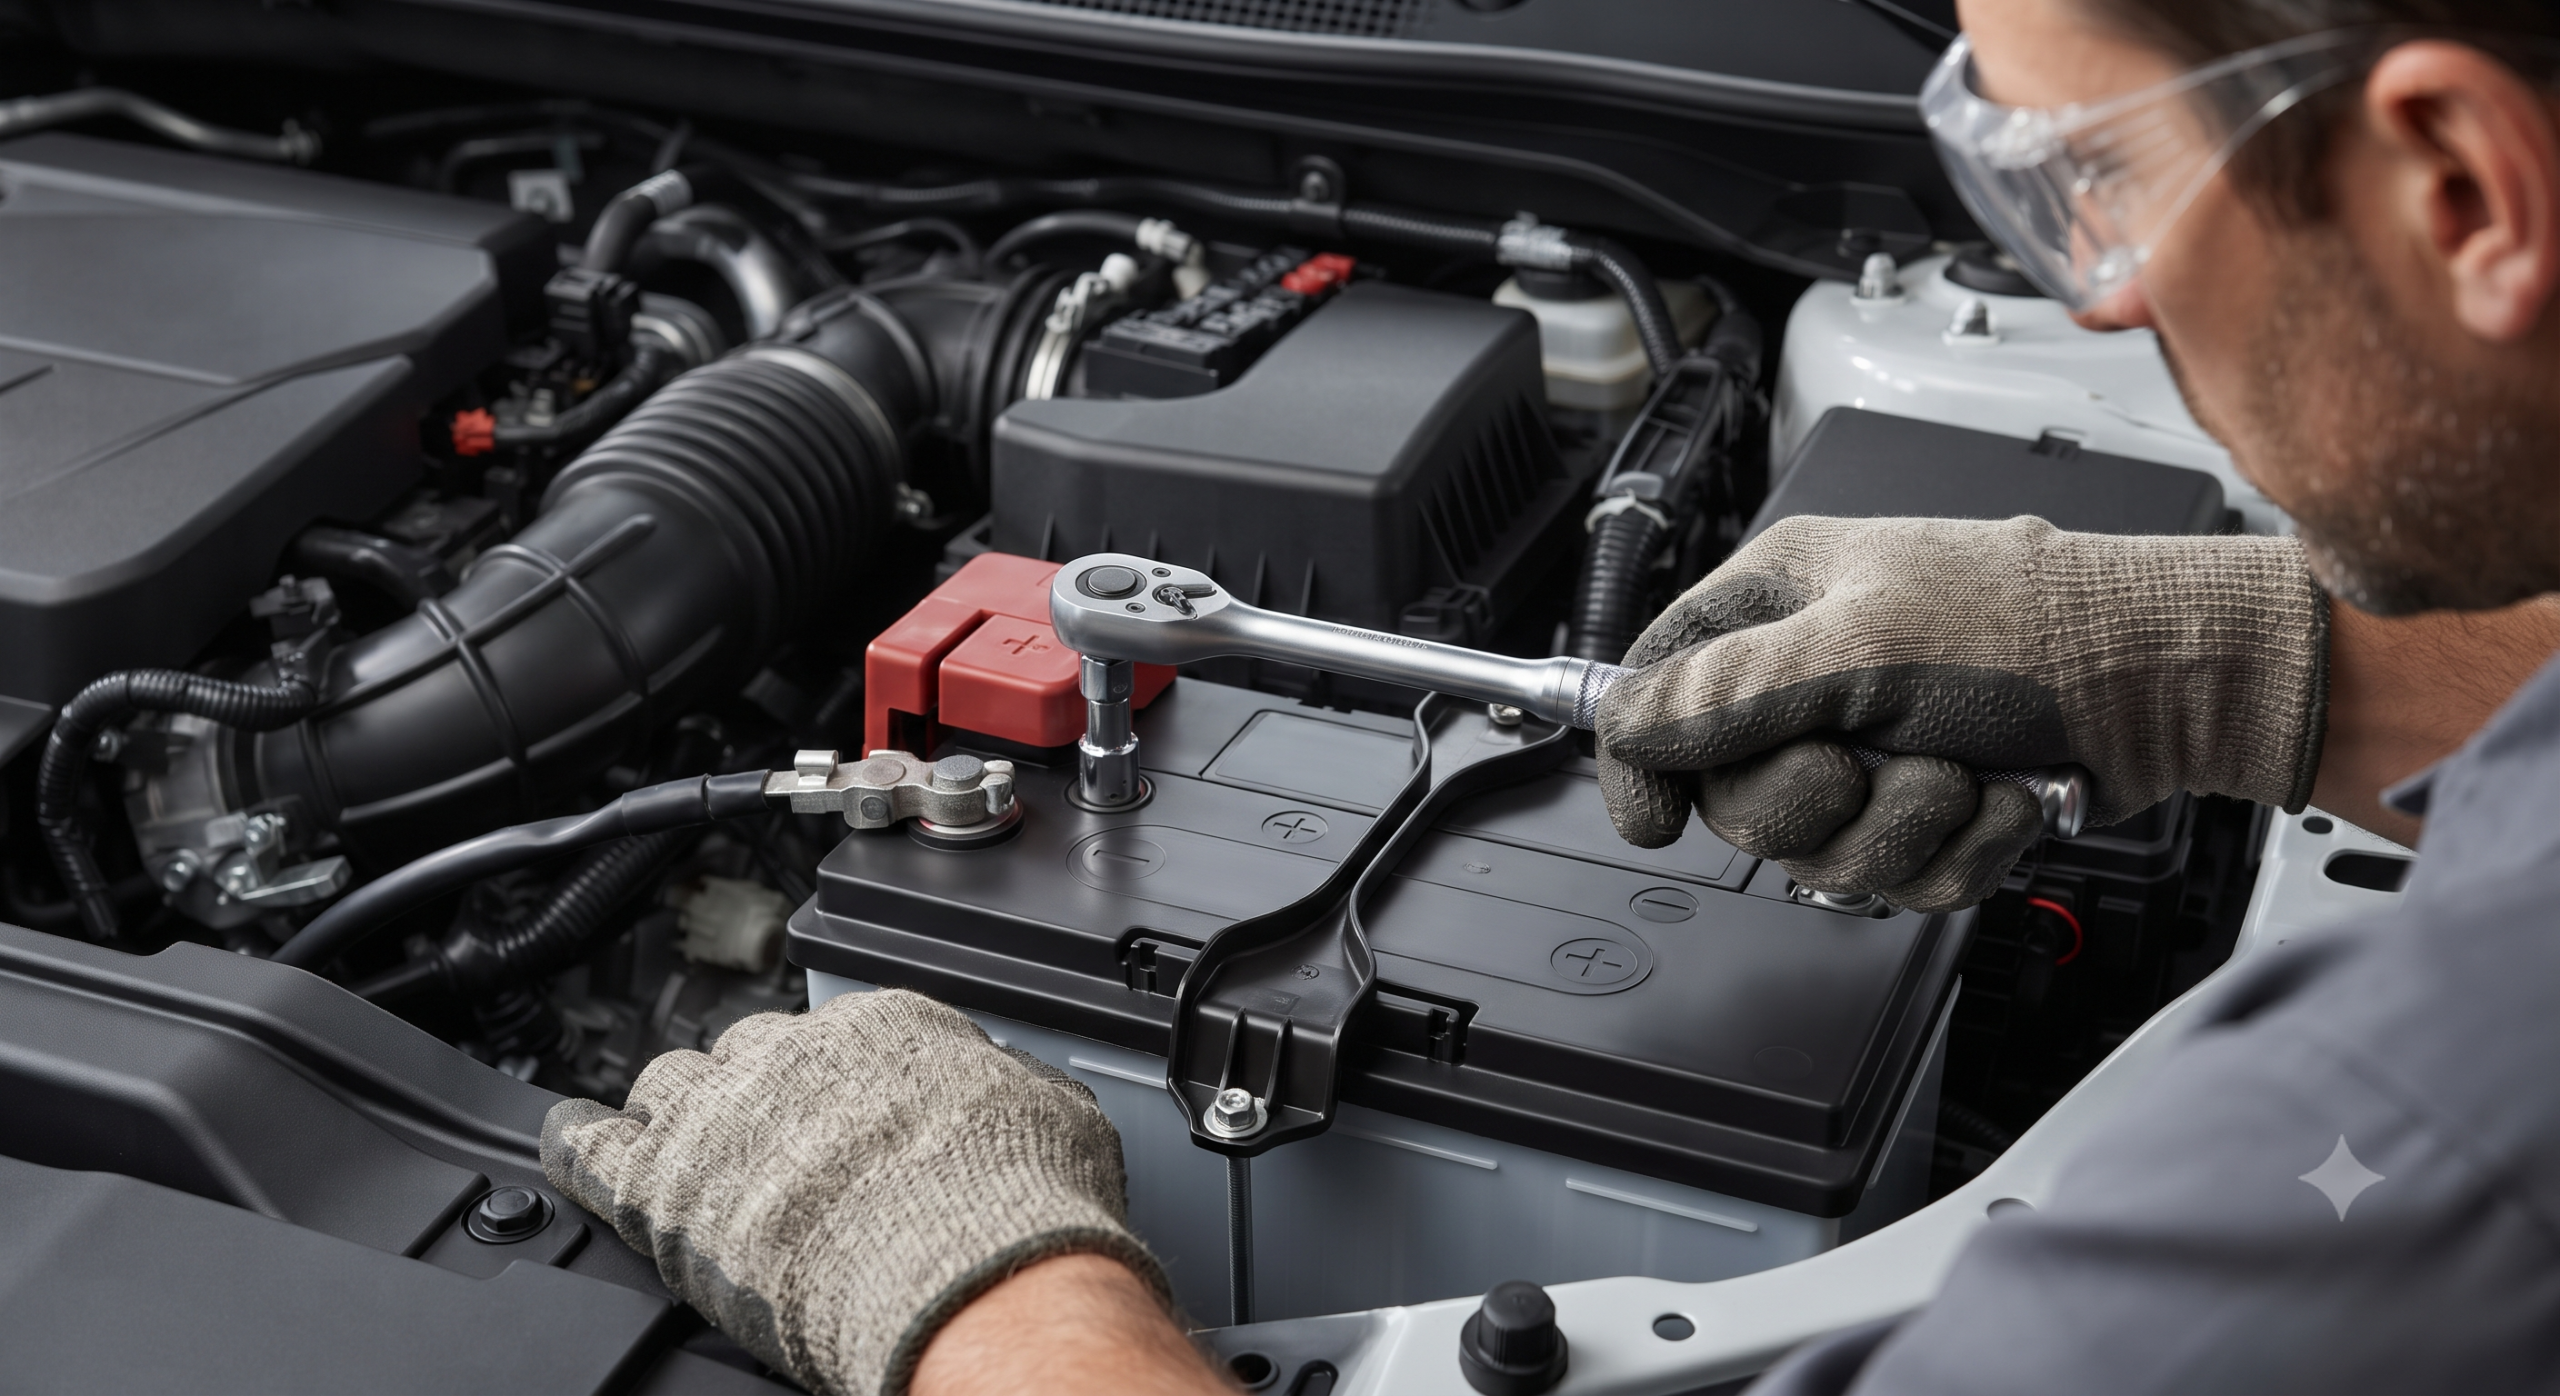
There is nothing quite as disruptive as walking out to your car, turning the key or pushing the start button, and hearing only a frustrating click or absolute silence. Whether your battery has finally reached the end of its typical three to five year lifespan or you need to perform routine electrical maintenance, removing a car battery is a rite of passage for every vehicle owner.
Many drivers assume that dealing with automotive electrical systems requires a professional mechanic and a garage full of specialized equipment. However, with the right preparation, basic hand tools, and a strict adherence to safety protocol, you can easily remove your car battery right in your own driveway. Knowing how do i take out a car battery safely will save you valuable time, prevent accidental electrical short circuits, and spare you from paying steep labor fees for a simple swap. In this comprehensive guide, we will walk you through every critical phase of the removal process, from initial safety precautions to lifting the heavy unit free from your vehicle safely.
Preparation and Essential Safety First
Working under the hood of a modern vehicle demands respect. Automotive batteries contain caustic sulfuric acid and store massive amounts of electrical energy capable of producing severe sparks, chemical burns, or even battery explosions if mishandled. Before you touch a single bolt, proper preparation is non-negotiable.
Securing Your Workspace and Vehicle
- Park your vehicle on a completely flat, level surface to prevent any accidental rolling. Turn off the engine completely and engage the emergency parking brake firmly.
- Locate the battery. While most car batteries sit comfortably under the hood on the driver or passenger side, some modern vehicle manufacturers place them inside the trunk, beneath the rear passenger seats, or tucked away inside the inner wheel well.
Donning Protective Gear and Removing Jewelry
- Always wear heavy duty rubber gloves and protective safety glasses or goggles to shield your skin and eyes from potential acid splashes.
- Remove all rings, metal watches, bracelets, or chains before you begin working. If a metal watchband or ring accidentally bridges the gap between a live battery terminal and grounded vehicle metal, it can instantly heat up, causing severe skin burns or melting the metal.
Project Quick Reference Overview
| Parameter | Specifications |
| Main Task | Removing a car battery safely |
| Estimated Time | 15 to 30 minutes |
| Difficulty Level | Beginner / DIY Friendly |
| Required Tools | 10mm wrench or socket set, wire brush, gloves, safety glasses |
| Estimated Cost | Free (using basic household or garage tools) |
Step-by-Step Battery Removal Process
Once you are properly geared up and your vehicle is secure, you can proceed with the physical removal. The golden rule of automotive electrical work is respecting the sequence of terminal disconnection to prevent dangerous short circuits.
Step 1: Disconnecting the Negative Terminal First
Locate the negative battery post. It is marked with a minus sign (-) symbol, typically features a black terminal cover, and is attached to a black cable that routes down to your car chassis or engine block.
- Take your 10mm wrench or socket and loosen the nut on the negative cable clamp.
- Once the nut is loose, gently twist and pull the negative cable clamp straight up off the battery post.
- Immediately push and tuck the detached negative cable far enough aside so it cannot spring back or accidentally touch any metal parts of the vehicle or the battery post while you work.
Why negative first? Disconnecting the ground path first ensures that if your wrench accidentally slips and brushes against the car frame, no sparks or electrical shorts will occur.
Step 2: Disconnecting the Positive Terminal Second
Next, find the positive battery post. This post is marked with a plus sign (+) symbol, usually protected by a red plastic cover or cap, and connects to a red cable leading to your starter or fuse box.
- Loosen the nut on the positive cable clamp using your wrench.
- Carefully lift the positive cable clamp off the post and tuck it securely to the side just like you did with the negative cable. Ensure it stays isolated from any metal surfaces.
Step 3: Removing the Battery Hold Down Clamp
Car batteries are heavy and subject to constant vibration while driving, which is why manufacturers anchor them securely to the vehicle tray.
- Look closely at the base of the battery or across its top surface to find the hold-down mechanism. This is usually a plastic wedge clamp bolted to the bottom lip of the battery or a metal crossbar strap secured by long vertical bolts.
- Use your wrench or socket extension to loosen and completely remove the bolt or nuts holding the clamp in place.
- Set the bolts and clamp aside in a safe spot where they will not roll away or get lost inside the engine bay.
Step 4: Lifting and Extracting the Battery
Car batteries are remarkably heavy, typically weighing anywhere from 30 to 50 pounds depending on the size of your vehicle.
- Place both hands firmly on opposite sides or use the integrated fold-down carrying handle if your battery is equipped with one.
- Lift the heavy battery straight up out of the engine bay or storage compartment with a straight back and your knees bent to protect your lower spine. Avoid tilting the battery excessively to prevent any accidental fluid spills from internal vents.
- Set the battery down gently onto a flat, dry floor, workbench, or inside a dedicated plastic battery tray.
Frequently Asked Questions
Can I leave my car battery disconnected for a long time?
Yes, you can disconnect your car battery for extended periods, but keep in mind that doing so will reset your vehicle computer systems, digital clock, radio presets, and engine control unit (ECU) adaptive memory. When you eventually reconnect the power, your car might run slightly rough for the first few minutes of driving as the computer relearns its idle and fuel trimming parameters.
Do I need to clean the battery tray before putting a new battery in?
Cleaning the battery tray is highly recommended. Over time, spilled acid and corrosion dust collect at the bottom of the tray. Use a mixture of baking soda and water to neutralize any acid residue, scrub it clean, rinse thoroughly, and let it dry completely before installing your new or recharged battery to prevent premature corrosion on the new housing.
What should I do with my old car battery once it is out?
Old car batteries contain toxic lead and sulfuric acid, meaning they should never be thrown into household trash. Instead, take your old battery to a local automotive parts store, a scrap metal recycling facility, or a municipal waste disposal center. Most auto parts stores will accept your old battery core and even give you a core deposit refund or credit toward your replacement purchase.
Conclusion
Taking out a car battery is a straightforward and empowering DIY task that takes less than thirty minutes when approached with caution and the correct tools. By always disconnecting the negative terminal first, protecting your hands and eyes, and managing the heavy unit carefully, you can successfully remove your battery without hassle. Whether you are swapping in a fresh power source or taking it out for overnight charging, mastering this basic skill keeps you in control of your automotive maintenance. Always prioritize safety, dispose of old batteries responsibly, and enjoy the satisfaction of completing the job yourself.