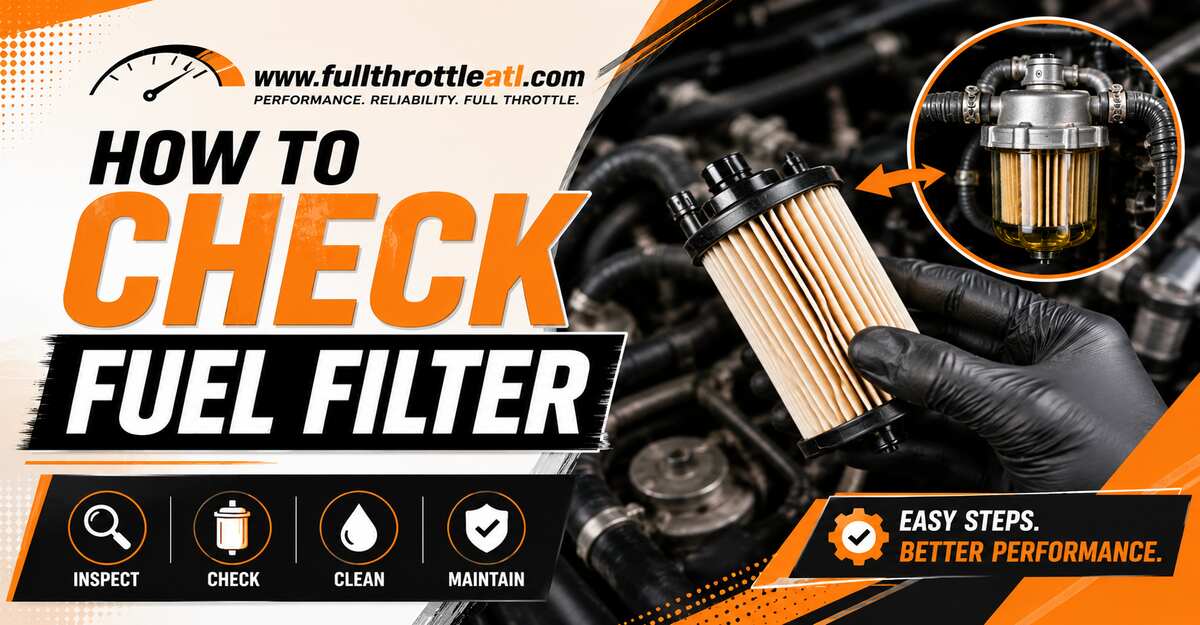
Checking a fuel filter involves testing the unit for internal blockages that degrade engine performance. This 5-step process takes 35 minutes and requires testing in-line pressure, safely depressurizing the system, removing the unit, and performing fluid clarity and bench blow tests. Proper system depressurization determines your safety and success.
Before You Start
- Time Required: 35–45 minutes.
- Difficulty: Intermediate.
- Cost: $0 to remove and inspect; $40–$60 for a fuel pressure diagnostic gauge.
- Tools and Materials:
- 1x Fuel Pressure Gauge Kit (rated 0–100 PSI / 0–6 bar)
- 2x Open-Ended / Line Wrenches (5/8″ and 11/16″) OR 1x Quick-Disconnect Tool Set
- 1x Class B Fire Extinguisher (mandatory safety prerequisite)
- 1x Set of Chemical-resistant Nitrile Gloves and Safety Glasses
- 1x Clean, dry Clear Glass Jar
- 1x Oil/fuel-resistant Catch Pan
- 3–5 Clean cotton or microfiber Shop Rags
- 1x Clean Drinking Straw or 3-inch Vinyl Tube
- Prerequisites: Work outdoors or in a fully ventilated garage. Keep away from water heaters, pilot lights, or any ignition sources.
Step 1: Perform an In-Vehicle Fuel Pressure Test
Connect a diagnostic gauge to the engine’s fuel rail test port to measure system restriction. Locate the Schrader test port (which resembles a tire valve stem) on the fuel rail near the top of the engine. Thread the fuel pressure gauge tightly onto the port. Turn the ignition to the “ON” position without cranking the engine to prime the system, and note the static PSI. Start the engine and read the idle pressure, which must match your vehicle’s factory specifications (typically 35–65 PSI). Have an assistant rev the engine to 2,500–3,000 RPM while you watch the needle.
- Success Checkpoint: You’ll know the filter is clear if the pressure needle remains steady or slightly increases during revving.
- Common Mistake: Ignoring a dynamic pressure drop. If the pressure reads fine at idle but drops significantly (greater than 10 PSI) under load, the filter is choked and restricting volume.
Step 2: Depressurize the Fuel Line
Pull the fuel pump fuse and stall the engine to clear hazardous line pressure. Open your vehicle’s fuse box and use the diagram on the lid to locate the fuel pump fuse or relay. Pull it out using needle-nose pliers. Start the engine and let it run; it will sputter and stall completely within 5 to 10 seconds. Once it stalls, crank the engine for an additional 3 seconds to clear any residual line pressure, then turn the ignition key back to the “OFF” position.
- Success Checkpoint: You’ll know it worked when the engine cranks normally but absolutely refuses to fire, indicating empty fuel rails.
- Common Mistake: Skipping the depressurization step. Disconnecting a fuel line under live pressure will instantly spray gasoline at 60 PSI directly into your face or onto a hot exhaust manifold.
Step 3: Remove and Inspect the Filter
Unthread the line fittings and slide the filter out of its mounting bracket to inspect the chassis. Raise the vehicle on jack stands if the filter is located underneath along the frame rail. Place your catch pan directly beneath the filter. For threaded hex nuts, use two wrenches in opposing directions—brace the filter body’s hex head with one, and unthread the line nut with the other. For modern plastic clips, press a quick-disconnect tool into the fitting collar to release the internal locking tabs. Slide the filter out and inspect the metal casing for heavy rust, swelling, or pinhole leaks.
- Success Checkpoint: You’ll know it worked when the filter slides free without kinking the thin metal fuel lines or snapping the plastic retaining clips.
- Common Mistake: Using a single wrench on threaded fuel lines. This forces the entire line to twist with the nut, immediately snapping the brittle steel line. Always use a backup wrench.
Step 4: Execute the Fluid Clarity Test
Empty the filter’s residual fuel into a clear jar to visually check for tank contamination. Hold the removed filter over your clear glass jar and tip it backward so the fuel pours out of the Inlet nozzle (the “dirty” side). Tap the casing gently against the palm of your hand to dislodge any sediment trapped deep within the internal paper pleats.
- Success Checkpoint: You’ll know the filter is healthy if the extracted fuel is clear or slightly amber, closely resembling fresh gasoline.
- Common Mistake: Assuming slightly dark fuel is normal. If the fuel comes out dark brown, black, or contains visible rust flakes or slimy gunk, the filter is completely spent and the fuel tank lining may be deteriorating.
Step 5: Perform the Physical Bench Blow Test
Blow air through the inlet nozzle using a plastic straw to assess internal airflow resistance. Wipe the filter’s inlet nozzle (indicated by an “IN” stamp or the flat base of the directional arrow) with a clean rag. Push a clean drinking straw or piece of vinyl tubing tightly over the nozzle. Aim the outlet nozzle down toward your catch pan. Blow firmly and continuously through the straw into the filter.
- Success Checkpoint: You’ll know the filter is good if air passes through the unit with almost zero resistance, feeling much like blowing through an open straw.
- Common Mistake: Putting your mouth directly onto the filter casing. Liquid gasoline and its vapors are highly toxic and carcinogenic; always use a disposable extension tube to keep your face away from the fuel.
Common Mistakes and How to Fix Them
- Reinstalling the Filter Backward: Fuel filters contain one-way check valves or directional pleats. Installing it with the arrow pointing toward the gas tank blocks flow completely. Fix: Remove the unit, flip it 180 degrees, and verify the directional arrow points toward the engine.
- Engine Cranks But Won’t Start After Reinstall: The system is completely empty (vapor-locked) or you forgot the fuse. Fix: Reinsert the fuel pump fuse. Turn the ignition key to “ON” for 3 seconds to run the pump, then turn it off. Repeat this key cycle 5 times to push air out of the lines before attempting to crank the engine.
- Leaking Fuel Fittings at Restart: Reusing crushed copper washers or torn rubber O-rings will cause drips under system pressure. Fix: Disconnect the leaking fitting, install a brand new O-ring or crush washer, and re-torque the fitting to factory specifications.
- Breaking Quick-Disconnect Tabs: Forcing a flathead screwdriver into plastic retaining clips will shatter them. Fix: You must splice in a new nylon quick-disconnect repair fitting using a heat gun and a barbed hose connector.
Process Variations
- In-Tank Filters: Most vehicles built after 2010 integrate the fuel filter directly into the fuel pump module sitting inside the gas tank. You cannot physically remove or bench-test these units. You must rely entirely on Step 1 (the In-Vehicle Fuel Pressure Test) to diagnose a restriction.
- Diesel Engines: Diesel systems run at massively higher pressures and cannot tolerate air in the lines. After testing or replacing a diesel fuel filter, you must locate the manual primer pump (usually a black button on top of the filter housing) and pump it repeatedly until the button feels entirely stiff before starting the engine.
How Long Does It Take and What Does It Cost?
Checking an inline fuel filter takes exactly 35 to 45 minutes for a first-timer. Add 20 minutes to your estimate if you live in a rust-belt region and expect seized threaded fittings. The process costs $0 if you are simply removing the unit to perform bench tests. If you are diagnosing the restriction scientifically via Step 1, expect to spend $40–$60 on a comprehensive fuel pressure test gauge. Replacement filters, if needed, cost between $10 and $25.
Frequently Asked Questions
How often should you check a fuel filter? You should physically check and replace an inline fuel filter every 30,000 miles. Check it immediately if you experience stalling, severe hesitation under acceleration, or a whining noise coming from the fuel tank.
Can a bad fuel filter cause the check engine light to come on? Yes. A clogged filter severely restricts fuel volume, causing the engine to run lean. The vehicle’s oxygen sensors will detect this and trigger a P0171 or P0174 diagnostic trouble code (System Too Lean).
Can I clean and reuse my old fuel filter? No. Automotive fuel filters utilize tightly packed, microscopic paper pleats that permanently embed dirt, rust, and debris. Chemical solvents cannot flush this embedded sediment out; the unit must be replaced.
What happens if I skip depressurization? If you unthread a line without pulling the fuel pump fuse first, the 60 PSI of stored pressure will instantly blast liquid gasoline into your eyes or onto surrounding engine components, creating a severe fire hazard.
Understanding how to check fuel filter health systematically saves you from replacing expensive fuel pumps unnecessarily. By combining pressure diagnostics with physical bench tests, you can accurately pinpoint fuel delivery failures on the first attempt.