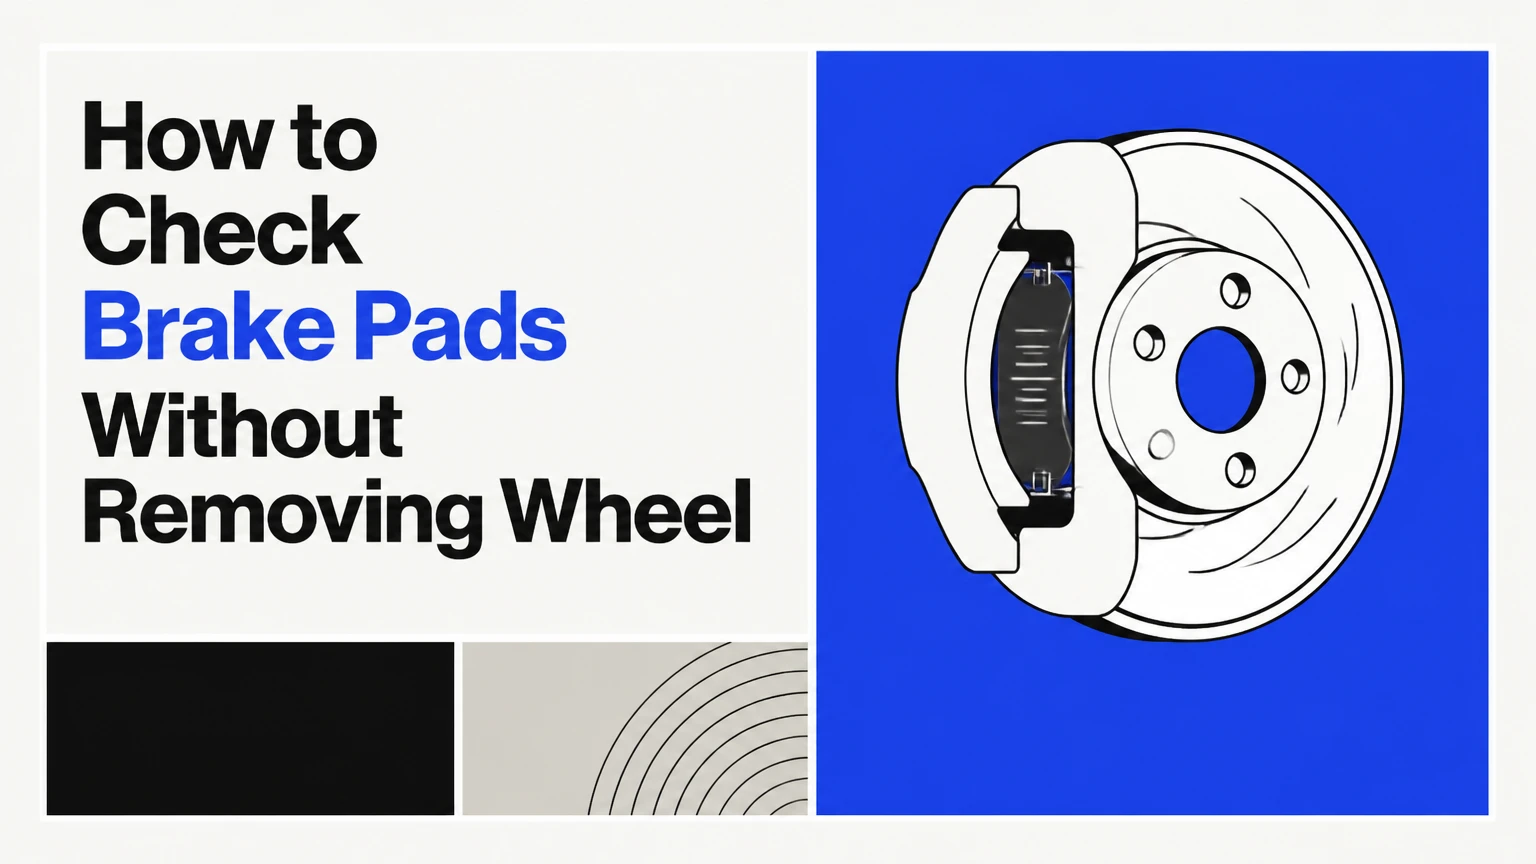
Checking your vehicle’s brake pad thickness through the wheel spokes is a fast, tool-light maintenance task that takes about 10 to 15 minutes. By positioning your front wheels, illuminating the caliper body through the rim gaps, and measuring only the dark friction material layer—excluding the metal backing plate—you can accurately determine remaining pad life without lifting the car or removing lug nuts.
Before You Start
| Metric / Parameter | Requirement / Specification |
| Time Required | 10–15 minutes total |
| Difficulty Level | Beginner (1 / 5) |
| Estimated Cost | $0 (using household items) to $10 (for dedicated gauge) |
| Prerequisites | Vehicle parked on flat ground, cool brakes, open-spoke alloy wheels |
Required Tools & Equipment
- Primary Light Source (1x): Flashlight or smartphone light (minimum 100 lumens recommended).
- Measuring Tool (1x): Automotive brake pad feeler gauge set OR a flexible metric ruler/u-shaped paperclip.
- Proxy Depth Tool (1x – Optional): Drinking straw or wooden skewer for narrow caliper inspection windows.
- Cleaning Agent (1x – Optional): Aerosol brake cleaner spray to clear heavy brake dust accumulation.
Step-by-Step Inspection Process
1.Step 1: Park and Cool the Vehicle:Safety prerequisite – prevents thermal burns.
Park the vehicle on a level concrete or asphalt surface, set the transmission to Park (or 1st Gear for manual transmissions), engage the parking brake fully, and allow the wheel assemblies to cool for at least 30 minutes after driving.
To safely verify temperature, hover your hand 2 inches away from the wheel rim spigot without touching the rotor. Cast iron rotors can exceed 200°C (392°F) during normal driving, which causes severe thermal burns on contact.
You’ll know it worked when: The metal rotor surface yields zero felt radiant heat when your hand is placed 2 inches away.
Common Mistake: Inspecting immediately after driving. Always let the brake system shed stored thermal energy before placing fingers or plastic straws near the caliper body.
2.Step 2: Angle the Steering Wheel Outward:Exposes the caliper assembly for clear line-of-sight.
Start the engine, rotate the steering wheel completely to full lock toward the side you are inspecting (left lock for the driver-side front brake, right lock for the passenger-side front brake), and turn off the ignition.
Angling the wheel pushes the rear edge of the brake caliper outward toward the fender well, increasing your visual angle by roughly 30 to 40 degrees through the rim spokes.
You’ll know it worked when: The trailing edge of the front brake caliper is clearly visible through the outer wheel spoke gap without leaning under the bumper.
Common Mistake: Turning the wheel in the wrong direction, which tilts the caliper inward toward the unbody liner and completely blocks your view.
3.Step 3: Locate the Caliper and Identify Pad Layers:Isolate friction material from metal backing plate.
Shine your flashlight at a 45-degree off-axis angle through the spoke opening to locate the brake caliper clamped around the outer radius of the smooth metal rotor.
Look through the open viewing window on the top of the caliper, or along the side cutouts where the pad meets the rotor surface, and visually separate the metal backing plate (roughly 5 mm thick, smooth painted steel) from the friction material (darker, coarse composite block pressed directly against the shiny rotor).
You’ll know it worked when: You can distinctly trace the interface line between the metal backing plate and the dark friction block.
Common Mistake: Measuring the combined thickness of both the metal backing plate and the friction pad, which leads to a dangerous overestimation of remaining pad life.
4.Step 4: Measure the Friction Material Thickness:Quantify remaining wear layer in millimeters.
Insert a color-coded brake pad feeler gauge or a flexible metric ruler through the wheel spoke gap directly against the side edge of the dark friction block, making sure to bypass any raised lip on the outer circumference of the rotor.
If space is too tight for a rigid ruler, slide a wooden skewer or drinking straw through the gap until it contacts the rotor surface, pinch or mark the skewer at the exact outer edge of the friction material block with your thumbnail, withdraw it, and measure that marked segment against a standard metric ruler.
You’ll know it worked when: You obtain a clear millimeter reading representing solely the friction material layer depth.
Common Mistake: Resting the measuring stick across the outer rust lip of an older brake rotor, which adds 1.5 mm to 2.5 mm of false thickness to your measurement.
5.Step 5: Inspect Inner Pad and Opposite Side:Verifies even wear across caliper slide pins.
Re-position your light from behind the tire or through the lower rim window to view the inboard (inner) pad friction layer located on the back side of the rotor face.
Single-piston floating calipers push from the inside; if caliper slide pins lack grease or stick, the inner pad can wear down to raw backing metal while the visible outer pad still retains 5 mm of material. Repeat Steps 1 through 5 for the remaining three wheels.
You’ll know it worked when: You have recorded two distinct measurements (inner and outer pad thickness) for all four wheel locations.
Common Mistake: Assuming all four brake pads wear at the exact same rate and ending the inspection after checking only one front outer pad.
Understanding Your Thickness Measurements
Use this standardized wear scale to evaluate your measurement readings and determine necessary maintenance actions:
| Friction Pad Thickness | Wear Status | Operational Recommendation |
| 8 mm to 12 mm (5/16″ – 1/2″) | New / Excellent | No action required. Re-inspect at next oil change (5,000 miles). |
| 6 mm to 7 mm (1/4″) | Good Condition | Normal wear. Brake system is operating safely. |
| 4 mm to 5 mm (3/16″) | Moderate Wear | Plan replacement within the next 3,000 to 5,000 miles. |
| 3 mm (1/8″) | Critical Limit | Schedule replacement immediately. Material is near acoustic wear sensor. |
| 2 mm or less (1/16″) | Severe Danger | Do not drive. High risk of rotor scoring, caliper damage, and sudden brake fade. |
Safety Warning: The universal minimum replacement threshold across all light automotive manufacturers (OEM) is 3 mm (1/8 inch). Below 3 mm, the thermal insulation capacity of the pad drops drastically, increasing brake fluid temperatures and pushing structural metal wear tabs into direct contact with the rotor face.
Common Inspection Mistakes and How to Fix Them
1. Mistaking the Backing Plate for Friction Lining
- The Failure: Mechanics and DIYers frequently mistake the steel backing plate (approx. 4.5 mm to 6 mm thick) for usable brake material, assuming a completely worn pad still has 50% life left.
- The Recovery: Use an off-axis flashlight angle to highlight texture differences. The backing plate is smooth metal (often black or silver painted steel), while the friction block is dark grey or brownish composite material with a coarse texture.
2. Overlooking Inner Pad Wear on Floating Calipers
- The Failure: Floating single-piston calipers rely on lubricated slide pins to pull the outer pad against the rotor. If slide pins corrode, the inner pad absorbs all hydraulic force and wears twice as fast as the visible outer pad.
- The Recovery: Angle your light from behind the steering knuckle or mirror through the upper inspection slot to view the inner pad block directly. If the inner pad is thinner than the outer pad by 2 mm or more, replace both pads and service the caliper guide pins.
3. Measuring Across Rotor Wear Lips
- The Failure: As brake rotors age, friction sweeps away material from the center face, leaving a raised ridge or lip along the outermost rim diameter. Placing a straight edge across this ridge distorts your measurement.
- The Recovery: Slide your measuring gauge or proxy straw past the outer ridge directly into the recessed sweep path where the friction material meets the rotor surface.
4. False Security from Clean Outer Wheels
- The Failure: Checking only the front wheels while ignoring rear disc brakes. Modern Electronic Stability Control (ESC) and torque vectoring systems frequently engage rear brakes automatically, causing rear pad wear rates to exceed front pad wear on newer vehicles.
- The Recovery: Always inspect all four wheels. Rear brake pads start thinner from the factory (typically 9 mm to 10 mm new) and reach critical replacement limits earlier than many drivers anticipate.
Process Variations for Different Equipment
Option A: Vehicles with Solid Steel Rims (Hubcaps)
Steel wheels lack open spoke gaps for side inspection.
- Pop off the plastic wheel cover or hubcap using a flathead screwdriver or lug wrench pry-tip.
- If the steel wheel rim lacks holes wide enough to fit a flashlight beam, use a flexible 5 mm mechanic’s inspection camera (borescope) inserted through the small hub access cutouts.
- If no viewing opening exists, the wheel assembly must be lifted with a jack and unbolted to perform a visual check.
Option B: Fixed Multi-Piston Performance Calipers
High-performance brake setups (e.g., Brembo or Wilwood 4-piston/6-piston fixed calipers) do not slide on guide pins.
- Look directly through the top center opening window of the rigid caliper housing.
- Observe both inner and outer pad friction linings simultaneously; fixed calipers apply symmetrical hydraulic pressure, meaning pad wear across both sides of the rotor should be nearly identical.
How Long Does It Take and What Does It Cost?
Checking brake pads without removing your wheels is one of the most cost-effective routine DIY diagnostic procedures:
- DIY Time Investment: 10 to 15 minutes for all four wheels combined.
- DIY Direct Cost: $0 if using a skewer and household ruler; $6 to $12 for a dedicated metric color-coded brake pad feeler gauge set.
- Professional Inspection Cost: Most commercial tire shops and automotive repair centers perform visual rim inspections during tire rotations for $0 to $30, or bundle it into a standard safety check.
Frequently Asked Questions
Can I check brake pad thickness without removing the wheel on all cars?
Most modern cars equipped with alloy wheels have open spoke patterns that allow direct visual access to the brake caliper and rotor assembly. However, vehicles with solid steel wheels, small decorative hub cutouts, or tight dust shields require removing the hubcap or taking off the wheel entirely to inspect the pad material.
What are the main signs that brake pads need immediate replacement?
Beyond visual measurement under 3 mm, key warning indicators include a high-pitched metallic squealing noise when braking (caused by the built-in wear indicator tab), grinding noises during stopping (metal backing plate touching rotor), pedal vibration, increased stopping distance, or a low brake fluid level in the master cylinder reservoir.
Why do inner brake pads wear out faster than outer brake pads?
Inner brake pads wear faster on floating caliper designs when the caliper slide pins or slider channels bind due to corrosion, dirt buildup, or dried grease. When slide pins stick, the hydraulic piston pushes the inner pad into the rotor, but the caliper fails to slide and apply equal pressure to the outer pad.
Is a paperclip or straw trick accurate for measuring brake pads?
Yes, using a wooden skewer, plastic straw, or bent paperclip as a depth proxy is accurate within 0.5 mm when executed properly. By pushing the proxy flush against the rotor surface inside the caliper window and marking the outer edge of the friction pad, you transfer the precise thickness onto a standard metric ruler.