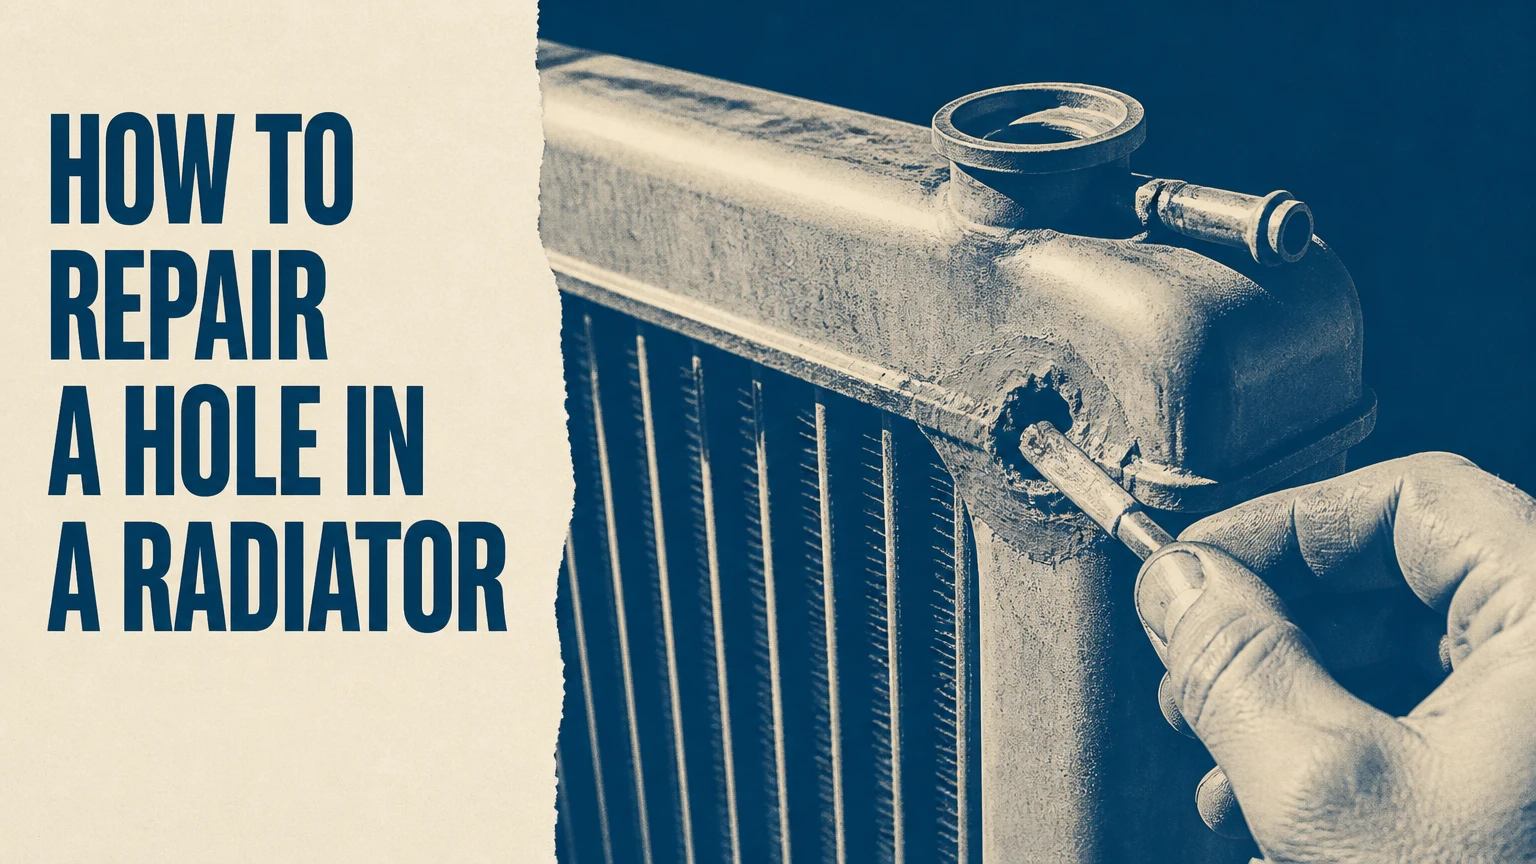
Repairing a hole in a vehicle radiator requires an epoxy-based patch for a reliable, semi-permanent fix. You can seal a leak in either a plastic end tank or an aluminum core by completing eight sequential steps: depressurizing the system, locating the breach, draining the fluid level, clearing access, deep-degreasing, scuffing the surface, applying specialized high-temperature epoxy, and purging trapped air. Expect the job to take 3 to 5 hours from start to finish, with surface preparation cleanliness being the single factor that determines whether your patch holds under pressure or fails immediately.
Safety Warning: Never open a radiator cap or disconnect hoses while the engine is hot. Automotive cooling systems operate under 15–18 PSI of pressure, containing liquid well above boiling temperatures ($220^\circ\text{F}$ / $104^\circ\text{C}$). Serious burn injuries will occur if steam or fluid escapes under pressure.
Before You Start
- Total Time: 3 to 5 hours (Prep: 45 min | Application: 15 min | Curing: 2–4 hours | Refill: 30 min)
- Difficulty: Intermediate DIY (2 out of 5 stars)
- Estimated Cost: $25 – $45 USD (saving $200–$600 over full radiator replacement)
- Prerequisite Conditions: Engine must be off for at least 1 hour; work area must be dry and well-ventilated; vehicle must sit on level ground.
Required Tools and Materials Checklist
| Item | Specific Spec / Quantity | Purpose |
| High-Temp Epoxy | 1 pack (J-B Weld Original for metal core, J-B Plastic Weld for tanks) | Forms the mechanical/chemical pressure seal |
| Brake Cleaner or Acetone | 1 fast-evaporating solvent can (zero residue) | Degreases surface oil, grease, and glycol |
| Sandpaper | 1 sheet of 180-grit aluminum oxide or silicon carbide | Roughs surface profile for epoxy mechanical keying |
| Needle-Nose Pliers | 1 pair (thin nose) | Accesses core tube by bending aluminum cooling fins |
| Drain Pan & Funnel | 1 low-profile pan (min 8-quart) + 1 flexible funnel | Catches drained coolant cleanly |
| Distilled Water & Coolant | 1 gallon each (or pre-mixed 50/50 matching OEM spec) | Replaces lost engine coolant safely |
| Safety Gear | Nitrile gloves, safety glasses, shop towels | Protects eyes/skin from chemicals and hot fluid |
Step-by-Step Radiator Repair Process
1.Step 1: Cool and Depressurize the System:Time: 45 minutes | Safety Critical.
Park the vehicle on level ground, turn off the ignition, and allow the engine to cool for a minimum of 45 minutes. Grab the upper radiator hose with a gloved hand and squeeze it firmly.
Squeeze the hose completely flat; if it feels stiff, hard, or hot, pressure remains in the system and you must wait longer. Once the hose is cold and squeezes effortlessly, slowly twist the radiator cap counterclockwise to the first stop to release residual vacuum or pressure, then lift it off completely.
Success Checkpoint: You’ll know it worked when the radiator cap removes cleanly without any hissing sound or fluid gushing out.
Common Mistake: Opening the cap while the hose is still firm. This causes hot coolant to spray under residual pressure. Always verify the hose is soft first.
2.Step 2: Pinpoint the Exact Hole Location:Time: 10 minutes | Inspection Phase.
Locate the exact origin of the leak by drying the suspected area with shop towels and inspecting for dampness or dried coolant crust (green, pink, or orange residue).
If the hole is too small to see, wipe the area dry, reinstall the radiator cap, and gently squeeze the upper radiator hose to force a small bead of liquid or bubble out of the breach. Mark a 2-inch circle around the hole using a bright grease pencil or piece of tape.
Success Checkpoint: You’ll know it worked when you can trace the fluid leak to one isolated spot rather than a generalized wet region.
Common Mistake: Applying epoxy over wet coolant trails without identifying the core puncture. The patch will miss the hole entirely.
3.Step 3: Drain Coolant Below the Repair Zone:Time: 15 minutes | Level Adjustment.
Position the drain pan directly beneath the lower radiator petcock (drain valve) on the bottom corner of the radiator. Turn the petcock counterclockwise by hand or with pliers to open it, letting fluid drain until the liquid level drops at least 3 inches below your marked leak line.
Removing the radiator cap in Step 1 prevents vacuum lock and allows fluid to flow out smoothly. Once the fluid level drops safely below the hole, tighten the petcock clockwise until snug.
Success Checkpoint: You’ll know it worked when no liquid oozes out of the puncture hole when you press light pressure around the area.
Common Mistake: Leaving the fluid level right at the hole height. Internal fluid will wick outward via capillary action, destroying the curing epoxy. Draining 3+ inches down is essential.
4.Step 4: Clear Access and Expose the Substrate:Time: 10 minutes | Surface Access.
Expose the raw surface surrounding the breach to make room for a solid patch radius.
If the hole is on a plastic end tank, clear away any mounting clips or brackets interfering with the area. If the puncture is inside the aluminum core matrix, carefully insert needle-nose pliers between the thin accordion cooling fins and pry them outward away from the punctured tube until you have a 1-inch clearance around the breach.
Success Checkpoint: You’ll know it worked when you have an unobstructed 1-inch radius of bare metal or plastic surrounding the hole on all sides.
Common Mistake: Prying cooling fins carelessly and puncturing adjacent parallel core tubes. Work slowly and pry fins straight outward from the single damaged tube.
5.Step 5: Degrease and Rough the Repair Surface:Time: 15 minutes | Mechanical Preparation.
Spray the exposed area heavily with residue-free brake cleaner or acetone and wipe dry using a clean shop cloth. Scuff a 1-inch perimeter around the breach using 180-grit sandpaper, applying firm pressure in cross-hatch strokes until aluminum shines brightly or plastic turns completely dull, rough, and scratched.
Spray the area once more with brake cleaner to flush away all sanding dust, and let it air-dry completely for 3 minutes.
Success Checkpoint: You’ll know it worked when a drop of water applied to a test edge spreads flat rather than beading up, and the surface looks uniformly cross-hatched.
Common Mistake: Sanding smoothly or leaving oily brake cleaner film behind. Epoxy needs deep scratch grooves to anchor mechanically against 16 PSI of system pressure.
6.Step 6: Mix and Apply Material-Specific Epoxy:Time: 15 minutes | Patch Application.
Mix equal parts resin and hardener of your high-temp epoxy (J-B Weld Original for metal; Plastic Weld for plastic tanks) on a disposable cardboard sheet for 60 seconds until color consistency is completely uniform.
Using a plastic putty knife or gloved finger, press the epoxy directly into the center of the hole to form an anchor plug. Immediately spread the remaining mixture across the full 1-inch sanded perimeter, building a smooth mound roughly 1/8-inch (3mm) thick that feathers slightly out toward the edges.
Success Checkpoint: You’ll know it worked when the epoxy completely covers the hole and sanded border in a thick, solid layer without air bubbles or sagging edges.
Common Mistake: Spreading the epoxy too thin (under 1/16-inch). Thin layers lack structural strength and flex under hot coolant pressure, blowing out the plug.
7.Step 7: Allow Full Cure Time:Time: 2 to 4 hours (Product Dependent) | Curing Phase.
Leave the patch completely undisturbed in a dry environment for the full cure duration specified on the epoxy package (standard cold-weld epoxies require 4 to 6 hours for initial cure, 15–24 hours for full strength; quick-cure epoxies require 2 to 4 hours).
Do not touch the patch, add fluid, or bump the vehicle during this curing window. Keep ambient temperature above $60^\circ\text{F}$ ($15^\circ\text{C}$); use a heat lamp positioned 2 feet away if working in a cold garage.
Success Checkpoint: You’ll know it worked when pressing a thumbnail into the edge of the epoxy leaves zero indentation, feeling completely rock-hard like solid metal or plastic.
Common Mistake: Starting the car early because the surface feels tacky-dry. Internal curing takes longer, and prematurely applying thermal expansion will rupture the seal.
8.Step 8: Refill, Purge Air, and Pressure Test:Time: 30 minutes | Refill & Verification.
Place a funnel into the open radiator neck and slowly pour in a 50/50 mix of fresh coolant and distilled water until fluid reaches the base of the filler neck. Leave the radiator cap OFF, set your cabin climate control to MAX HEAT / HIGH FAN, and start the engine.
Let the car idle for 15 to 20 minutes until the upper radiator hose gets hot, signaling the thermostat has opened. Watch air bubbles escape from the neck as the level drops, topping off fluid continuously until bubbles cease. Tighten the radiator cap firmly, bring the engine to 2,000 RPM for 2 minutes, and inspect your epoxy patch with a flashlight for weeping or drips.
Success Checkpoint: You’ll know it worked when the engine reaches normal operating temperature without overheating, cabin heat blows hot, and the epoxy patch stays completely dry under full pressure.
Common Mistake: Forgetting to turn cabin heat to MAX while bleeding. Trapped air pockets (airlocks) remain in the heater core, leading to sudden engine overheating despite a successful leak repair.
Common Mistakes and How to Fix Them
- Failure Mode 1: Epoxy lifts off or peels at the edges during warmup
- Root Cause: Moisture or grease remained on the surface during application, preventing a chemical bond.
- Correction: Drain fluid below the hole. Use a rotary tool with a small sanding bit or a sharp chisel to grind away all failed epoxy. Re-clean with pure acetone, scuff deeper with 180-grit sandpaper, ensure the area is 100% dry, and reapply fresh epoxy.
- Failure Mode 2: Epoxy cures hard, but fluid pinholes directly through the middle of the patch
- Root Cause: Entrapped air bubbles created during aggressive epoxy mixing opened micro-channels under pressure.
- Correction: Scuff the smooth outer top of the existing epoxy patch with 180-grit sandpaper. Clean with brake cleaner, mix a small fresh batch of epoxy slowly to avoid aeration, and spread a secondary 1/16-inch skin layer over the entire original patch.
- Failure Mode 3: Engine overheats immediately despite the patch holding fluid
- Root Cause: Air bubble trapped inside the system (airlock) preventing full coolant circulation through the engine block.
- Correction: Turn off the engine and let it cool completely. Remove the radiator cap, squeeze the upper radiator hose 10–15 times rapidly to manually push air through the neck, top off fluid, and repeat Step 8 with the vehicle’s front end elevated slightly on ramps or jacks.
- Failure Mode 4: A new crack forms immediately alongside the epoxy repair edge
- Root Cause: High-stress plastic end tank suffering from widespread thermal degradation, or stress risers along a rigid patch edge.
- Correction: Plastic end tanks embrittle over time. While you can sand a wider 2-inch perimeter and apply a larger patch, structural tank degradation indicates the radiator has reached the end of its lifespan and requires complete replacement.
Process Variations
Repairing Aluminum Core Tubes vs. Plastic End Tanks
- Plastic End Tanks (PA66 / Nylon 66): Plastic tanks expand and contract significantly under heat cycles. Standard steel-filled epoxies will crack over time due to mismatched expansion rates. You must use an epoxy engineered for structural plastics (e.g., J-B Weld Plastic Weld or Loctite Plastic Bonder) containing acrylic or methacrylate compounds that form structural bonds with nylon.
- Aluminum Core Tubes: Aluminum dissipates heat rapidly and demands high thermal conductivity along with maximum tensile strength. Use high-temp steel/aluminum-reinforced 2-part cold-weld epoxies rated to at least $300^\circ\text{F}$ ($148^\circ\text{C}$) continuous heat and 3,000+ PSI tensile strength.
Emergency Roadside Fix (Temporary)
- Constraint: Stuck on the road without 4 hours to wait for curing or tools to drain fluid.
- Procedure: Carefully relieve system pressure using a towel over the cap. Clean surface liquid as best as possible. Knee and mix two-part high-temp epoxy putty stick (e.g., J-B Weld WaterWeld or SteelStik). Force the putty firmly into the hole and hold firm pressure for 15 minutes. Putty sets hard in 20–30 minutes, allowing emergency travel to a service station at low RPM.
How Long Does It Take / What Does It Cost?
- DIY Cost Range:$25 to $45 total.
- Epoxy kit: $7 – $12
- Brake cleaner & sandpaper: $8 – $10
- Gallon of coolant & distilled water: $10 – $23
- Professional Shop Cost: $250 to $650 (Most commercial mechanics will not perform epoxy patches due to liability; they will insist on replacing the entire radiator unit plus labor).
- Realistic Time Breakdown:
- Engine cooling & drain: 1 hour
- Prep, sanding, and mixing: 30 minutes
- Epoxy curing time: 2 to 4 hours (unattended)
- Refilling, bleeding air, testing: 30 minutes
Frequently Asked Questions
Can I fix a radiator hole with radiator stop-leak liquid?
Liquid stop-leak additives can seal minor weeping pinholes temporarily, but they carry a high risk of clogging small heater core passages and radiator cooling fins. For a structural hole or plastic crack, a manual epoxy patch applied to the exterior is significantly safer and longer-lasting than internal additives.
How long will an epoxy radiator repair last?
A properly prepped epoxy repair on an aluminum core tube can last 1 to 2+ years (or the remaining life of the vehicle). Repairs on plastic end tanks typically last 6 to 12 months due to high plastic expansion cycles under thermal load.
Can I use superglue or silicon caulk to plug a radiator leak?
No. Standard superglue (cyanoacrylate) and household silicone cannot withstand the combination of $220^\circ\text{F}$ temperatures, coolant chemicals, and 16 PSI of internal pressure. Silicone will blow out immediately once the cooling system pressurizes.
Do I need to remove the radiator from the vehicle to fix a hole?
You do not need to remove the radiator if the hole is accessible from the engine bay or front grille. However, if the hole faces inward behind the cooling fan shroud or deep inside fin passages, removing the radiator (30–60 minutes of extra work) yields much cleaner prep and higher success rates.