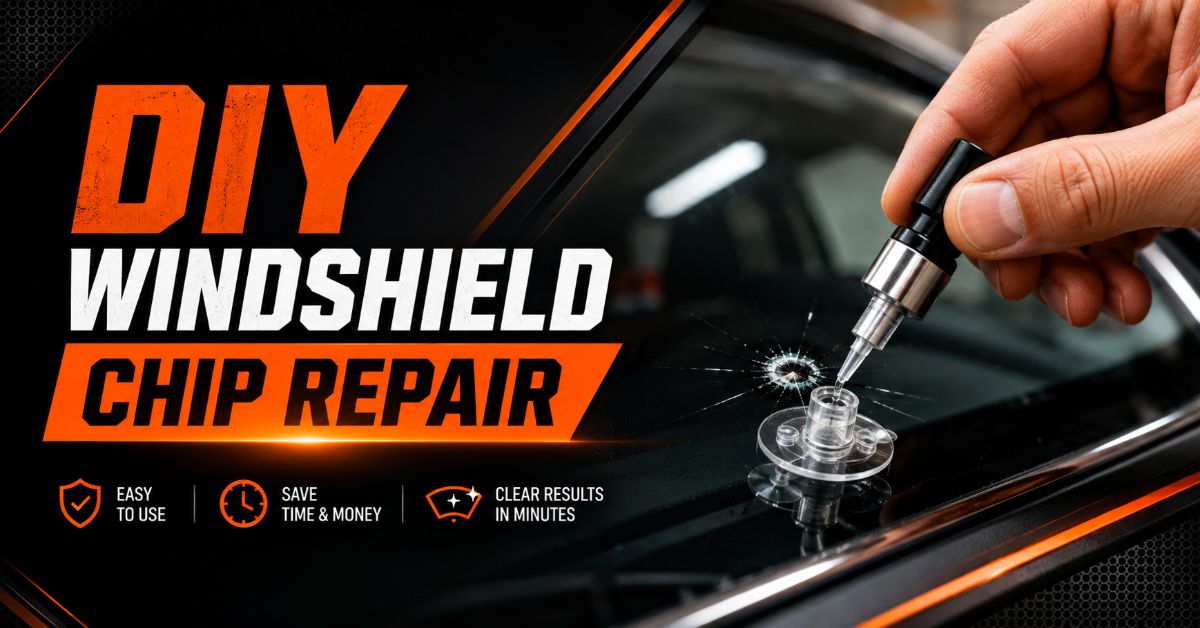
DIY windshield chip repair effectively fixes bullseyes, star cracks, and combination damage smaller than 1 inch (25 mm) in diameter. Using a bridge-and-syringe resin kit restores 80% to 90% of the windshield’s structural integrity, prevents cracks from spreading, and reduces optical distortion for under $15 in about 45 minutes.
At a Glance
- Eligible Damage: Chips smaller than 1 inch (quarter-sized) with impact craters under 1/8 inch (3 mm).
- Clearance Zone: Damage must be at least 2–3 inches from the glass edge and outside the driver’s direct line of sight.
- Core Kit Style: Professional-grade bridge-and-syringe kits perform significantly better than basic adhesive-pedestal kits.
- Temperature Window: Glass must be between 50°F and 80°F (10°C to 27°C) during application and cured under direct UV light.
- Primary Goal: DIY repair is a structural fix to prevent crack expansion, not a 100% cosmetic erasure.
What Types of Windshield Damage Can You Repair Yourself?
You can repair small, localized impact damage where only the outer layer of laminated safety glass is fractured. DIY resin kits succeed on bullseyes, half-moons, star bursts, and combination chips that fit entirely beneath a standard 1-inch (25 mm) circle.
| Damage Type | Description | DIY Repairable? |
| Bullseye | Circular cone break with no radiating legs | Yes (Highest success rate) |
| Half-Moon | Partial bullseye caused by an angled impact | Yes |
| Star Break | Central pit with short radiating fracture legs | Yes (If legs are under 1 inch total diameter) |
| Combination | Central pit with both cone and radiating cracks | Yes (Requires careful vacuum/pressure cycles) |
| Linear Crack | Long single fracture line exceeding 1 inch | No (Requires professional replacement) |
If the impact pit exceeds 1/8 inch (3 mm) or if the inner glass layer is chipped (felt from inside the cabin), DIY repair is impossible because the structural vinyl interlayer has been compromised.
How Do You Repair a Windshield Chip Yourself Step-by-Step?
Repairing a windshield chip requires setting up a sealed pressure-vacuum bridge, injecting specialized methacrylate resin, cycles of air removal, and curing the resin under ultraviolet light.
1.Prep and Clean the Impact Pit:Temperature must be between 50°F and 80°F.
Clean the damaged area using rubbing alcohol and a microfiber cloth. Use a razor blade or safety pin to gently pick out loose micro-shards of glass from the central impact pit. Do not use glass cleaner containing ammonia, as it leaves chemical residues that inhibit resin bonding.
2.Mount the Appliance Bridge:Position directly over the central point.
Center the suction-cup bridge or adhesive pedestal directly over the impact pit. Turn the center chamber threaded barrel until the rubber applicator mouth presses firmly against the glass to form an airtight seal without cracking the pane further.
3.Inject Resin and Cycle Pressure/Vacuum:3 to 6 drops of methacrylate resin.
Drip 3–6 drops of repair resin into the chamber. Screw in the plunger to create positive pressure, forcing resin into the micro-fractures for 4–5 minutes. Unbolt/unscrew the plunger back to create a vacuum, pulling trapped air bubbles out of the crack. Repeat this pressure-and-vacuum cycle 2 to 3 times until the fracture legs visually disappear.
4.Cure Under UV Light and Scrape Flush:Requires UV rays or direct sunlight.
Remove the bridge appliance. Place a single drop of pit-filler resin directly over the pit, place a clear curing film on top, and smooth out trapped air. Expose the glass to direct sunlight or a 365nm UV lamp for 15 minutes. Once hardened, peel off the film and hold a fresh razor blade at a strict 90-degree angle to scrape excess resin flush with the glass surface.
Which DIY Windshield Repair Kit Type Works Best?
Bridge-and-syringe kits with threaded plastic or metal injectors perform significantly better than cheap adhesive-strip pedestal kits.
Threaded bridge systems allow precise mechanical control over pressure and vacuum phases. Creating 15–20 PSI of targeted pressure forces high-viscosity methacrylate resin into microscopic fracture tips, while the vacuum cycle extracts micro-bubbles. Single-use adhesive pedestal kits rely on manual syringe pulls held by plastic clips, which frequently lose vacuum seal mid-repair and leave visible air pockets behind.
When Is DIY Windshield Repair Unsafe or Prohibited?
DIY windshield repair is unsafe if the damage sits within the driver’s primary viewing area, is near the glass edges, or interferes with Advanced Driver Assistance Systems (ADAS).
+-----------------------------------------------------------------+
|                       TOP WINDSHIELD EDGE                       |
|  [!] ADAS Zone: No DIY (Refraction skews sensor cameras)        |
|                                                                 |
|   +-------------------+                                         |
|   |  Driver's Primary |   [!] Edge Zone (<3"): No DIY           |
|   |   Viewing Area    |   (High structural stress area)         |
|   |   (8.5" x 11")    |                                         |
|   |  No DIY Allowed   |                 (*) Safe DIY Zone       |
|   +-------------------+                  (Bullseye < 1")        |
|                                                                 |
|                      BOTTOM WINDSHIELD EDGE                     |
+-----------------------------------------------------------------+
The 4 Non-Negotiable Exclusion Zones:
- Driver’s Primary Viewing Area (DPVA): An 8.5 x 11-inch area centered in the driver’s line of sight directly above the steering wheel. DIY resins leave minor optical distortions that induce dangerous glare under night driving conditions.
- Perimeter Glass Edges: Any chip within 2 to 3 inches (50–75 mm) of the outer glass frame. The outer edge experiences extreme structural flexing; chips here rapidly expand into unfixable stress cracks.
- ADAS Camera Windows: The windshield cutout near the rearview mirror housing cameras for automatic emergency braking and lane-keeping assistance. Refractive index variations in cured DIY resin alter camera focus and cause system miscalibrations.
- Heated Grid Wires: While resin can seal glass over heated wires, applying excessive plunger pressure during injection can sever micro-heating elements.
Can You Use Superglue or Clear Nail Polish as a Quick Fix?
No, you should never use superglue (cyanoacrylate) or clear nail polish to repair a windshield chip.
Superglue and nail polish lack the refractive index ($n \approx 1.52$) matching real automotive glass, leaving the crack fully visible. Furthermore, neither substance possesses the mechanical tensile strength needed to withstand structural torsional stress or windshield thermal expansion. They degrade rapidly under rainwater and UV exposure, sealing dirt into the crack and rendering a proper resin repair impossible later.
What Outdoor Conditions and Temperatures Are Required for DIY Repair?
DIY windshield repairs require ambient and glass temperatures between 50°F and 80°F (10°C to 27°C) in dry, shaded conditions.
In cold weather (below 50°F/10°C), automotive glass contracts, pinching microscopic crack pathways shut and preventing repair resin from flowing into the damage. High temperatures (above 85°F/29°C) cause resin to cure prematurely inside the applicator barrel before air bubbles are removed. Always perform the resin injection step in full shade, moving the vehicle into direct sunlight only during the final curing phase.
Why Is the Chip Outline Still Visible After Curing?
A faint outline remains because DIY windshield repair is a structural stabilization process rather than an optical restoration.
Even high-grade resin cannot match the molecular structure of glass 100%. While the resin bonds the internal fracture surfaces to stop spreading, light refracts slightly differently at the resin-to-glass interface. Expect a 70% to 90% visual improvement; a faint mark resembling a minor water spot or dried raindrop is completely normal and structurally sound.
How Do You Fix Common DIY Windshield Repair Errors?
Troubleshooting a failed or stalled DIY repair requires adjusting glass temperature or correcting resin pressure before curing occurs.
| Failure Symptom | Underlying Cause | Corrective Action |
| Resin refuses to enter crack legs | Glass is too cold or crack tips are compressed tight. | Gently warm the inside of the glass using a hairdryer on low heat for 10 seconds to expand the crack. |
| Large air bubble trapped in pit | Vacuum cycle was skipped or bridge moved during application. | Uncureable if hard. If still liquid, flex the inside glass gently with a thumb to force air toward the pit. |
| Chip spreads into a long crack | Excessive plunger torque applied or thermal shock introduced. | Stop immediately. Cover damage with clear packing tape to exclude dirt and schedule windshield replacement. |
Is DIY Windshield Chip Repair Worth It Compared to Professional Service?
DIY repair is highly cost-effective for minor, isolated chips outside critical vision zones, costing $10 to $15 versus $60 to $150 for professional mobile repair.
However, many comprehensive auto insurance policies cover professional windshield repair with zero deductible, rendering professional repairs effectively free to the vehicle owner. If your insurance covers glass repair without penalizing your premium, professional restoration using high-vacuum commercial rigs yields superior cosmetic clarity and preserves lifetime warranties.
The Bottom Line
DIY windshield chip repair is a reliable, low-cost method to fix bullseyes and star cracks under 1 inch in size before they spread. Success relies on using a bridge-and-syringe pressure kit, working between 50°F and 80°F, and maintaining clean glass. Never attempt DIY repair on cracks located within the driver’s direct line of sight, near glass edges, or over ADAS camera lenses.