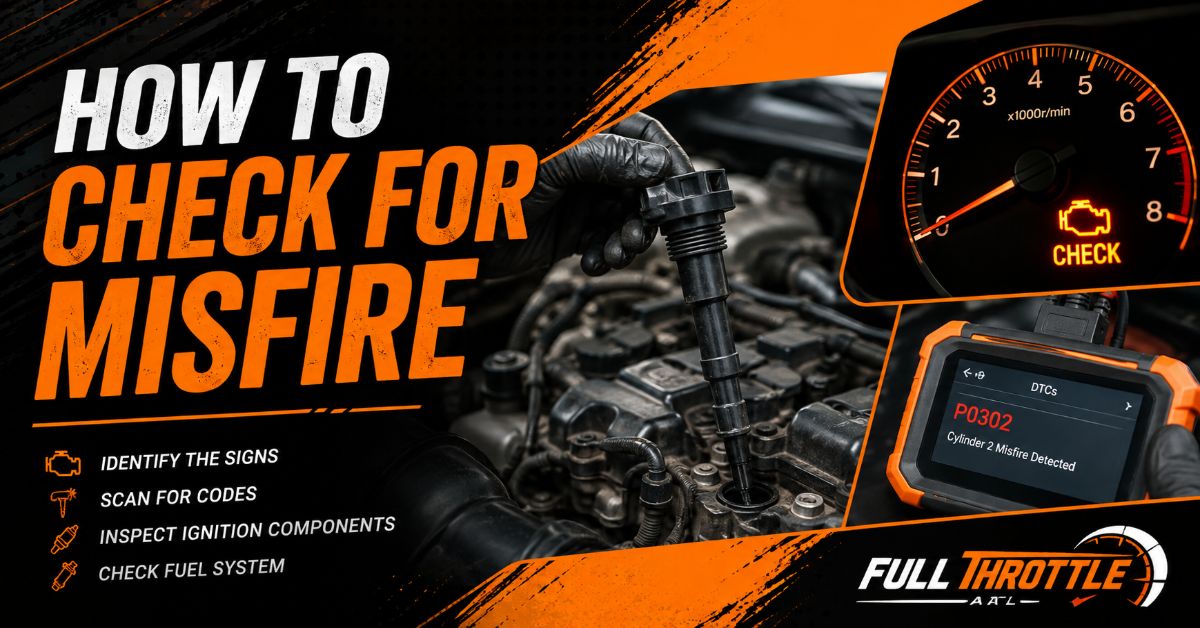
Diagnosing an engine misfire requires systematic isolation of three fundamental combustion elements: spark, fuel, and mechanical compression. By following this 6-step method using an OBD2 scanner, multimeter, and hand tools, you can pinpoint the exact failing component in 1 to 2 hours without wasting money on unneeded auto parts.
Comparing worn vs new spark plug condition. Source: pattilabelle / Getty Images
Before You Start
Review the required timeframe, skill baseline, and tool checklist before beginning your misfire diagnosis.
| Parameter | Specification |
|---|---|
| Total Time Required | 60 to 120 minutes |
| Skill Level | Intermediate DIY / Beginner with guidance |
| Estimated DIY Cost | $0 (if tools owned) to $35–$80 (entry-level scanner & tools) |
| Safety Conditions | Engine completely cold; eye protection and nitrile gloves on |
Required Tools and Materials Checklist
- OBD2 Code Reader / Scanner: 1 unit (Basic DTC reader or live-data tool)
- Spark Plug Socket Set: 1 socket (5/8-inch or 13/16-inch rubber-lined)
- Ratchet & Extension Bar: 3/8-inch drive set (with 6-inch extension)
- Wire Feeler / Coin Gap Gauge: 1 unit (Precise to 0.001 inch increments)
- Digital Multimeter (DMM): 1 unit (Capable of measuring Ohms Ω and DC Volts)
- Inline Spark Tester: 1 unit (Neon bulb bulb type)
- Dielectric Silicone Grease: 1 tube (Silicone compound)
- Torque Wrench: 1 unit (3/8-inch drive, 10–50 lb-ft range)
Diagnostic Step-by-Step Guide
Follow these sequential steps in order. Do not skip steps or replace multiple parts simultaneously.
Step 1: Scan for OBD2 Diagnostic Trouble Codes
Plug your OBD2 scanner into the vehicle diagnostic port under the driver-side dashboard and turn the ignition key to the “ON” position without starting the engine. Scan the engine control module (ECM) for stored Diagnostic Trouble Codes (DTCs) and record all numbers.
- Exact Settings: Key-On, Engine-Off (KOEO) mode.
- Code Data Interpretation:
P0300: Random/Multiple Cylinder Misfire Detected (indicates shared fuel, vacuum, or air delivery failure).P0301throughP0308: Misfire on a specific cylinder (the last digit represents the failing cylinder number, e.g., P0303 = Cylinder 3).
- Success Checkpoint: You’ll know it worked when your scanner screen displays a active or pending DTC matching the
P030Xformat. - Common Mistake: Clearing the codes before writing them down. Fix: Always record both active and freeze-frame data prior to pressing the reset function.
Step 2: Locate the Target Cylinder Pinout Layout
Consult your vehicle service manual, repair guide, or engine valve cover diagram to identify the physical location of the misfiring cylinder number retrieved in Step 1.
- Exact Layout Standard: Inline engines count sequentially from front to back (Cylinder 1 is closest to the serpentine belt). V-configuration engines (V6/V8) alternate or bank-group numbers; Cylinder 1 is located on the engine bank that sits furthest forward relative to the front bumper.
- Success Checkpoint: You’ll know it worked when you can touch the exact ignition coil boot corresponding to the scanned code digit.
- Common Mistake: Assuming cylinder 1 is always on the driver-side front. Fix: Cross-reference your exact engine family firing order before pulling wiring connectors.
Step 3: Perform the Component Swap Test
Disconnect the electrical harness connector from the ignition coil on the misfiring cylinder, remove its retaining bolt (typically 8mm or 10mm), pull the coil upward, and swap it with an adjacent working cylinder’s coil.
- Action Procedure: Move the coil from the misfiring cylinder (e.g., Cylinder 1) to a healthy cylinder (e.g., Cylinder 2). Re-anchor both coils to 7–9 lb-ft, reattach connectors, clear the DTC codes with your scanner, and run the engine for 5 minutes or test-drive under load.
- Diagnostic Logic:
- If the misfire code shifts to the new cylinder (e.g., from
P0301toP0302), the ignition coil is internally shorted or failed. - If the code remains on the original cylinder (
P0301), the coil is functional; proceed to inspect the spark plug and fuel system.
- If the misfire code shifts to the new cylinder (e.g., from
- Success Checkpoint: You’ll know it worked when a single DTC sets on rescanning, definitively proving whether the fault moved or stayed stationary.
- Common Mistake: Swapping both the spark plug and the ignition coil at the same time. Fix: Move only one component per test iteration to isolate the single root cause.
Step 4: Inspect and Measure the Spark Plug
Unbolt the ignition boot on the affected cylinder, clear away sand or dirt from the spark plug well using compressed air, and unthread the spark plug counterclockwise using your 3/8-inch ratchet and deep rubber-lined socket.
- Inspection & Measurement:
- Examine the ceramic insulator tip: look for carbon tracking (black hairline streaks), oil wetness, or burnt white blistered electrodes.
- Measure the electrode distance with your wire gap gauge. Compare the measurement against the vehicle factory specification (typically 0.028 to 0.045 inches / 0.7 to 1.1 mm).
- Torque Spec: When re-installing, hand-thread the plug to prevent cross-threading, then torque to 13–15 lb-ft (for aluminum cylinder heads).
- Success Checkpoint: You’ll know it worked when you verify an intact ceramic shell and an electrode gap matching factory tolerance.
- Common Mistake: Overtightening the spark plug into an aluminum cylinder head, which strips the delicate internal threads. Fix: Always thread spark plugs by hand for the first 4–5 turns and use a calibrated torque wrench.
Step 5: Test Ignition Coil Primary Resistance and Harness Voltage
Set your digital multimeter to the low-resistance setting (Ω, 200 Ohm scale) to test coil continuity, and to DC Volts (20V scale) to check harness power supply.
- Coil Resistance Measurement: Touch the two meter probes directly across the coil’s primary input terminals. A healthy primary coil reading generally falls between 0.5 Ω and 2.0 Ω. An infinite reading (O.L.) indicates an open circuit, while 0.0Ω indicates a dead short.
- Harness Voltage Measurement: Disconnect the electrical connector, turn the vehicle key to “ON”, and measure across the power pin and chassis ground. The meter must register full battery voltage (12.2V to 12.6V DC).
- Success Checkpoint: You’ll know it worked when your multimeter displays stable resistance numbers within OEM tolerances and verifies constant battery voltage at the wiring connector.
- Common Mistake: Testing resistance while the component is still hot, which inflates electrical resistance values. Fix: Allow components to cool completely to room ambient temperature (20∘C/68∘F) for accurate baseline readings.
Step 6: Verify Fuel Injector Command and Cylinder Compression
When spark components test healthy but the misfire persists on a single cylinder, evaluate fuel delivery and internal mechanical integrity.
- Fuel Injector Signal Check: Disconnect the fuel injector harness plug on the affected cylinder and insert a matching Noid light tool. Crank the engine; a pulsing bright flashing light confirms the ECM is grounding the injector circuit correctly. Listen to the body of the injector with a mechanic’s stethoscope while idle—a rhythmic clicking noise indicates mechanical valve movement.
- Compression Pressure Test: Unthread the spark plug, screw a high-pressure compression tester gauge into the spark plug hole, disable the fuel pump fuse, and crank the starter for 5 compression strokes.
- Specification Target: Healthy automotive cylinders generate 125 to 175 PSI. If the target cylinder reads under 100 PSI or measures more than 10% to 15% lower than adjacent cylinders, internal mechanical wear (burnt valve, blown head gasket, or worn piston rings) is responsible for the misfire.
- Success Checkpoint: You’ll know it worked when you obtain consistent pressure gauge readings across all engine cylinders.
- Common Mistake: Leaving fuel injection active during a compression test, which washes lubricant off cylinder walls and skews pressure readings downward. Fix: Always pull the fuel pump relay/fuse prior to cranking for compression.
Common Mistakes and How to Fix Them
1. Stripping Aluminum Cylinder Head Threads
- The Failure: Screwing a cold spark plug into a hot aluminum engine head or using an impact wrench, causing stripped head threads.
- The Fix: Work only on a cool engine (<30∘C/86∘F). Always start threading spark plugs using a bare socket extension turned by hand. If threads strip, install a threaded wire insert kit (Helicoil or Thread-Sert) following head thread repair procedures.
2. Applying Dielectric Grease to Electrical Terminals
- The Failure: Packing dielectric grease directly onto metal connector pins or plug terminals, causing intermittent electrical open circuits because dielectric grease is an insulator.
- The Fix: Apply grease exclusively inside the rubber silicone boot lip (a pea-sized amount spread along the inner rubber wall) to seal out moisture and stop high-voltage flashover. Clean flooded metal terminals with electrical contact cleaner spray.
3. Misdiagnosing a Vacuum Leak as a Bad Ignition Coil
- The Failure: Replacing ignition coils repeatedly on code
P0300when the real cause is unmetered air leaking past an intake gasket or torn rubber vacuum elbow. - The Fix: Check Short Term Fuel Trim (STFT) data on your OBD2 scanner. If STFT reads high positive values (+15% to +25%) at idle but drops back to normal (+2% to +5%) when holding engine speed at 2,500 RPM, spray brake cleaner or water around intake sealing surfaces to pinpoint vacuum leaks.
4. Ignoring Engine Firing Order and Layout Diagrams
- The Failure: Pulling spark plug wires or coil harnesses off multiple cylinders simultaneously without labeling them, causing mixed-up firing positions and severe backfiring.
- The Fix: Number each wire or boot harness with painter’s tape before detachment. If cross-wiring occurs, search your exact engine code to locate the factory firing order (e.g., 1-3-4-2 or 1-8-4-3-6-5-7-2) and reconnect in sequence.
Process Variations by Engine Type
Direct-Injected (GDI) Engines
Modern Gasoline Direct Injection engines place fuel injectors under high pressure (500–3,000+ PSI) directly inside the combustion chamber.
- Diagnostic Difference: Do not pull GDI fuel injectors DIY style without bleeding line pressure first. Focus diagnostic testing on top-mounted Coil-On-Plug units and check for intake valve carbon buildup—a leading cause of low-speed GDI misfires—using an optical endoscope camera.
Older Distributor Ignition Systems
Vehicles manufactured prior to the late 1990s use a single ignition coil, mechanical distributor cap, rotor arm, and long spark plug wires.
- Diagnostic Difference: Instead of swapping individual coils, measure spark plug wire resistance using a multimeter set to 20kΩ. Wires should register approximately 3,000 to 12,000 Ohms per foot of length. Inspect the inside of the distributor cap for cracked plastic or carbon tracks bridging the brass terminals.
How Long Does It Take and What Does It Cost?
Diagnostic Time Breakdown
- OBD2 Code Scanning: 5–10 minutes
- Coil Swap & Rescan Procedure: 15–20 minutes
- Spark Plug Extraction & Inspection: 20–30 minutes
- Multimeter & Compression Diagnostic: 30–45 minutes
- Total Time: 1 to 2 hours
Repair Cost Comparison
- DIY Diagnostic & Repair: $15–$45 for a single OEM spark plug or coil replacement (tools rented free from local auto parts retailers).
- Professional Repair Shop: $150–$250 diagnostic fee, plus $200–$450 for ignition component or fuel injector replacement labor and parts markup.
Frequently Asked Questions
Can I drive my car with an engine misfire?
You should not drive a vehicle with an active engine misfire, especially if the Check Engine Light is blinking. A flashing engine light signifies severe misfiring that dumps unburnt fuel straight into the exhaust system, causing catastrophic damage and overheating to your catalytic converter within miles.
What is the most common cause of a single-cylinder misfire?
The single most frequent cause of a single-cylinder misfire (codes P0301–P0308) is a worn-out spark plug or a failed Coil-On-Plug (COP) ignition coil. These ignition components endure extreme thermal cycling and high electrical voltage, making them routine maintenance wear items.
How do I know if my misfire is caused by fuel or spark?
Perform a cylinder swap test first: if swapping the ignition coil moves the trouble code to the new cylinder, the cause is spark-related. If the misfire remains on the same cylinder after verifying spark plug gap and coil health, use a Noid light to check fuel injector pulsing.
Why does my engine misfire only at idle or low RPM?
Idle-only misfires are commonly caused by intake manifold vacuum leaks or dirty Mass Air Flow (MAF) sensors. At idle, engine vacuum is highest; unmetered air entering through cracked hoses skews the air-fuel ratio lean. At higher engine RPMs, increased airflow renders small air leaks negligible.