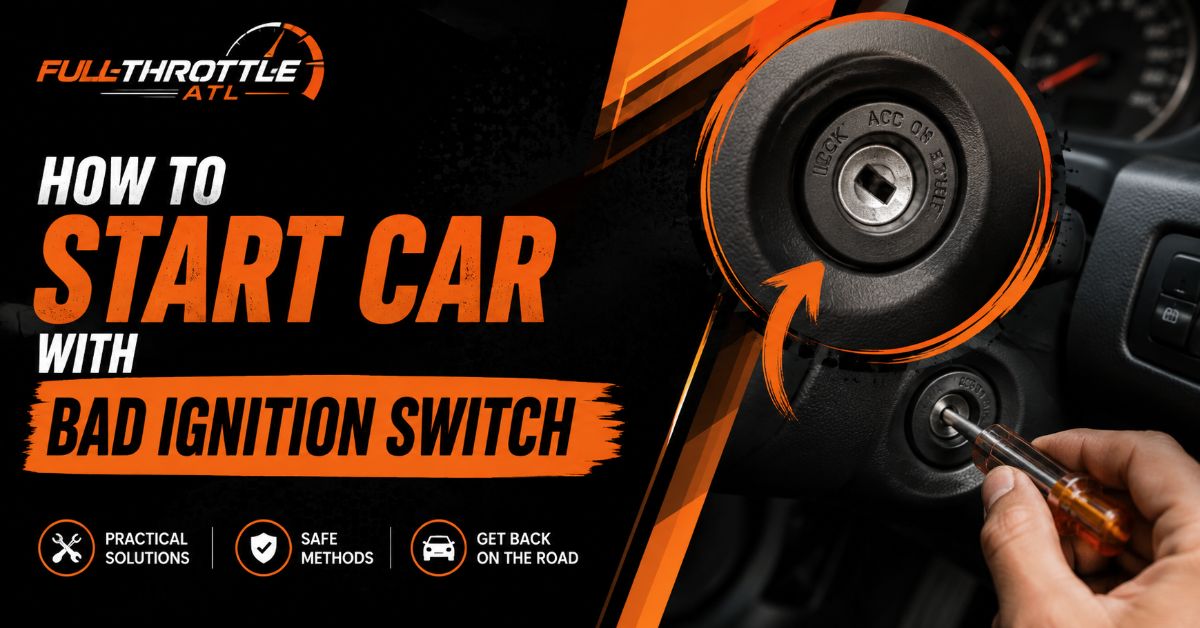
Starting a car with a faulty ignition switch requires bypassing the internal electrical contacts to deliver power directly to the ignition circuit and starter solenoid. By executing five precise steps—securing the vehicle, powering the run circuit, locating the starter solenoid, identifying terminals, and jumping the S-terminal—you can safely start your engine in an emergency within 10 minutes.
Before You Start
- Estimated Time: 8–15 minutes
- Difficulty Level: Intermediate (Requires basic electrical understanding)
- Typical Repair/Workaround Cost: $0 (using emergency tools on hand)
- Prerequisite Condition: Vehicle battery must be fully charged (minimum 12.4V output across terminals). Modern vehicles (post-1996) require the programmed transponder key present in the ignition barrel to satisfy the anti-theft immobilizer.
| Required Tool / Material | Specification & Setting | Quantity |
| Insulated Mechanic Gloves | Heavy-duty rubber or thick leather (1,000V rated) | 1 pair |
| Safety Eyewear | ANSI Z87.1 impact-resistant clear glasses | 1 pair |
| Insulated Screwdriver | Heavy-duty flathead with non-conductive rubber grip | 1 piece |
| Automotive Jumper Wires | 10–12 AWG copper wire with heavy alligator clips | 2 pieces |
| Digital Multimeter | Set to 20V DC Voltage scale | 1 piece |
Method A: The Starter Solenoid Jump (Safest Emergency Method)
This method bypasses only the start position of your ignition switch while keeping all vehicle electronics grounded and fused properly.
Step 1: Secure the Vehicle Chassis and Transmission
Park the vehicle on flat ground, shift an automatic transmission into Park (or a manual transmission into Neutral), and firmly pull the emergency parking brake handle to its maximum upper limit.
Applying the parking brake prevents the vehicle from lunging forward and crushing you if the engine fires while you are working in the engine compartment. On manual vehicles, place wheel chocks behind the rear tires.
- Success Checkpoint: You’ll know it worked when the vehicle cannot roll manually when pushed, and the gear lever is confirmed in Park or Neutral.
- Common Mistake: Leaving a manual transmission in 1st or Reverse gear. When the starter motor receives direct power, it will turn the engine over and drive the car forward immediately, even without a driver inside.
Step 2: Switch the Ignition Cylinder to the RUN Position
Insert your vehicle key into the ignition cylinder and turn it clockwise two clicks to the ON / RUN position (the position right before cranking).
This step energizes the main engine control unit (ECU), activates the fuel pump to prime the fuel rail, delivers 12V to the ignition coil, and mechanically disengages the steering wheel column lock. If your key has a built-in transponder chip, leaving it in the ignition barrel allows the immobilizer antenna coil to read the RFID code.
- Success Checkpoint: You’ll know it worked when your dashboard warning lights illuminate, the radio turns on, and you hear a brief 2-second hum from the fuel pump in the rear.
- Common Mistake: Leaving the key in the “ACC” (Accessory) or “OFF” position. Jumping the starter with the key OFF will make the engine crank endlessly, but it will never start because there is zero voltage flowing to the spark plugs or fuel injectors.
Step 3: Locate the Starter Motor and Solenoid Assembly
Open your hood and locate the starter motor, which is mounted low on the engine block where the engine casing meets the transmission housing.
The starter solenoid is a smaller metal cylinder attached directly to the top or side of the larger main starter motor cylinder.
- Success Checkpoint: You’ll know it worked when you locate a cylindrical component with one thick cable coming directly from the positive battery terminal and one small wire connector plugged into it.
- Common Mistake: Mistaking the alternator for the starter motor. The alternator sits high on the front accessory drive belt, whereas the starter sits low near the flywheel at the back or side of the engine block.
Step 4: Identify the Solenoid Battery and S-Terminals
Expose the metal contacts on the back of the starter solenoid and clean away dirt or corrosion using a wire brush or rag.
Identify the two primary connection points: the B-Terminal (a large threaded stud holding a thick battery cable connected directly to the +12V battery terminal) and the S-Terminal (a small threaded stud or spade connector receiving the thin wire coming from the ignition switch).
- Success Checkpoint: You’ll know it worked when you can visually differentiate the thick threaded cable (+12V Constant Feed) from the smaller spade/stud terminal (Start Signal).
- Common Mistake: Confusing the engine ground stud with the S-terminal. Touching the battery positive stud to the starter case ground creates a dead short circuit, resulting in dangerous melting sparks and blown main fuses.
Step 5: Jump the Battery Stud to the S-Terminal
Grasp your insulated screwdriver by its rubber grip, firmly press the flat metal blade against the large positive B-Terminal stud, and then angle the shaft to make firm contact with the smaller S-Terminal.
Hold contact for 1 to 2 seconds until the engine catches and fires, then immediately pull the screwdriver completely away from both terminals.
- Success Checkpoint: You’ll know it worked when the engine cranks smoothly, starts up, and continues idling on its own after you remove the screwdriver.
- Common Mistake: Holding the metal screwdriver against the terminals for longer than 3 seconds after the engine has started. Prolonged contact forces the starter pinion gear to remain engaged with the spinning engine flywheel, destroying the starter motor internal drive gear within seconds.
Method B: The Under-Hood Starter Relay Jump (Cleaner Alternative)
If reaching the starter solenoid under the car is difficult or unsafe, jump the starter relay directly from the under-hood fuse and relay box (PDC).
[ Fuse Box / PDC Panel ]
       ┌───────────┐
       │   RELAY   │
       │  (Remove) │
       └─────┬─────┘
             │
      ┌──────┴──────┐
      │  Pin 30  ───┼──┐
      │  Pin 87  ───┼──┴─ (Bridge with wire jumper for 1-2 sec)
      └─────────────┘
- Locate the Power Distribution Center: Open the hood and remove the plastic cover over the main fuse box.
- Find the Starter Relay: Use the diagram on the inside of the fuse box cover to pinpoint the relay labeled
STR,START, orSTARTER. - Pull the Relay: Pull the 4-pin rectangular starter relay straight up out of its socket.
- Identify Pins 30 and 87: Flip the relay over to read the socket terminal numbers printed near the blade pins. Pin 30 is direct +12V battery power; Pin 87 leads directly down to the starter solenoid S-terminal.
- Bridge the Relay Socket: Turn the ignition key inside the car to the RUN position. Insert a small insulated U-shaped 12-gauge jumper wire into socket pin 30 and pin 87 for 1–2 seconds. The engine will crank immediately. Remove the wire bridge as soon as the engine starts.
Method C: Dashboard Wiring Bypass (Classic / Non-Transponder Vehicles Only)
Warning: Do not attempt this method on modern vehicles equipped with anti-theft immobilizer systems or steering column airbag modules. Tampering with steering column harnesses on modern vehicles can trigger airbag deployment or permanently lock the security module.
- Remove the Lower Column Cover: Unscrew the plastic trim beneath the steering wheel to expose the mechanical ignition switch wiring harness.
- Identify constant 12V, Ignition, and Starter Wires: Set your multimeter to 20V DC. Touch the black probe to a bare metal chassis ground point.
- Constant 12V (Battery): Shows ~12.6V regardless of key position.
- Ignition (Switched): Shows 0V key off, receives 12V when switched to ON.
- Starter Signal: Shows 0V until switched to START position.
- Power the Run Circuit: Connect a heavy 12-gauge alligator jumper wire from the Constant 12V wire directly to the Ignition wire. Dashboard cluster lights and fuel pump relay will energize.
- Trigger the Starter Wire: Attach a second jumper wire to the Constant 12V line. Briefly tap the free end against the Starter Signal wire until the engine starts (1–2 seconds), then immediately pull it away. Leave the first jumper connected to keep the ignition circuit powered while driving.
- Shutting Down the Engine: Unclip the first jumper wire connecting Constant 12V to Ignition to cut power to the fuel pump and spark coils.
Common Mistakes and How to Fix Them
1. Engine Cranks Continuously But Refuses to Catch
- Cause: The ignition circuit is not receiving power, or an immobilizer anti-theft system has shut off fuel injection.
- Fix: Verify the ignition cylinder is pushed fully into the RUN position. If your key contains an anti-theft chip, hold the plastic head of the key flush against the ignition cylinder ring to satisfy the transponder sensor while performing the solenoid jump under the hood.
2. Massive Arc Sparks and Blown Main Fuses
- Cause: The metal tool touched a ground surface (such as the engine block, frame, or starter casing) while simultaneously contacting the positive battery stud.
- Fix: Use a screwdriver with insulation extending all the way down the shank, leaving only the tip bare. Ensure your hand remains steady so the tool touches ONLY the positive B-terminal stud and the small S-terminal stud.
3. Loud High-Pitched Whining Noise After Engine Fires
- Cause: Delay in pulling the jumper tool away from the solenoid terminals after the engine starts up.
- Fix: Pull the tool back instantly the microsecond you hear the engine catch. If the starter drive gear has bound up, turn the key to OFF to stop the engine, wait 30 seconds, and retry.
4. Steering Wheel Locks Up When Turning
- Cause: The key was not turned far enough to disengage the mechanical steering wheel tumbler detent.
- Fix: Turn the key into the RUN position and wiggle the steering wheel back and forth until you hear the mechanical locking pin snap open before driving.
5. Single Solid “Click” Noise with Zero Engine Rotation
- Cause: Low battery voltage under load (below 10.5V while cranking) or heavy oxidation on starter terminal connections.
- Fix: Clean corrosion off battery terminals with a wire brush and check voltage with a multimeter. Connect jumper cables from a running support vehicle to boost voltage above 12.6V before jumping the solenoid terminals.
Diagnostic Timeline & Cost Considerations
| Solution Path | Estimated Time | Tool / Component Cost | Recommended Scenario |
| Solenoid Jump (Method A) | 8–11 minutes | $0 – $15 (Screwdriver/Gloves) | Immediate roadside emergency, clear under-hood access |
| Relay Socket Bridge (Method B) | 5–8 minutes | $0 – $5 (Jumper Wire) | Roadside emergency, cramped starter location |
| Ignition Switch Replacement | 45–90 minutes | $35 – $180 (New OEM Switch) | Permanent fix after reaching home or shop safely |
Frequently Asked Questions
Can you start a car with a bad ignition switch on modern push-button start vehicles?
No. Push-button start systems rely on encrypted CAN-bus communication between the key fob, body control module (BCM), and engine control unit (ECU). Bypassing the switch manually bypasses security handshakes, keeping the ECU locked. You must use a diagnostic scanner or authorized key bypass procedure.
Will jumping the starter solenoid ruin my car’s engine computer?
No, provided you bridge only the positive battery terminal to the S-terminal on the solenoid. The S-terminal is designed to accept a 12V control signal. However, accidentally shorting the positive terminal to ground or delicate sensor signal wires can cause voltage spikes that damage delicate ECU circuitry.
How do I turn off my vehicle after jumping the starter to run?
Turn the key inside the ignition cylinder counter-clockwise to the OFF position. Because the solenoid jump only momentarily triggered the starter, turning the key to OFF cuts the main ignition/fuel pump circuit power normally, bringing the engine to a safe stop.
Why does my vehicle start when jumping the solenoid but not with the key?
This symptom confirms your battery, starter motor, and solenoid are functional, but the ignition switch internal contacts, starter relay, neutral safety switch, or ignition wire harness have failed along the control loop.
Is it safe to drive long distances after starting with a solenoid jump?
Yes, as long as the key is left in the RUN position to keep steering unlocked, battery charging circuits active, and brake/light systems powered. Treat this purely as a temporary measure to reach a repair facility.