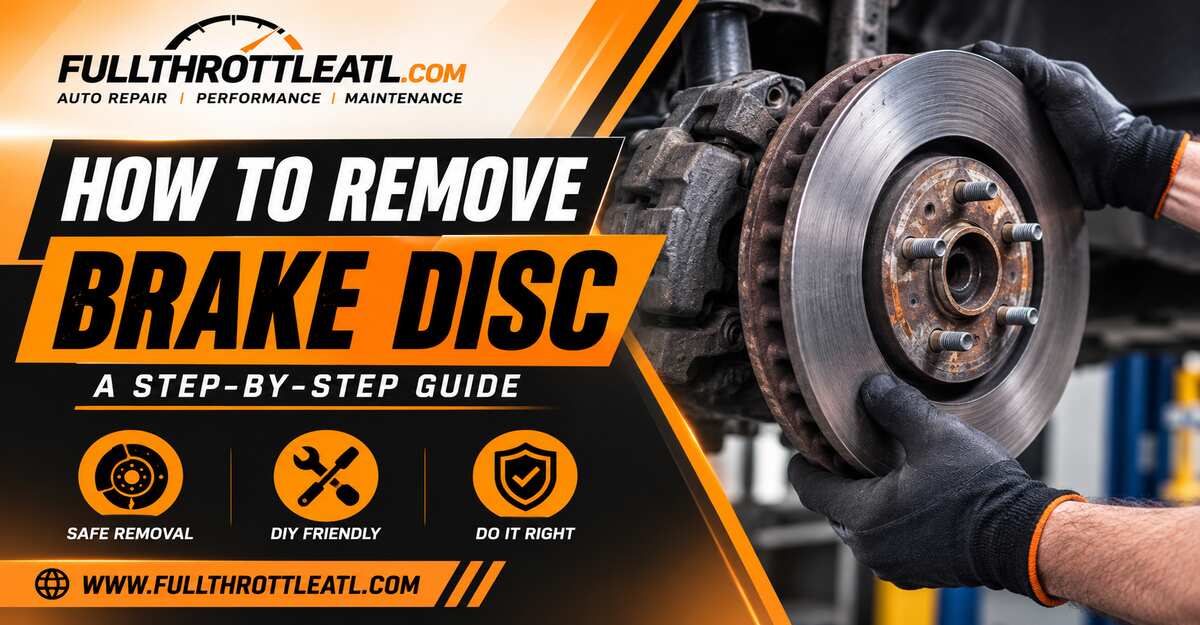
Mastering how to remove a brake disc saves you hundreds in labor costs while ensuring your braking system is serviced correctly. This definitive, 7-step guide covers vehicle elevation, frozen rotor extraction, and hub prep in 45 to 60 minutes per wheel, requiring basic mechanical tools and patience.
Before You Start
- Time Required: 45–60 minutes per wheel
- Difficulty Level: Intermediate (moderate physical effort required for rusted fasteners)
- Cost Range: $0 to $30 (if purchasing specialized tools like an impact screwdriver or penetrating oil)
- Tools & Materials: Hydraulic floor jack, certified jack stands (2), wheel chocks, breaker bar, socket wrench set (10mm–19mm), torque wrench (20–150 lb-ft), impact screwdriver, 3-lb sledgehammer, bungee cords or caliper hangers, C-clamp, brake cleaner spray, wire brush, penetrating oil (PB Blaster), anti-seize lubricant, safety glasses, and gloves.
- Prerequisite Conditions: Park on level, solid concrete. Ensure the engine is off and the transmission is in Park (or 1st gear for manual transmissions).
Step 1: Setup, Safety, and Wheel Removal
- Action: Park on flat ground, engage the parking brake firmly, and place wheel chocks diagonally opposite the wheel you are servicing. Loosen the wheel lug nuts by $1/2$ turn using a breaker bar while the tire is still on the ground. Raise the vehicle using a hydraulic jack at the factory-designated pinch weld or frame lift point, slide a certified jack stand underneath for safety, and lower the car onto the stand. Remove the lug nuts entirely and pull the wheel off the hub.
- Success Check: You’ll know it worked when the vehicle rests completely and securely on the steel jack stand with zero hydraulic pressure supporting it, and the bare wheel hub is fully exposed.
- Common Mistake: Relying solely on a hydraulic floor jack while working behind the wheel. Always use a rated jack stand; hydraulic seals can fail without warning.
Step 2: Prepare the Brake Fluid Reservoir
- Action: Pop the vehicle’s hood, locate the brake fluid master cylinder reservoir, and unscrew its cap. Lay a clean shop towel around the opening to catch any potential overflow.
- Success Check: You’ll know it worked when the reservoir cap is removed and set aside, allowing air to vent freely as you compress the brake caliper piston in the upcoming steps.
- Common Mistake: Forgetting to open the hood reservoir before compressing the caliper piston, which can cause excessive pressure buildup and rupture older brake lines or overflow caustic fluid onto your engine bay paint.
Step 3: Remove and Secure the Brake Caliper
- Action: Locate the two sliding caliper mounting bolts on the backside of the caliper assembly (typically 12mm to 14mm hex bolts). Use your socket wrench to remove both bolts. Carefully slide the caliper body off the brake pads and rotor. Immediately secure the hanging caliper to the upper suspension spring using a bungee cord or dedicated caliper hanger.
- Success Check: You’ll know it worked when the brake caliper is completely detached from the steering knuckle/rotor assembly and suspended safely with zero tension on its flexible rubber brake hose.
- Common Mistake: Allowing the heavy caliper to dangle unsupported by its rubber hydraulic hose. This internal stress tears the reinforced line, causing catastrophic brake fluid leaks.
Step 4: Remove the Caliper Bracket
- Action: Locate the two large bracket bolts securing the cast iron caliper bracket to the steering knuckle on the backside of the assembly. Attach a 1/2-inch breaker bar with the correct socket size (typically 15mm to 19mm) and pull firmly counterclockwise to break the factory torque loose. Remove both bolts completely and lift the heavy bracket away from the rotor.
- Success Check: You’ll know it worked when the heavy metal bracket is completely removed, leaving the brake disc fully exposed and free of external framing components.
- Common Mistake: Trying to remove these high-torque factory bolts with a standard 3/8-inch ratchet, which can round off bolt heads or snap your ratchet mechanism. Use a 1/2-inch breaker bar.
Step 5: Remove the Rotor Retaining Screw
- Action: Inspect the face of the rotor hat for small flat-head or Torx-head retaining screws (common on European models like Volkswagen, Audi, BMW, and Honda). Generously spray the screw threads with penetrating oil and let it sit for 2 minutes. Insert an impact screwdriver fitted with the matching bit firmly into the screw slot. Strike the back end of the impact tool squarely with a 3-lb hammer while maintaining counter-clockwise twisting pressure.
- Success Check: You’ll know it worked when the impact mechanism converts the hammer blow into a sudden rotational shock that breaks the rusted threads free without stripping the cross-slots.
- Common Mistake: Using a standard manual screwdriver. Rusted retaining screws bind tightly; a standard driver will instantly strip the soft metal head, forcing you to drill it out.
Step 6: Detach and Extract the Brake Disc
- Action: Attempt to pull the brake disc straight off the wheel studs. If it is rusted solid to the wheel hub center bore, take your 3-lb sledgehammer and strike the flat outer hat section of the rotor firmly between the wheel studs. Hit it from opposing sides with sharp blows to shock the rust bond loose. Pull the detached disc forward off the hub assembly.
- Success Check: You’ll know it worked when the brake disc slides freely forward off the studs and hub face with no wobbling resistance.
- Common Mistake: Striking the outer friction braking surface or the threaded wheel studs directly with a heavy hammer, which can warp new replacement rotors or break expensive wheel studs.
Step 7: Clean and Prepare the Wheel Hub Face
- Action: Attach a steel wire brush (or a wire-wheel attachment on a power drill) to aggressively scrub away all rust scale, dirt, and oxidation from the flat surface of the wheel hub. Wipe the metal clean with brake cleaner spray and a clean shop towel until the surface is completely smooth down to bare metal. Apply a microscopic film of anti-seize lubricant to the center hub ring (avoiding the stud threads and friction surfaces).
- Success Check: You’ll know it worked when the hub face looks like clean, bare steel with zero flaky brown rust accumulation remaining.
- Common Mistake: Installing a new brake disc directly over heavy crusty rust layers on the hub, which introduces lateral runout and causes severe steering wheel shimmy within a few thousand miles.
Common Mistakes and How to Fix Them
- Stripped Retaining Screw Head: If the Phillips slot breaks apart despite using an impact driver, select a metal drill bit slightly smaller than the outer thread diameter. Drill directly into the center of the screw head until the head pops off. Lift the rotor off, then use locking pliers (Vise-Grips) to unscrew the remaining threaded stub out of the hub.
- Rotor Completely Rust-Welded to the Hub: If hammering fails, look for two small threaded metric holes (typically M8-1.25) built into the face of the rotor hat. Thread two matching bolts into these holes and tighten them evenly with a wrench. The bolts will act as jacks, pushing cleanly against the hub face to pop the stuck rotor off.
- Seized Caliper Bracket Bolts: If standard leverage cannot crack open tight bracket bolts, spray them with penetrating oil and apply targeted heat to the surrounding steering knuckle casting using a propane or MAP gas torch for 60 to 90 seconds. The localized thermal expansion breaks the rust seal immediately.
Variations: How the Process Changes
- Vehicles with Integrated Parking Brake Drums (Rear Wheels): On many rear-wheel-drive vehicles or modern cars with internal drum-style emergency brakes, the rotor acts as a drum. If the rotor refuses to pull off even after striking it, locate the manual star-wheel adjuster through the backing plate slot and back off the emergency brake shoes to release internal tension before extracting the disc.
- Floating vs. Fixed Performance Calipers: High-performance vehicles (e.g., Brembo multi-piston setups) do not use a standard sliding caliper bracket. Instead, the caliper mounts directly over the rotor via radial bolts. You must remove the entire caliper assembly first before sliding the rotor outward past the fixed mounting ears.
Frequently Asked Questions
Do I need to replace brake discs in pairs?
Yes, brake discs should always be replaced across the same axle (both front wheels or both rear wheels simultaneously). Replacing only one side creates unequal braking forces, pulling the vehicle dangerously to one side during emergency stopping situations.
Can I reuse old brake discs if they look fine?
You can reuse old discs only if their remaining thickness measures above the manufacturer’s minimum discard specification stamped on the rotor hat, and if they feature no deep scoring, heavy rust pitting, or severe thickness variation. Always measure with a micrometer before deciding.
What causes a steering wheel to shake after a brake job?
Steering wheel vibration during braking is almost always caused by lateral runout. This happens when microscopic rust scales or dirt particles are left trapped between the back face of the new rotor and the wheel hub mounting surface during reassembly.
How do I compress the brake piston safely?
Before installing the new, thicker brake pads and sliding the caliper back over the new rotor, use an old brake pad against the steel piston and twist or squeeze it inward using a C-clamp or specialized piston compression tool until it sits flush inside its bore housing.