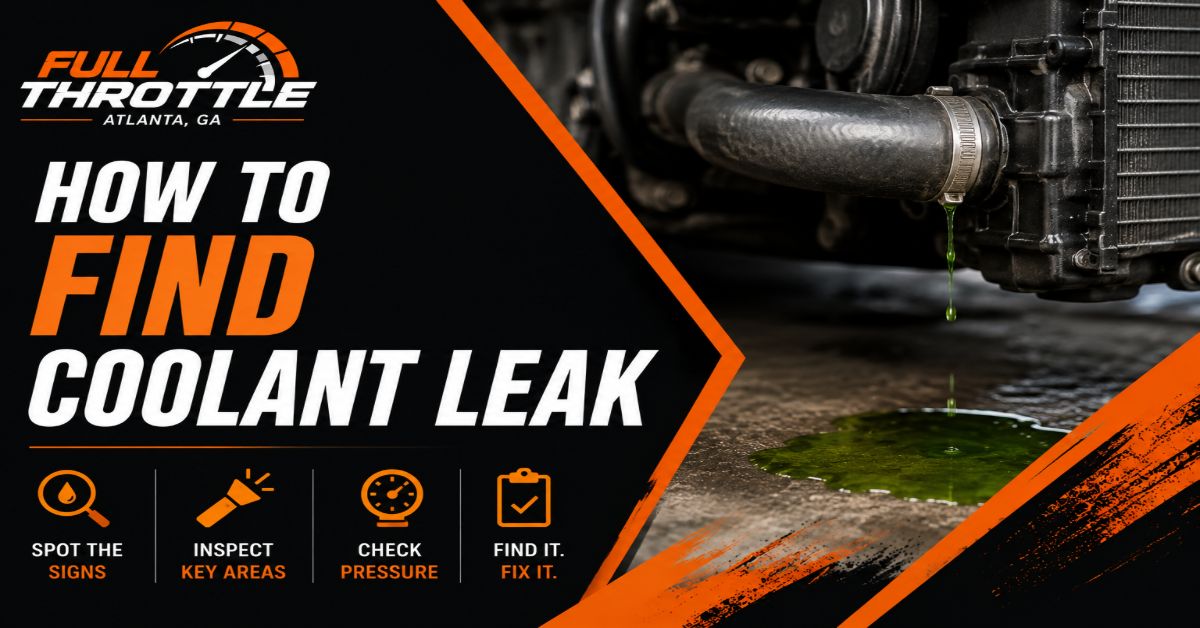
Pinpoint and diagnose coolant leaks safely and accurately using a hand pressure tester and UV dye. This comprehensive, 6-step process takes 1 to 2 hours, requires beginner-to-intermediate mechanical skill, and ensures you identify both hidden internal leaks and obvious external puddles on the first attempt without risking engine damage.
Before You Start
- Time Required: 1 to 2 hours
- Difficulty Level: Beginner to Intermediate
- Estimated Cost: $40 to $100 (if purchasing a pressure tester kit and UV dye)
- Prerequisite Condition: The engine must be completely cold (ambient temperature, off for at least 3 to 4 hours).
Tools and Materials Checklist
- Cooling System Pressure Tester Kit (Hand pump with multi-vehicle radiator adapter caps)
- UV Leak Detection Dye (1 ounce / 30 ml automotive coolant formula)
- UV Flashlight and Yellow Enhancement Glasses
- Safety Glasses and Nitrile Gloves
- Distilled Water or Fresh Coolant (1 to 2 quarts for top-offs)
- Clean shop towels
Step 1: Prepare and Secure the Vehicle
Park the vehicle on a completely flat, level surface, engage the parking brake firmly, and chock the rear wheels. Open the hood and verify that the engine block and upper radiator hoses are completely cool to the touch.
- How to execute: Leave the car parked overnight or for a minimum of 4 hours after driving. Place a clean, dry piece of cardboard underneath the engine bay to catch any initial drips. Put on your safety glasses and nitrile gloves.
- Success Checkpoint: You’ll know it’s ready when the outer metal shell of the radiator and all rubber hoses register ambient air temperature with zero warmth remaining.
- Common Mistake: Attempting inspection on a warm engine. Residual heat creates false high pressure and risks severe scalding.
Step 2: Perform the Cold Visual Inspection
Scan the entire cooling system components visually for crusty residue, damp spots, or active trickles before attaching any tools.
- How to execute: Trace every inch of the radiator core, upper and lower radiator hoses, thermostat housing, water pump perimeter, and coolant overflow reservoir. Look specifically for bright green, pink, orange, or yellow crusty mineral deposits. Next, inspect the passenger-side interior floorboard underneath the glove box to verify if the carpet is damp or smells sweet, which signals a failed heater core.
- Success Checkpoint: You’ll know this step is complete when you have visually logged the condition of every hose clamp, seam, and gasket in the engine bay.
- Common Mistake: Overlooking minor crusty buildup. That powdery residue is dried coolant from an intermittent leak that opens up only under operating temperatures.
Step 3: Install and Seal the Pressure Tester Adapter
Attach the correct adapter cap from your pressure tester kit directly to the radiator filler neck or coolant expansion tank.
- How to execute: Slowly twist off the factory radiator or expansion tank cap counter-clockwise (only on a verified cold engine). Select the exact matching metal or plastic adapter cap from your pressure test kit that mirrors the depth and thread pitch of your factory cap. Firmly twist and lock the test adapter onto the filler neck until it seats completely flat against the rubber O-ring seal. Snap the hand pump’s quick-disconnect hose coupler securely onto the adapter nipple until it clicks.
- Success Checkpoint: You’ll know it worked when pulling gently on the pump hose reveals zero physical play and the adapter is locked airtight against the sealing flange.
- Common Mistake: Forcing an incorrect adapter size. If it does not thread smoothly or bottom out evenly, stop immediately to avoid stripping your radiator’s plastic or aluminum neck threads.
Step 4: Pressurize and Monitor the Cooling System
Pump the hand tester gradually until the gauge reaches the exact maximum PSI rating specified on your vehicle’s factory radiator cap.
- How to execute: Read the PSI threshold printed on your original radiator cap (standard passenger vehicles typically range between 13 to 16 PSI). Slowly operate the hand pump handle while watching the gauge needle rise. Stop pumping the moment the needle touches your target PSI limit. Observe the gauge immobile for 3 full minutes.
- Success Checkpoint: You’ll know the system is sealed if the pressure needle holds steady without drifting downward.
- Common Mistake: Over-pressurizing the system past 20 PSI. Exceeding this limit will rupture fragile plastic radiator end tanks or split an aging heater core, turning a small leak into a catastrophic failure.
Step 5: Locate External Leaks via Visual and Audible Cues
Systematically trace the pressurized cooling system to pinpoint escaping liquid, active misting, or air hissing sounds.
- How to execute: Listen closely near hose connection points, the thermostat housing, and the water pump weep hole for any faint hissing sound of escaping air. Use a flashlight and shop mirror to inspect hidden angles underneath the intake manifold and behind the timing cover. Look for fresh fluid spraying, dripping, or bubbling out of weak hose walls or cracked plastic seams.
- Success Checkpoint: You’ll know you’ve found the source when you spot an active stream, a growing drop of liquid, or hear a distinct hiss paired with a dropping gauge needle.
- Common Mistake: Misinterpreting water pump weep hole residue. A tiny ring of dry crust around the weep hole is normal aging, but an active wet drip under pressure proves the internal mechanical water pump seal has failed.
Step 6: Execute UV Dye Trace for Hidden or Micro Leaks
Introduce fluorescent UV dye into the coolant system to trace microscopic, slow, or elusive internal-to-external leaks under ultraviolet light.
- How to execute: Slowly depress the pressure tester’s pressure-release valve to bleed off all system air pressure, then remove the adapter. Pour exactly 1 ounce (30 ml) of UV leak detection dye directly into the radiator or expansion tank. Top off the fluid level with a 50/50 mix of coolant and distilled water, and reinstall the factory cap. Start the engine, turn the cabin heater to maximum heat, and let it idle for 15 minutes to circulate the dye thoroughly. Shut off the engine, put on your yellow enhancement glasses, darken your workspace, and scan the entire engine bay with your UV flashlight.
- Success Checkpoint: You’ll know it worked when microscopic leak trails or hairline cracks illuminate in a vivid, glowing neon green or yellow fluorescence under the UV beam.
- Common Mistake: Failing to let the dye circulate long enough. If the engine doesn’t reach full operating thermostat cycle temperature, the dye will not reach minor micro-fractures.
Common Mistakes and How to Fix Them
| Failure Scenario | Root Cause | Recovery Instructions |
| Pressure drops on gauge but zero external puddles found | The leak is internal (head gasket failure) or hidden inside the dashboard (heater core). | Pull the engine oil dipstick. If the oil looks like a milky brown “milkshake,” coolant is leaking into the crankcase. Inspect tailpipe emissions for sweet-smelling white smoke. |
| Pressure tester refuses to hold any pressure during setup | A faulty adapter seal, a cross-threaded connection, or a massive open split in a hose. | Disconnect the quick-coupler, inspect the rubber O-ring inside the adapter cap for tears or debris, clean the radiator seating surface, and re-seat firmly. |
| UV dye shows no traces anywhere under the flashlight | The leak is extremely small or takes hours of thermal expansion to open up. | Leave the dye in the system, drive the vehicle normally for 1 to 2 days under regular load, and re-examine the engine bay with the UV light at night. |
| Replacing hoses repeatedly while coolant loss continues | A degraded, flattened, or torn rubber seal inside the radiator cap itself. | Inspect the underside of the factory pressure cap. If the inner rubber flap is cracked, brittle, or deformed, replace the radiator cap immediately. |
Variations: Adapting the Process for Different Scenarios
- Sealed Expansion Tanks (European & Modern Vehicles): Many modern vehicles lack a traditional radiator cap and use a pressurized plastic expansion tank. Attach your pressure tester adapter directly to the expansion tank filler opening. Ensure the overflow return hose is temporarily pinched off with hose clamp pliers if pressure bleeds back into the recovery reservoir.
- Commercial UV Flushing for Fleets: If diagnosing multiple vehicles, use a pressurized coolant refill tool combined with a high-concentration dye injector block. This removes trapped air pockets entirely while introducing dye under vacuum draw rather than manual pumping.
How Long Does It Take / What Does It Cost
- Time Investment: Expect the complete diagnostic process to take 1 to 2 hours from setup to cleanup. Visual inspections take about 15 minutes, while pressure testing and UV dye tracing take up the remaining time.
- Financial Investment: A professional-grade hand pressure tester kit with multiple adapters costs between $60 and $120. A bottle of UV leak detection dye and a basic UV flashlight kit cost an additional $20 to $40.
Frequently Asked Questions
Can I test a coolant leak with the engine running?
No. Always perform a primary cooling system pressure test on a completely cold, non-running engine. Running the engine introduces rapid heat expansion, dangerous high-pressure steam, and moving fan blades that make safe manual leak detection impossible.
What is a normal pressure drop rate during a test?
A healthy, fully sealed cooling system should hold pressure indefinitely without dropping. If the gauge needle falls more than 1 to 2 PSI over a 5-minute observation window, an active leak or internal seepage is present.
Is it safe to drive with a minor coolant leak if I keep topping it off?
Driving with a persistent coolant leak risks localized engine overheating, cylinder head warping, and sudden total coolant loss. Even small leaks should be diagnosed and repaired promptly to protect engine longevity.
Why does my car lose coolant without leaving puddles on the ground?
If your cooling system loses fluid without external puddles, the coolant is either burning off inside the combustion chambers via a blown head gasket or leaking slowly onto hot exhaust components where it evaporates instantly.