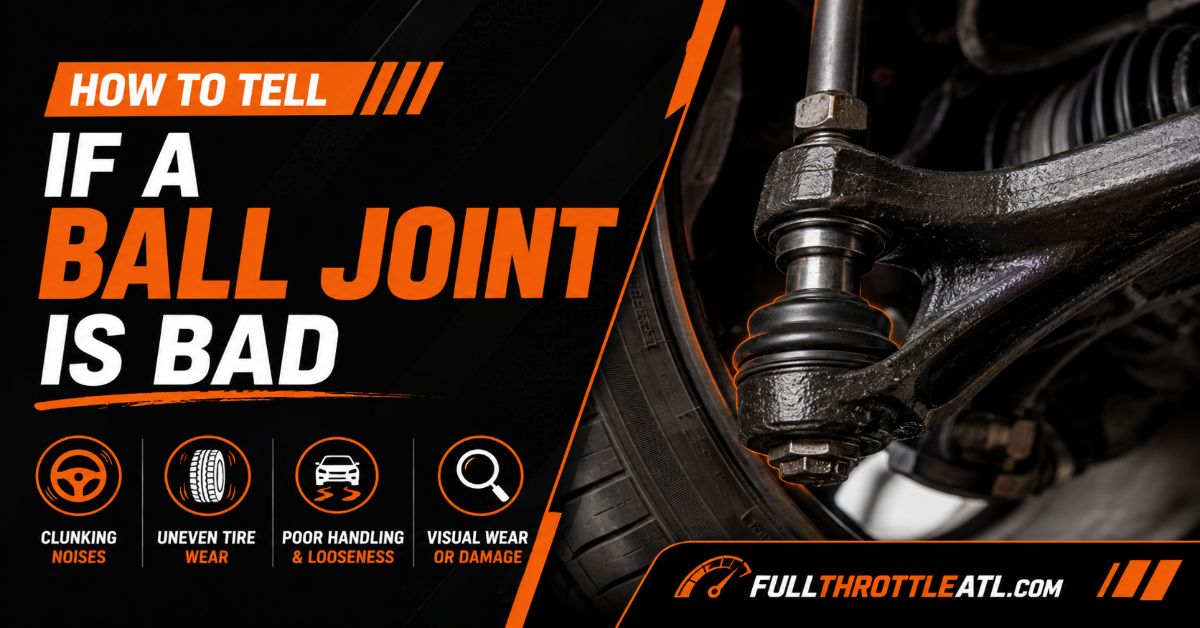
Accurately diagnosing a failing suspension component requires completely unloading suspension tension to prevent masked symptoms. By executing a structured six-step sequence-spanning safety setup, manual rocking, leverage checks, precision dial indicator measurements, and visual boot inspections-you can isolate a bad ball joint in 35 to 50 minutes.
Before You Start
- Time Required: 35 to 50 minutes per side
- Difficulty Level: Intermediate (Mechanical DIY)
- Typical Cost: $0 (using basic hand tools) or $30–$50 if purchasing a dial indicator kit
- Tools & Materials:
- Floor Jack (1 unit, 2+ ton rating)
- Jack Stands (2 units, 2+ ton rating)
- Wheel Chocks (2 units)
- Heavy-Duty Pry Bar (1 unit, 24 to 36 inches)
- Magnetic Base Dial Indicator (1 unit, optional for precision)
- Flashlight and Safety Gear (Gloves and Glasses)
- Prerequisite Condition: Parked on a flat, level concrete surface with the engine off and transmission in gear (or Park).
Step-by-Step Diagnostic Process
Step 1: Secure the Vehicle and Set Up Safety Gear
Park your vehicle on level concrete, engage the emergency parking brake firmly, and wedge two wheel chocks snugly behind the rear tires. Use your floor jack to lift the front end of the vehicle by the factory-approved front crossmember or frame lift point. Place two heavy-duty jack stands under the designated frame pinch welds or subframe structural points, slowly lower the vehicle onto them, and give the chassis a firm push to confirm complete stability before placing any part of your body underneath.
- Action: Lift and secure the vehicle safely on jack stands while leaving the front wheels hanging or supported depending on the suspension type.
- Success Checkpoint: You’ll know it worked when the vehicle rests securely on structural jack stands with zero lateral or vertical wobble when shaken manually.
- Common Mistake: Relying solely on the hydraulic floor jack while working under the wheel arch. Always transfer vehicle weight to solid jack stands.
Step 2: Unload Suspension Tension Correctly
Identify your vehicle’s suspension architecture to release internal spring pressure correctly. If your vehicle features a coil spring mounted on the lower control arm (common in rear-wheel-drive trucks and traditional SUVs), position your floor jack directly under the lower control arm close to the ball joint and elevate it slightly until the tire clears the ground. If your vehicle uses a MacPherson strut assembly where the spring sits on the strut, place the jack under the vehicle frame rail and let the steering knuckle hang completely free.
- Action: Position the floor jack under the correct suspension member (lower control arm or frame) to neutralize or isolate spring loads acting on the joint.
- Success Checkpoint: You’ll know it worked when the control arm and steering knuckle are free from binding pressure, allowing the ball joint to reveal any existing internal slop.
- Common Mistake: Failing to unload the joint properly. If the vehicle’s weight or coil spring remains compressed against the joint, worn internal sockets will stay pinched and feel deceptively solid.
Step 3: Perform the 12 and 6 O’Clock Rocking Test
Grip the outer edges of the front tire firmly with your hands positioned at the 12 o’clock (top) and 6 o’clock (bottom) points. Forcefully push the top of the tire inward toward the engine bay while pulling the bottom outward, then reverse the motion in a rhythmic push-pull rocking action. Listen closely for a metallic clunking sound and feel for any loose shifting play at the steering knuckle pivot point.
- Action: Rock the suspended tire vertically at the 12 and 6 o’clock positions to detect vertical play in the steering knuckle assembly.
- Success Checkpoint: You’ll know it worked when you clearly isolate whether movement originates from the hub assembly or the ball joint housing.
- Common Mistake: Confusing wheel bearing play with ball joint failure. Recovery tip: Have a helper press down hard on the brake pedal while you repeat the rock test. If the play disappears, the issue is a loose wheel bearing, not a ball joint. If the play persists while braking, the ball joint is worn out.
Step 4: Execute the Pry Bar Leverage Test
Insert the flat tip of your 24 to 36-inch heavy-duty pry bar securely between the lower control arm and the bottom flange of the steering knuckle. Apply steady, upward leverage pressure while keeping your eyes locked directly on the ball joint housing and stud interface. Watch closely to see if the metal ball stud shifts vertically up and down inside its socket cup.
- Action: Leverage the pry bar upward against the control arm and steering knuckle to expose vertical axial play.
- Success Checkpoint: You’ll know it worked when any hidden vertical separation between the stud and housing becomes visually apparent.
- Common Mistake: Prying against thin sheet metal splash guards or rubber components rather than solid structural suspension members, which distorts your visual reading.
Step 5: Measure Play Using a Dial Indicator
Mount the magnetic base of your dial indicator firmly onto the lower control arm surface, positioning the spring-loaded plunger tip directly against the bottom face of the steering knuckle or the ball joint housing. Zero out the gauge dial face. Have an assistant repeat the pry bar leverage test from Step 4 while you read the exact needle deflection on the dial face.
- Action: Measure absolute mechanical clearance using a dial gauge to compare movement against manufacturer engineering limits.
- Success Checkpoint: You’ll know it worked when the gauge provides an exact numerical reading of play. Axial play exceeding 1.5 mm to 2.5 mm (0.060 to 0.100 inches) or radial play exceeding 0.8 mm (0.030 inches) confirms immediate failure.
- Common Mistake: Positioning the magnetic base on a flexing component like a brake dust shield, which ruins the accuracy of your measurement.
Step 6: Inspect the Rubber Dust Boot Visually
Wipe away accumulated road grime, grease, and brake dust from the area using a shop towel, then aim your flashlight directly at the rubber dust boot encasing the ball joint. Inspect the entire rubber perimeter for structural tears, pinhole punctures, severe dry-rot cracking, or displaced metal retaining rings.
- Action: Examine the rubber dust boot for physical degradation that allows moisture and abrasive grit to ruin internal components.
- Success Checkpoint: You’ll know it worked when you confirm whether the internal grease barrier is intact or compromised.
- Common Mistake: Assuming a ball joint is healthy just because it passed physical rocking tests; a torn boot means internal failure is imminent even if play hasn’t fully manifested yet.
Common Mistakes and How to Fix Them
- Testing with Suspension Fully Loaded: Trying to check ball joints while the car sits flat on the ground keeps the vehicle’s entire weight pinning the socket together. Fix: Always lift and support the vehicle correctly as outlined in Steps 1 and 2.
- Ignoring Stabilizer Bar Interference: An anti-roll bar linked to the lower control arm can exert cross-tension and mask loose ball joints. Fix: Disconnect the sway bar end link on the side you are testing if you suspect it is dampening the feel of play.
- Replacing Only One Side: Ball joints experience similar wear cycles from road conditions. Fix: Always replace ball joints in axle pairs (both left and right front wheels) to maintain balanced steering geometry.
Diagnostic Variations for Different Suspensions
- Upper and Lower Ball Joints (Short-Long Arm Suspensions): Vehicles with dual control arms (like many older trucks and performance cars) require checking both the upper and lower ball joints independently. Apply the pry bar method to each joint separately while loading and unloading the specific arm.
- Integrated Control Arm Assemblies: On many modern front-wheel-drive passenger vehicles, the ball joint is riveted or pressed permanently into a stamped steel or aluminum control arm. If the ball joint is bad, you must replace the entire control arm assembly rather than pressing in a standalone replacement joint.
Time Required and Diagnostic Cost
- Time Investment: Expect to spend 35 to 50 minutes per side if you are working methodically, cleaning components, and using a dial indicator for verification.
- Financial Cost: Performing this diagnostic check yourself costs $0 if you already own basic hand tools, floor jacks, and jack stands. Purchasing a basic magnetic dial indicator kit adds approximately $30 to $40.
Frequently Asked Questions
What are the main symptoms of a bad ball joint?
Common warning signs include a rhythmic clunking, snapping, or popping noise when turning the steering wheel or driving over bumps and potholes. You may also notice vague, wandering steering, uneven front tire wear on the inner edges, or a steering wheel that feels loose and unresponsive.
Can I drive with a bad ball joint?
No, driving with a severely worn ball joint is extremely dangerous. If a compromised ball joint separates completely while driving, the steering knuckle will disconnect from the control arm, causing an immediate loss of vehicle control and wheel detachment.
How long do ball joints typically last?
Factory original equipment manufacturer (OEM) ball joints generally last between 70,000 and 150,000 miles, depending heavily on road conditions, driving styles, suspension modifications like lift kits, and whether the rubber dust boots remain undamaged over time.
Are greaseable ball joints better than sealed ones?
Greaseable ball joints feature a Zerk fitting that allows you to pump fresh chassis grease into the joint during routine oil changes, flushing out contaminants and extending lifespan. Sealed units are maintenance-free but cannot be purged of accumulated moisture and grit once contamination occurs.