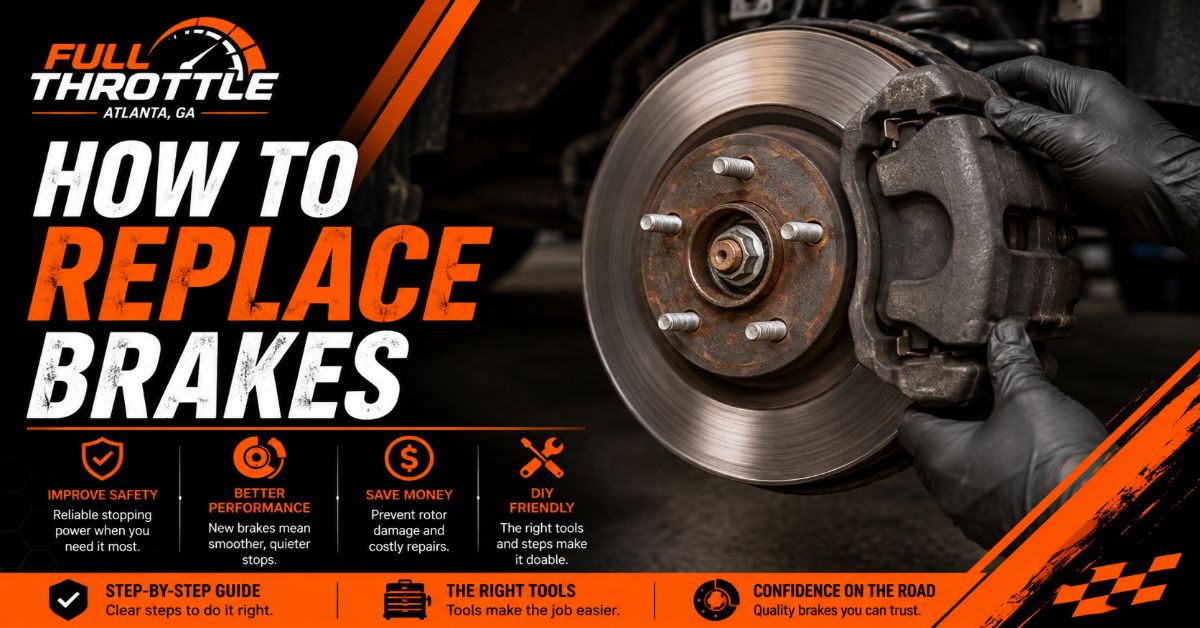
Learning how to replace brakes saves you hundreds of dollars and requires only basic hand tools. You will remove the wheel, detach the brake caliper, swap the rotor and pads, compress the piston, and reassemble the system. This process takes roughly two hours per axle, and absolute cleanliness of the rotor and hub mating surfaces is the single most critical factor for success.
Before You Start
- Total Time: 1.5 to 2.5 hours for one axle (two wheels).
- Difficulty: Intermediate (requires lifting heavy components and precise torquing).
- Estimated Cost: $100–$250 (parts only).
- Prerequisites: Your vehicle must be parked on a perfectly flat concrete or asphalt surface. If working on rear brakes with an Electronic Parking Brake (EPB), you must place the vehicle into “Service Mode” via the dashboard menus or an OBD2 scanner before lifting the car.
Tools and Materials Required:
- Parts: New brake pads (1 set per axle) and new brake rotors (2 per axle).
- Chemicals: Brake parts cleaner (1 can), silicone/ceramic caliper grease (1 tube), medium-strength threadlocker (Blue 242), and brake fluid (DOT 3 or DOT 4, matching your manual).
- Tools: Floor jack and 2 jack stands, lug wrench, socket set (10mm to 19mm), Torx/Allen bits (vehicle specific), C-clamp (front brakes) or twist-in caliper tool (rear brakes), wire brush, 1/2-inch drive torque wrench, manual impact screwdriver, bungee cords, and a turkey baster or fluid syringe.
Step 1: Prepare the Vehicle and Remove the Wheels
Park on a flat surface, engage the parking brake (if working on the front axle), and chock the wheels opposite the end you are lifting. Loosen the wheel lug nuts one-half turn while the tires are still on the ground. Slide the floor jack under the factory-designated front or rear center lift point, raise the vehicle, and position jack stands under the reinforced pinch welds. Lower the vehicle onto the stands to secure it, then completely remove the lug nuts and wheels.
- ✅ Success Checkpoint: The vehicle is completely immobilized on the stands and does not rock when you firmly push the fender.
- ⚠️ Common Mistake: Lifting from the floor pans instead of the pinch welds or frame rails, which will instantly crush the vehicle’s floorboard.
Step 2: Remove the Brake Caliper
Locate the two caliper slider bolts on the backside of the caliper assembly. Loosen and extract these bolts using a socket or Torx/Allen bit, then wiggle the caliper free from the brake pads. Immediately loop a bungee cord through the caliper body and hang it from the suspension coil spring overhead.
- ✅ Success Checkpoint: The caliper is securely suspended, leaving the brake pads and rotor exposed.
- ⚠️ Common Mistake: Letting the caliper drop and dangle by its black rubber hydraulic hose. This tears the internal braiding of the hose, causing a hidden restriction that will eventually lock up your brakes.
Step 3: Remove the Brake Pads and Caliper Bracket
Slide the old brake pads laterally out of their metal retainer clips. Next, locate the two large caliper bracket bolts on the backside of the steering knuckle. Use a breaker bar or long-handled ratchet to remove these bolts, pulling the heavy cast-iron bracket free from the vehicle. Finally, pop the thin metal hardware clips out of the bracket using a flathead screwdriver.
- ✅ Success Checkpoint: You are holding the bare metal caliper bracket, and the brake rotor is the only component left on the wheel hub.
- ⚠️ Common Mistake: Throwing away the old brake pads immediately. Keep one old pad; you will need it for Step 6.
Step 4: Remove and Replace the Brake Rotor
Extract the small retaining screw on the face of the brake rotor using a manual impact screwdriver and a hammer. Pull the old rotor off the hub. Vigorously scrub the exposed metal wheel hub with a wire brush until all rust flakes are gone. Take your new rotor, spray both sides generously with brake cleaner to strip away the factory shipping oil, and wipe it dry with a clean rag. Slide the new rotor onto the hub and thread one lug nut on finger-tight to hold it flush against the hub face.
- ✅ Success Checkpoint: The new rotor sits perfectly flat against the hub with zero wobble.
- ⚠️ Common Mistake: Using a standard Phillips screwdriver on the retaining screw. They are almost always seized; a standard screwdriver will strip the head, forcing you to drill the screw out.
Step 5: Clean and Lubricate the Caliper Bracket
Vigorously wire-brush the channels on the caliper bracket where the new pads will sit to remove built-up brake dust and rust. Snap the new stainless steel hardware clips (included with your new pads) into these channels. Pull the two metal slider pins out of the bracket boots, wipe off the old grease with a rag, and apply a fresh, thin coat of silicone or ceramic brake grease. Slide them back in, ensuring the rubber dust boots snap securely over the lip of the pins.
- ✅ Success Checkpoint: The slider pins move in and out smoothly with a slight spring-like resistance, and the new clips are seated flush.
- ⚠️ Common Mistake: Using standard chassis grease or anti-seize on the slider pins. Petroleum-based products cause the rubber boots to swell and tear. Use only silicone or synthetic ceramic brake grease.
Step 6: Compress the Caliper Piston
Open the vehicle’s hood, unscrew the master cylinder reservoir cap, and set it aside to allow pressure to escape. If the fluid is at the “MAX” line, siphon out two ounces with a syringe to prevent overflowing. Place your saved old brake pad directly against the extended circular piston inside the caliper. Position your C-clamp over the pad and the back of the caliper housing, and slowly turn the clamp to press the piston back until it is perfectly flush with the metal housing.
- ✅ Success Checkpoint: The piston is fully retracted, creating a gap wide enough to clear the newly installed, thicker brake pads.
- ⚠️ Common Mistake: Forgetting to remove the master cylinder cap. Forcing fluid backward in a sealed system can blow the reservoir seals, requiring a master cylinder replacement.
Step 7: Reassemble the Brake Components
Apply a single drop of Blue 242 threadlocker to the threads of the two large caliper bracket bolts. Reinstall the bracket over the new rotor and torque the bolts to 70–100 ft-lbs (95–140 Nm), verifying exact specs in your manual. Apply a microscopic dab of brake grease to the metal “ears” of the new brake pads, then slide them into the bracket clips. Unhook the caliper from the bungee cord, slide it over the new pads, and reinstall the slider bolts, torquing them to 25–35 ft-lbs (35–50 Nm).
- ✅ Success Checkpoint: The assembly is solid, bolts are torqued, and the rotor spins freely between the pads with only a slight metallic whisper.
- ⚠️ Common Mistake: Getting greasy fingerprints on the friction surface of the brake pad or the rotor face. Grease permanently ruins the pad material.
Step 8: Perform Final Checks and Bed the Brakes
Mount the wheels and hand-tighten the lug nuts. Lower the vehicle completely to the ground and torque the lug nuts in a star pattern to 80–100 ft-lbs (110–140 Nm). Crucial step: Get into the driver’s seat and firmly pump the brake pedal 5 to 10 times until it feels rock hard. Top off the brake fluid reservoir under the hood and replace the cap. Finally, drive to a safe, empty road and perform the bed-in procedure: aggressively slow down from 60 km/h to 15 km/h five consecutive times without ever coming to a complete stop.
- ✅ Success Checkpoint: The brake pedal is firm, stopping power is smooth, and there are no squeals or vibrations.
- ⚠️ Common Mistake: Shifting into reverse or drive without pumping the brake pedal first. The retracted piston means you will have zero braking power on your first press, resulting in a collision.
Common Mistakes and How to Fix Them
Even careful mechanics encounter issues. If your job fails at a checkpoint, here is how to recover.
Steering Wheel Shakes When Braking
If the steering wheel vibrates aggressively under braking after a few hundred miles, the rotor is not sitting flush.
- The Fix: Remove the wheel, caliper, and rotor. Re-scrub the wheel hub with a wire brush or an abrasive drill attachment. Even a millimeter of rust trapped behind the rotor will cause lateral runout (wobble) that translates to shaking.
Spongy or Soft Brake Pedal
If the brake pedal sinks to the floor even after pumping it ten times, air has entered the hydraulic system.
- The Fix: Check the master cylinder reservoir. If it ran dry during compression or siphoning, air was sucked in. You must bleed the brake lines starting from the wheel furthest from the master cylinder (usually rear right) to flush the air bubbles out.
High-Pitched Squealing While Driving
A constant, high-pitched squeak that disappears when you press the brake pedal indicates metal-to-metal rubbing.
- The Fix: Remove the wheel and inspect the thin metal hardware clips you installed in Step 5. If one was pushed slightly out of alignment during pad installation, it is scraping the spinning rotor face. Push it back into its channel so it clears the rotor.
The Vehicle Pulls to One Side
If the car jerks left or right when braking, one caliper is applying more force than the other.
- The Fix: You likely have a seized slider pin. Disassemble the side that is not pulling toward (the under-performing side). Pull the slider pins, clean out the internal bore with a cotton swab, apply fresh silicone grease, and ensure they glide freely.
Variations: Rear Brakes vs. Front Brakes
The standard guide above assumes a front brake replacement. Rear brakes involve two critical variations:
- Twist-In Pistons: Rear calipers house the emergency mechanical parking brake. You cannot push these pistons straight back with a C-clamp. You must use a specialized caliper wind-back tool (available to rent for free at most auto parts stores) to simultaneously twist and press the piston clockwise back into the housing.
- Electronic Parking Brakes (EPB): Modern cars use electric motors on the rear calipers. If you attempt to compress the piston manually, you will shatter the $300 motor housing. You must navigate your dashboard menu to engage “Brake Service Mode,” which electronically unwinds the motor before you unbolt anything.
How Long Does It Take and What Does It Cost?
- Time: A first-timer should budget 2 to 3 hours for the front axle. An experienced DIYer can do an axle in 1 hour.
- Cost vs. Shop: High-quality ceramic pads and coated rotors cost roughly $120 to $180 per axle online. Dealerships and brake shops typically charge $400 to $600 per axle for this exact service, yielding a net savings of roughly $300 to $400 for your two hours of labor.
Frequently Asked Questions
Do I need to bleed the brakes when replacing pads and rotors? No. Replacing pads and rotors does not open the sealed hydraulic system, so air cannot enter. You only need to bleed the brakes if you disconnect the brake hose, replace the caliper entirely, or accidentally let the master cylinder run dry.
Should I use DOT 3 or DOT 4 brake fluid? Always check your master cylinder cap; it will specify which fluid to use. DOT 4 has a higher boiling point than DOT 3 but absorbs moisture faster. You can mix DOT 4 into a DOT 3 system safely, but you should never put DOT 3 into a system requiring DOT 4.
Can I just replace the pads and leave the old rotors? It is highly discouraged. Old rotors develop microscopic grooves matching the old pads. Slapping perfectly flat new pads onto grooved rotors results in a spongy pedal, reduced stopping power, and a high likelihood of brake squeal. Always replace them in pairs.
What happens if I forget to clean the oil off the new rotors? New rotors are coated in a rust-preventative oil for shipping. If you fail to blast this off with brake cleaner, the oil will immediately soak into the porous friction material of your new brake pads the first time you stop, permanently ruining their stopping power.
Knowing exactly how to replace brakes is a foundational mechanical skill. By keeping the hubs perfectly clean, using the correct lubricants, and strictly following torque specs, your DIY brake job will be safer and smoother than the average rush-job from a generic lube shop.