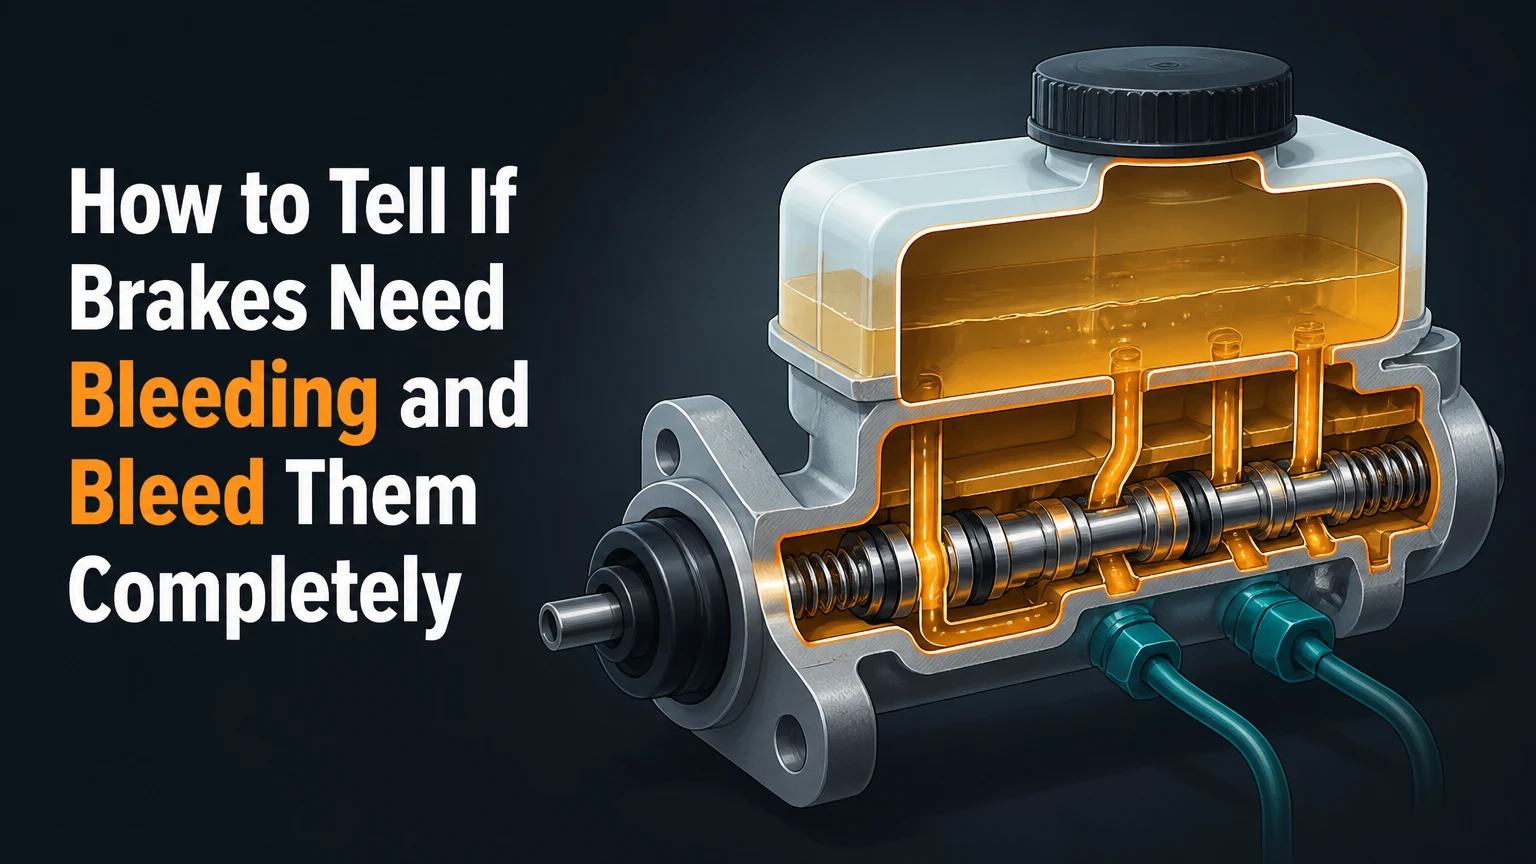
Knowing how to tell if brakes need bleeding comes down to recognizing trapped air in your vehicle’s hydraulic lines: a spongy pedal, excessive pedal travel, or a pedal that slowly sinks to the floor under steady pressure. Bleeding the brakes removes compressed air bubbles to restore immediate stopping power, taking about 60 to 90 minutes across 5 clear steps using basic hand tools, 1 quart of fresh brake fluid, and clear tubing.
Before You Start: Project Specifications
| Specification | Details |
| Total Project Time | 60–90 Minutes (Diagnostics: 5 min | Setup: 15 min | Bleeding: 40 min | Testing: 15 min) |
| Difficulty Level | Intermediate (Beginner-friendly with an assistant) |
| Estimated Cost | $15–$35 DIY (versus $150–$250 at a professional shop) |
| Required Safety Gear | Nitrile gloves, splash-proof safety goggles, shop towels |
| Brake Fluid Capacity | 32 oz (1 quart) fresh, sealed bottle (DOT 3, DOT 4, or DOT 5.1) |
| Bleeder Screw Torque | 5 to 9 lb-ft (6 to 12 Nm) |
Tools and Materials Checklist
- Line wrench or 6-point box-end wrench: 8mm, 10mm, or 11mm (matches bleeder screw size).
- Clear vinyl tubing: 1/4-inch inner diameter (ID), approximately 2 feet long.
- Clear catch container: Plastic bottle pre-filled with 1 inch of fresh brake fluid.
- Jack and jack stands: Rated for vehicle weight (never rely on a hydraulic jack alone).
- Penetrating oil: PB Blaster or WD-40 Specialist for corroded bleeder screws.
- Turkey baster or syringe: To siphon old fluid from the reservoir.
How to Tell If Your Brakes Need Bleeding: 3 Diagnostic Tests
Before raising the vehicle, perform these three physical tests to confirm whether air is trapped inside the hydraulic system.
Test 1: The Engine-Off Resistance Check
With the engine switched off, pump the brake pedal 3 to 4 times to deplete remaining vacuum in the brake booster. On the 4th pump, press down firmly.
- Normal result: The pedal stops abruptly near the top of its travel, feeling as solid as stepping on a concrete block.
- Air present: The pedal feels soft, springy, or squishy—similar to stepping on a wet sponge.
Test 2: The Steady Pressure Creep Test
Engine off, push the brake pedal down with moderate, continuous foot pressure for 30 seconds.
- Normal result: The pedal holds its height indefinitely without movement.
- Air present or leak: The pedal gradually sinks toward the floorboard. If no fluid leaks are visible underneath the car or around the wheels, air bubbles are compressing inside the brake lines.
Test 3: The “Double-Pump” Height Test
Start the vehicle and drive safely at low speed (under 10 mph) in a driveway. Press the brake pedal once, note where it engages, release it, and immediately press it a second time.
- Normal result: The pedal engages at the exact same height on both presses.
- Air present: The pedal engages significantly higher on the second pump because the first pump compressed trapped air bubbles.
Step-by-Step Brake Bleeding Instructions
Follow this sequence to purge air bubbles and replace degraded hydraulic fluid completely.
1.Prepare the Vehicle and Master Cylinder:Safety setup and reservoir priming.
Park the vehicle on a hard, level concrete surface, engage the parking brake, and loosen the lug nuts on all four wheels by one-quarter turn. Jack up the vehicle, position jack stands under factory support points, lower the vehicle onto the stands, and remove all four wheels. Open the hood and clean the exterior of the master cylinder reservoir with a dry rag to prevent dirt from entering the hydraulic system. Remove the cap, siphon out old brown fluid using a syringe down to the “MIN” line, and refill with fresh, unopened brake fluid up to the “MAX” line.
You’ll know it worked when: The master cylinder contains clean, clear fluid filled to the MAX mark, and the vehicle is stably elevated on jack stands.
Common Mistake: Leaving dirt on the reservoir cap. Even microscopic dirt grains can ruin master cylinder internal seals or clog caliper valving. Always wipe the cap before opening.
2.Set Up the Bleeder Hose and Catch Bottle:Preventing back-siphon of ambient air.
Identify the correct sequence for your vehicle—typically starting furthest from the master cylinder: Passenger Rear $\rightarrow$ Driver Rear $\rightarrow$ Passenger Front $\rightarrow$ Driver Front. Clean the bleeder screw nipple at the first wheel with a wire brush and spray penetrating oil if rust is visible. Slip your box-end wrench over the hex body of the bleeder valve, then push one end of the 1/4-inch clear tubing over the valve nipple. Place the other end of the tube into your clear catch bottle, ensuring the tip stays completely submerged beneath 1 inch of fresh brake fluid.
You’ll know it worked when: The tubing fits snugly onto the valve without loose gaps, and the exit end remains underwater in the catch bottle.
Common Mistake: Attaching the tube without pre-filling the catch bottle with fluid. If the tube end sits in open air, releasing pedal pressure can suck air backward into the brake caliper.
3.Execute the Two-Person Bleed Sequence:Pressure purge and valve timing.
Have an assistant sit in the driver’s seat. Command “Pump three times and hold!” The assistant pumps the brake pedal three times and holds steady pressure down. The assistant calls back “Holding!” Crack the bleeder valve counterclockwise one-quarter to one-half turn using your wrench. Old fluid and air bubbles will stream through the clear tube, and the pedal will drop to the floor. Before the pedal hits the floorboard and before your assistant releases pressure, close the bleeder valve snugly. Command “Release!” Repeat this 4 to 5 times until fluid streams clear without air bubbles.
You’ll know it worked when: The fluid flowing through the clear tube is light yellow, completely transparent, and free of floating air bubbles.
Common Mistake: Releasing the brake pedal while the valve is still open. This immediately draws ambient air directly into the caliper housing. Always close the valve before the pedal is released.
4.Monitor and Replenish Master Cylinder Fluid:Preventing complete system dry-out.
After completing the bleeding sequence on each wheel, return to the engine bay and check the master cylinder reservoir fluid level. Top off the reservoir with fresh brake fluid back to the “MAX” line before moving to the next wheel in the sequence (Driver Rear, Passenger Front, Driver Front).
You’ll know it worked when: The fluid level never drops below the MIN line at any point during the entire project.
Common Mistake: Letting the master cylinder reservoir run completely dry. If the reservoir empties, air enters the top of the hydraulic system, requiring a full master cylinder bench-bleed to fix.
5.Torque Bleeder Valves and Perform Final Pressure Test:Final tightening and road testing.
Once all four wheels are bled, wipe all bleeder valves dry. Torque each bleeder screw to 5 to 9 lb-ft (6 to 12 Nm) using a torque wrench—do not over-tighten. Top off the master cylinder to MAX and secure the cap. Reinstall the wheels, lower the vehicle to the ground, and torque lug nuts to factory specification (typically 80–100 lb-ft). With the engine running in Park or Neutral, press the brake pedal firmly; it must stay rock-solid without sinking. Perform a slow test drive in a safe area before normal driving.
You’ll know it worked when: The brake pedal remains firm under full foot pressure with the engine running, and the vehicle stops straight and smoothly.
Common Mistake: Over-torquing bleeder screws. Bleeder screws are hollow bolts that easily snap off inside the caliper housing if over-tightened, requiring full caliper replacement.
Common Mistakes and How to Fix Them
| Failure Mode | Root Cause | Immediate Recovery Fix |
| Pedal remains soft after bleeding all 4 wheels | Air is still trapped in the lines or inside the Anti-lock Braking System (ABS) valve block. | Re-bleed all four wheels. If the pedal is still soft, use an OBD-II scan tool with an ABS Automated Bleed routine to cycle the internal solenoids. |
| Bleeder screw is rusted shut and won’t turn | Heavy rust accumulation on threads. | Spray penetrating oil (PB Blaster) and let sit for 20 minutes. Tap the head gently with a brass hammer. Use a 6-point box-end wrench—never an open-end wrench—to prevent rounding. |
| Master cylinder ran dry during the process | Forgot to top off fluid between wheels. | Air was drawn into the master cylinder. You must perform a bench-bleed on the master cylinder or crack the line nuts at the master cylinder while an assistant depresses the pedal. |
| Brake fluid spilled onto car paintwork | Accidental splash while filling reservoir. | Immediately flood the area with clean water and automotive soap. Do not wipe dry with a shop towel first, as rubbing glycol fluid strips paint clear coat instantly. |
Process Variations
Variation A: One-Person Bleeding with a Vacuum Hand Pump
If working without an assistant, purchase a manual vacuum pump kit (e.g., Mityvac). Connect the pump’s reservoir hose to the bleeder screw nipple. Pump the hand lever to create 10 to 15 in-Hg of vacuum pressure in the line, then crack the bleeder valve 1/4-turn. The vacuum pulls fluid and air out into the catch bottle without requiring pedal pumping. Close the valve once clear fluid appears.
Variation B: Pressure Bleeding System (e.g., Motive Products)
For high-efficiency purging, use a tank pressure bleeder. Fill the tank with 2 quarts of fresh brake fluid, screw the custom adapter cap onto the master cylinder, and pressurize the bottle to 10–15 PSI. Walk to each wheel and simply open the bleeder valve into a catch bottle until clean fluid flows. This eliminates pedal pumping entirely and prevents the reservoir from ever running dry.
How Long Does It Take & What Does It Cost?
- Time Investment: Expect 60 to 90 minutes for a complete four-wheel manual bleed. If bleeder screws are severely rusted or ABS bleeding is required, plan for up to 2 hours.
- Cost Analysis: Doing this job yourself costs $15 to $35 (1 quart of DOT fluid and vinyl tubing). Professional repair shops charge $150 to $250 for a full brake fluid flush and system bleed.
Frequently Asked Questions
Can I bleed my brakes without taking the wheels off?
While technically possible on select vehicles with wide spoked alloy wheels, removing the wheels is strongly recommended. Wheel removal gives clear visual access to the bleeder screw, prevents fluid from contaminating brake pads or rotors, and allows proper torque wrench access.
What happens if I mix DOT 3 and DOT 4 brake fluid?
DOT 3 and DOT 4 are both glycol-ether based fluids and can be safely mixed in an emergency. However, DOT 4 has a higher boiling point. Mixing DOT 3 into a system requiring DOT 4 lowers the overall boiling point. Never mix glycol fluids with silicone-based DOT 5 fluid.
Why is my pedal still soft after bleeding with no air bubbles visible?
This indicates either air trapped inside the ABS module solenoids (requiring an ABS scan tool to cycle valves) or an internal seal failure inside the brake master cylinder where fluid bypasses the internal piston without holding hydraulic pressure.
How often should brake fluid be bled or flushed?
Automotive manufacturers generally recommend flushing and bleeding brake fluid every 2 years or 24,000 to 30,000 miles. Brake fluid is hygroscopic, meaning it absorbs moisture from the atmosphere over time, lowering its boiling point and causing internal corrosion.
Final Verification Checklist
Your vehicle is fully diagnosed and safely bled when:
- The pedal remains firm and high with zero sponge-like compliance when pressed with the engine off.
- Holding continuous pedal pressure for 30 seconds produces no downward pedal creep.
- The master cylinder reservoir is filled exactly to the MAX line with fresh, clear fluid.
- All four bleeder screws are torqued to 5 to 9 lb-ft with zero fluid dampness around the threads.