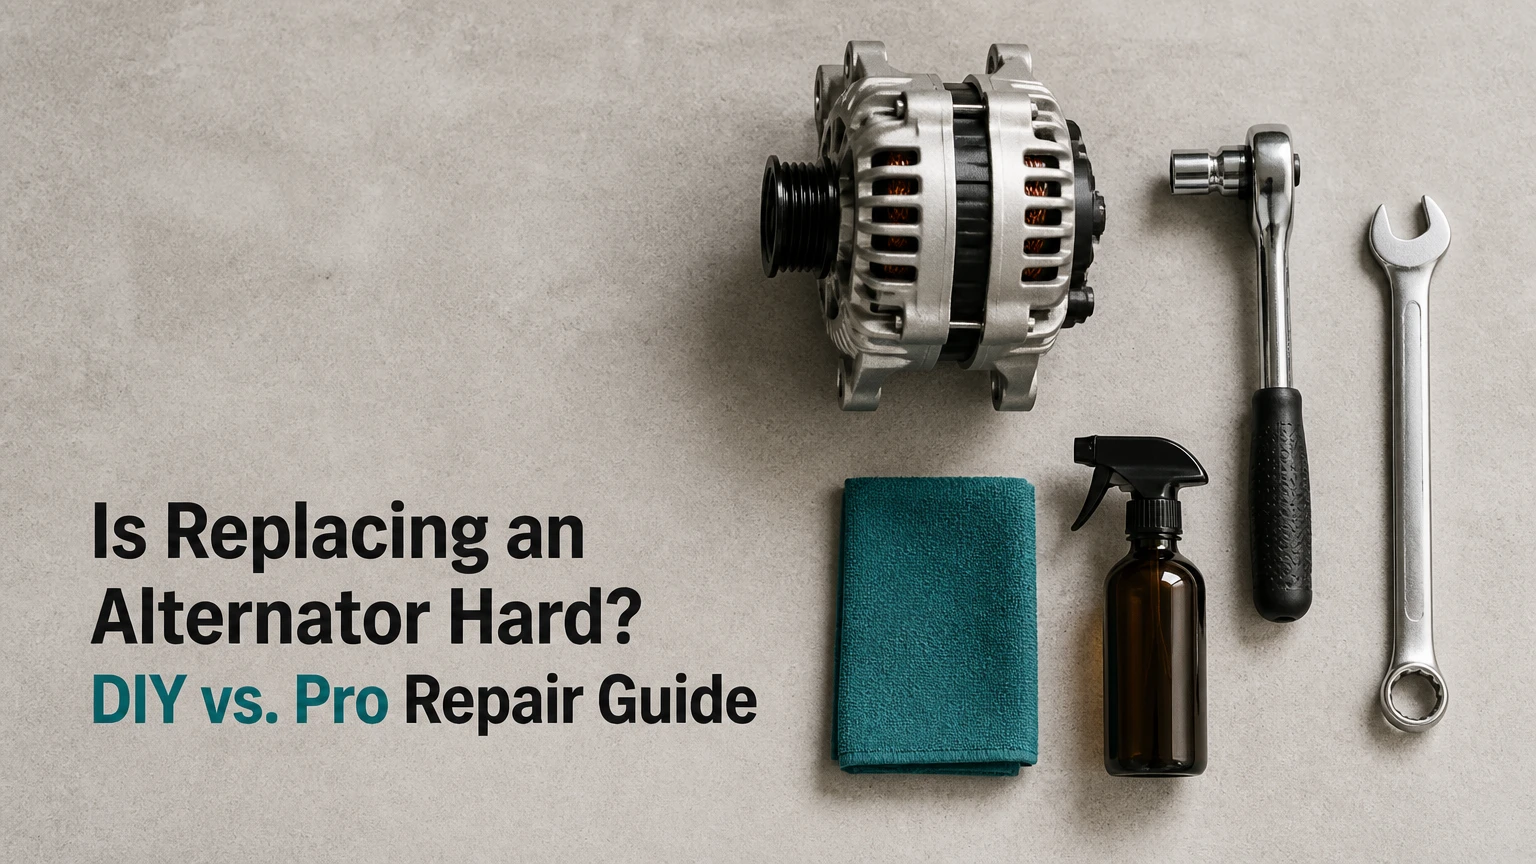
Replacing an alternator is moderately easy to moderately difficult for most DIY mechanics, taking between 1 to 3 hours on standard vehicles. On top-mounted longitudinal engines, it is a straightforward bolt-on repair requiring basic hand tools. However, on tight transverse engines, luxury cars, or water-cooled units, difficulty spikes significantly because front bumpers, wheel arches, or cooling lines must be removed first.
At a Glance: Alternator Replacement Facts
- Average DIY Difficulty: Level 2 out of 5 for top-mounted engines; Level 4 out of 5 for cramped front-wheel-drive or luxury bays.
- Standard Repair Time: 1 to 2 hours for basic cars; 3 to 5+ hours for high-density engine compartments.
- Core Tools Needed: Metric socket set, ratchet, serpentine belt tensioner tool or breaker bar, digital multimeter, and safety glasses.
- Cost Savings: Replacing it yourself costs $100 to $400 in parts, saving $350 to $1,200+ in professional shop labor fees.
- Golden Rule: Always disconnect the negative battery terminal first—working on a live alternator power post will instantly short-circuit and damage your vehicle’s ECU.
What Determines How Hard an Alternator Is to Replace?
Replacing an alternator varies from a 30-minute job to a full-day teardown based on three primary factors: engine orientation, component accessibility, and charging system technology.
1. Engine Bay Layout and Orientation
- Longitudinal Engines (Rear-Wheel Drive / Trucks): The engine sits front-to-back, placing the alternator near the top front of the bay. Clearance is excellent, making replacement easy.
- Transverse Engines (Front-Wheel Drive / Compacts): The engine sits sideways. Alternators are often wedged against the firewall, underneath power steering pumps, or accessible only by removing the passenger-side front wheel and inner fender liner.
- Mid/Rear Engines & All-Wheel Drive: Limited clearance often requires unbolting engine mounts to lower the subframe or removing intake manifolds to create clearance.
2. Vehicle Class and Auxiliary Systems
- Economy & Older Vehicles: Simple mechanical mounting with 2 to 3 bolts and two electrical connectors.
- Luxury Imports (BMW, Mercedes-Benz, Audi): Frequently feature water-cooled alternators integrated into the primary cooling loop, requiring a full coolant drain, line bleeding, and new O-rings during installation.
- 48-Volt Mild Hybrids: Utilize Belt Alternator Starter (BAS) units that weigh up to 30 pounds, operate under high voltage, and require specialized safety protocols.
How Does Engine Layout Impact DIY Difficulty?
Engine layout directly dictates how many preliminary parts you must dismantle before touching the alternator mounting bolts.
| Vehicle Layout | Typical Location | Removal Steps Required | Difficulty Rating (1–5) | Estimated Time |
| Top-Mounted Truck / SUV | Top front of engine | Plastic engine cover, belt tension release | 1 / 5 (Very Easy) | 45 – 90 mins |
| Transverse FWD Compact | Lower rear or bottom side | Wheel liner, splash guard, A/C compressor bracket | 3 / 5 (Moderate) | 2 – 3.5 hours |
| Subaru Boxer (H4/H6) | Top center of engine | Belt cover, radiator stay, alternator bracket | 2 / 5 (Easy) | 1 – 1.5 hours |
| German Luxury (BMW/Audi) | Lower engine bay | Front bumper, radiator core support, coolant lines | 4.5 / 5 (Hard) | 4 – 6+ hours |
How Do You Test an Alternator with a Multimeter Before Replacing It?
Before spending money on replacement parts, you must confirm that the alternator—not a degraded battery or corroded ground strap—is the root cause of electrical failure.
Step 1: Resting Battery Voltage Test (Engine Off)
Set your digital multimeter to DC Volts (20V scale). Touch the red probe to the positive (+) battery terminal and the black probe to the negative (-) terminal.
- 12.6 Volts or higher: Battery is fully charged.
- Below 12.2 Volts: Battery is discharged. Charge the battery fully before testing the alternator, as a dead battery yields false diagnostic readings.
Step 2: Charging Voltage Output Test (Engine Running)
Start the engine and retest voltage across the battery terminals:
- 13.5 to 14.5 Volts: The alternator is charging normally.
- Below 13.0 Volts: The alternator regulator or stator has failed; it is undercharging.
- Above 15.0 Volts: The internal voltage regulator has failed short; it is overcharging and damaging battery cells.
Step 3: Diode AC Ripple Voltage Test
Switch your multimeter to AC Volts. Touch probes to battery terminals while the engine runs with headlights and heater fan turned on:
- Under 0.05 AC Volts (50mV): Rectifier diodes are intact.
- Over 0.10 AC Volts (100mV): Internal rectifier diode is blown. The alternator is leaking AC voltage into the system, causing electronic glitches and draining the battery overnight.
Step-by-Step Guide: How Do You Replace a Car Alternator?
Follow this structured procedure to safely swap an alternator.
1.Disconnect the Negative Battery Terminal:Safety Prerequisite — Mandatory First Step.
Locate the negative battery cable (black or marked with a minus sign). Loosen the terminal nut using an 8mm or 10mm wrench and pull the cable completely clear of the post. Tuck it securely to the side to prevent accidental contact.
Success Checkpoint: Horn, interior lights, and dash displays remain completely dark when door is opened.
2.Clear Access Obstructions and Document Belt Routing:Prep & Layout Verification.
Unbolt plastic engine covers, intake ducts, or cooling fan shrouds blocking access to the alternator. Before touching the belt tensioner, snap a clear photo of the serpentine belt pathway around every pulley.
Common Mistake: Relying on memory for belt routing. Installing the belt wrong spins water pumps or power steering units backward.
3.Release Serpentine Belt Tension:Drive System Disengagement.
Insert a socket wrench, breaker bar, or dedicated serpentine belt tool into the square drive hole or hex bolt on the automatic tensioner pulley. Rotate the tensioner firmly against spring pressure to relieve tension, then slip the belt off the alternator pulley. Slowly release the tensioner arm.
Success Checkpoint: The serpentine belt rests loosely off the alternator pulley without binding on neighboring components.
4.Disconnect Electrical Cables from the Alternator:Wiring Harness Disassembly.
Unplug the plastic multi-pin voltage regulator connector harness. Unscrew the protective rubber boot covering the main battery output cable (B+ terminal), then remove the retaining nut (typically 10mm, 12mm, or 13mm) and slide the wire eyelet off the post.
Safety Warning: Never pull on raw wiring strands; pull strictly on the plastic connector housing latch to prevent internal wire breakage.
5.Unbolt and Extract the Old Alternator:Physical Removal.
Remove the 2 to 4 mounting bolts holding the alternator bracket to the engine block. Note bolt lengths, as top and bottom bolts are often different sizes. Carefully pry the old alternator out of its mounting ears using a small pry bar.
Success Checkpoint: The unit lifts free without catching on hidden ground straps or wiring looms.
6.Install New Unit, Torque Bolts, and Reinstall Belt:Reassembly & Tensioning.
Slide the replacement alternator into position. Hand-thread all mounting bolts before tightening to avoid cross-threading, then torque to manufacturer specification (typically 25–40 ft-lbs). Reattach B+ terminal eyelet and harness plug. Rotate tensioner, route the serpentine belt matching your reference photo, and verify belt grooves sit centered in every pulley track.
Success Checkpoint: Belt alignment is centered across every grooved pulley track with no overhang.
What Are the 4 Types of Alternators and Their Replacement Challenges?
Modern auto manufacturers utilize four distinct alternator architectures, each presenting unique service requirements:
  +-----------------------------------------------------------------+
  |                  12-V Conventional Alternators                  |
  |  Fixed output baseline • Standard hand tools • Simple 2-wire setup  |
  +-----------------------------------------------------------------+
                                  │
                                  ▼
  +-----------------------------------------------------------------+
  |                        Smart Alternators                        |
  | Dynamic ECU control • LIN/CAN bus linkage • Requires BMS reset |
  +-----------------------------------------------------------------+
                                  │
                                  ▼
  +-----------------------------------------------------------------+
  |                     Water-Cooled Alternators                    |
  | Integrated cooling jacket • Fluid drain & bleed • O-ring replacement|
  +-----------------------------------------------------------------+
                                  │
                                  ▼
  +-----------------------------------------------------------------+
  |            48-V Belt Alternator Starter (BAS) Systems           |
  | High-voltage hybrid unit • Weight >30 lbs • Advanced calibration|
  +-----------------------------------------------------------------+
1. Conventional 12-Volt Alternators
Found on older vehicles and basic economy models. Internal mechanical regulators maintain continuous 13.8–14.4 V output whenever the engine runs.
- Replacement Complexity: Low. Simple swap with zero electronic calibrations required.
2. Smart Alternators (ECU-Controlled)
Standard on most vehicles manufactured after 2012. The ECU communicates via LIN (Local Interconnect Network) to dynamically dial voltage between 12.2 V and 15.0 V based on throttle position, battery temperature, and electrical load to optimize fuel economy.
- Replacement Complexity: Moderate to High. Often requires a Battery Management System (BMS) Reset via an OBD-II scan tool after replacement so the ECU recognizes the fresh unit’s charge curve.
3. Water-Cooled Alternators
Utilized in select European luxury platforms (e.g., BMW 7-Series, Mercedes E/S-Class, Audi A8). These units sit inside an engine coolant jacket to dissipate intense electrical heat silently.
- Replacement Complexity: High. Requires draining engine coolant, replacing sealed housing gaskets, and performing an automated cooling system vacuum bleed upon completion to prevent air locks.
4. 48-Volt Belt Alternator Starter (BAS) / Mild Hybrid Units
Found in modern mild-hybrid vehicles. Serves as both generator and starter motor to restart the engine instantly during start-stop cycles while assisting torque output.
- Replacement Complexity: Professional Only. High-voltage power lines require strict battery pack isolation protocols before handling to prevent high-amperage shock hazard.
How Much Does It Cost to Replace an Alternator (DIY vs. Shop)?
Total replacement cost depends heavily on whether you supply DIY labor or pay professional shop rates ($120 to $220 per hour).
| Vehicle Category | Component Cost (DIY) | Professional Shop Total | Labor Time | DIY Savings |
| Standard Domestic / Asian Economy | $120 – $280 | $450 – $750 | 1.0 – 1.5 hrs | $330 – $470 |
| Light Trucks & Full-Size SUVs | $200 – $400 | $650 – $1,000 | 1.5 – 2.5 hrs | $450 – $600 |
| European Luxury / Smart Charge | $350 – $700 | $950 – $1,600 | 2.5 – 4.0 hrs | $600 – $900 |
| Mild-Hybrid / Water-Cooled | $600 – $1,200+ | $1,500 – $2,500+ | 3.5 – 5.0+ hrs | $900 – $1,300+ |
Understanding the “Core Charge” Deposit
When buying a replacement alternator at an auto parts store, you will pay an extra $30 to $100 core charge deposit. This deposit is fully refunded when you return your old broken alternator in the new unit’s box so manufacturers can remanufacture the housing and internal core.
OEM vs. Aftermarket vs. Remanufactured: Which Should You Buy?
Choosing the correct replacement component tier balances reliability, warranty coverage, and total out-of-pocket budget.
                          ALTERNATOR CHOICE DECISION MATRIX
                                          │
                  ┌───────────────────────┴───────────────────────┐
                  ▼                                               ▼
         Priority: Max Longevity                        Priority: Best Value
                  │                                               │
        ┌─────────┴─────────┐                           ┌─────────┴─────────┐
        ▼                   ▼                           ▼                   ▼
    OEM New           New Aftermarket            Remanufactured OEM    Bargain Import
(100% Factory)     (Top Brand Name)             (Factory Refreshed)   (White Label)
  • $300-$800+       • $180-$400                  • $120-$280           • $80-$140
  • Highest quality   • Good quality               • OEM fitment         • High failure rate
  • 1-3 yr warranty   • Lifetime warranty          • Core return needed  • Short warranty
1. Original Equipment Manufacturer (OEM)
- Pros: Manufactured to exact original vehicle engineering tolerances; highest grade diode bridges and bearings; longest service lifespan (100k+ miles).
- Cons: High cost ($300 to $800+ part cost alone).
- Verdict: Best choice for luxury vehicles, smart alternators, or hard-to-access engine bays where labor is intensive.
2. Brand-Name New Aftermarket (e.g., Denso, Bosch, TYC, Remy)
- Pros: Costs 30% to 50% less than dealership OEM; built brand-new without wear history; often carries a limited lifetime warranty.
- Cons: Minor variations in pulley finish or mounting ear casting thickness can occasionally require fine-tuning during install.
- Verdict: The sweet spot for DIY mechanics seeking reliable performance at fair pricing.
3. Remanufactured (Factory Rebuilt)
- Pros: Eco-friendly and economical; original OEM casting housing reused while wear items (bearings, brushes, voltage regulator, diodes) are replaced brand-new.
- Cons: Quality control varies widely between rebuilders; requires returning old unit for core deposit refund.
- Verdict: Excellent budget choice for older, high-mileage vehicles.
What Are the 5 Critical Mistakes to Avoid During Replacement?
- Working Without Disconnecting the Battery Negative Post: The main B+ cable connecting the alternator to the battery remains hot (live 12V) even with ignition key turned off. Touching your socket wrench between this terminal and the metal engine block creates an intense short-circuit arc that instantly blows the main 100A–200A fuse or fries delicate microprocessors in the ECU.
- Installing a New Alternator onto a Discharged Battery: A replacement alternator is designed to maintain battery charge, not charge a dead battery from zero. Forcing a brand-new alternator to full 100% continuous duty cycle immediately upon start-up overheats internal diode rectifiers, causing premature burnout within the first week. Always trickle-charge your battery fully before starting the car.
- Overtightening or Misrouting the Serpentine Belt: Excessive belt tension exerts intense lateral load onto front alternator bearings, destroying them within months and generating high-pitched whining noises. Conversely, under-tensioning leads to belt slip, squealing, and undercharging.
- Cross-Threading Aluminum Mounting Bolts: Alternator mounting brackets are constructed from soft cast aluminum. Forcing steel bolts in with an impact wrench easily strips mounting threads. Always start threads 4 to 5 turns by hand first.
- Ignoring Corrosion on Electrical Terminals: Reattaching eyelet connectors over corroded, oxidized copper terminals creates high electrical resistance. This causes local heat buildup, voltage drops, and deceives the voltage regulator into overcharging. Clean all cable eyelets with a wire brush until bright metal shows before tightening.
Frequently Asked Questions
Can I drive my car with a bad alternator?
Driving with a failing alternator is unsafe and strongly discouraged. Once the alternator stops generating electricity, your vehicle relies strictly on reserve battery power, which depletes within 15 to 30 minutes. When battery voltage drops below critical thresholds, power steering, ABS braking modules, fuel injectors, and safety systems shut down without warning while driving.
Do I need special tools to change an alternator?
Most standard vehicles require basic hand tools: a metric socket set (8mm to 17mm), ratchets, combination wrenches, safety glasses, and a digital multimeter. However, serpentine belts with tight clearances may require a dedicated thin-profile serpentine belt tool kit ($25–$40 rental at local parts stores).
Why does my new alternator make a high-pitched whining noise?
An alternator whine immediately after installation points to three causes: a serpentine belt routed too tight, improper belt alignment over grooved pulley tracks, or an overloaded alternator attempting to charge a dead car battery. Less commonly, cheap re-manufactured units can arrive with defective internal bearings right out of the box.
Do smart alternators require ECU registration after replacement?
Yes, many modern vehicles (including BMW, Ford, Audi, and GM models with Smart Charging systems) require an electronic Battery Management System (BMS) or alternator adaptation reset using an OBD-II diagnostic scan tool. Without this reset, the ECU may continue applying charging algorithms tailored to an aging alternator, causing overcharging or reduced fuel economy.
How long does a replacement alternator typically last?
A quality OEM or high-grade aftermarket replacement alternator lasts between 80,000 and 150,000 miles (typically 7 to 10 years of average driving). Lifespan is reduced by severe hot climates, oil leaks from valve covers dripping onto internal alternator windings, and high aftermarket audio amplifier electrical loads.