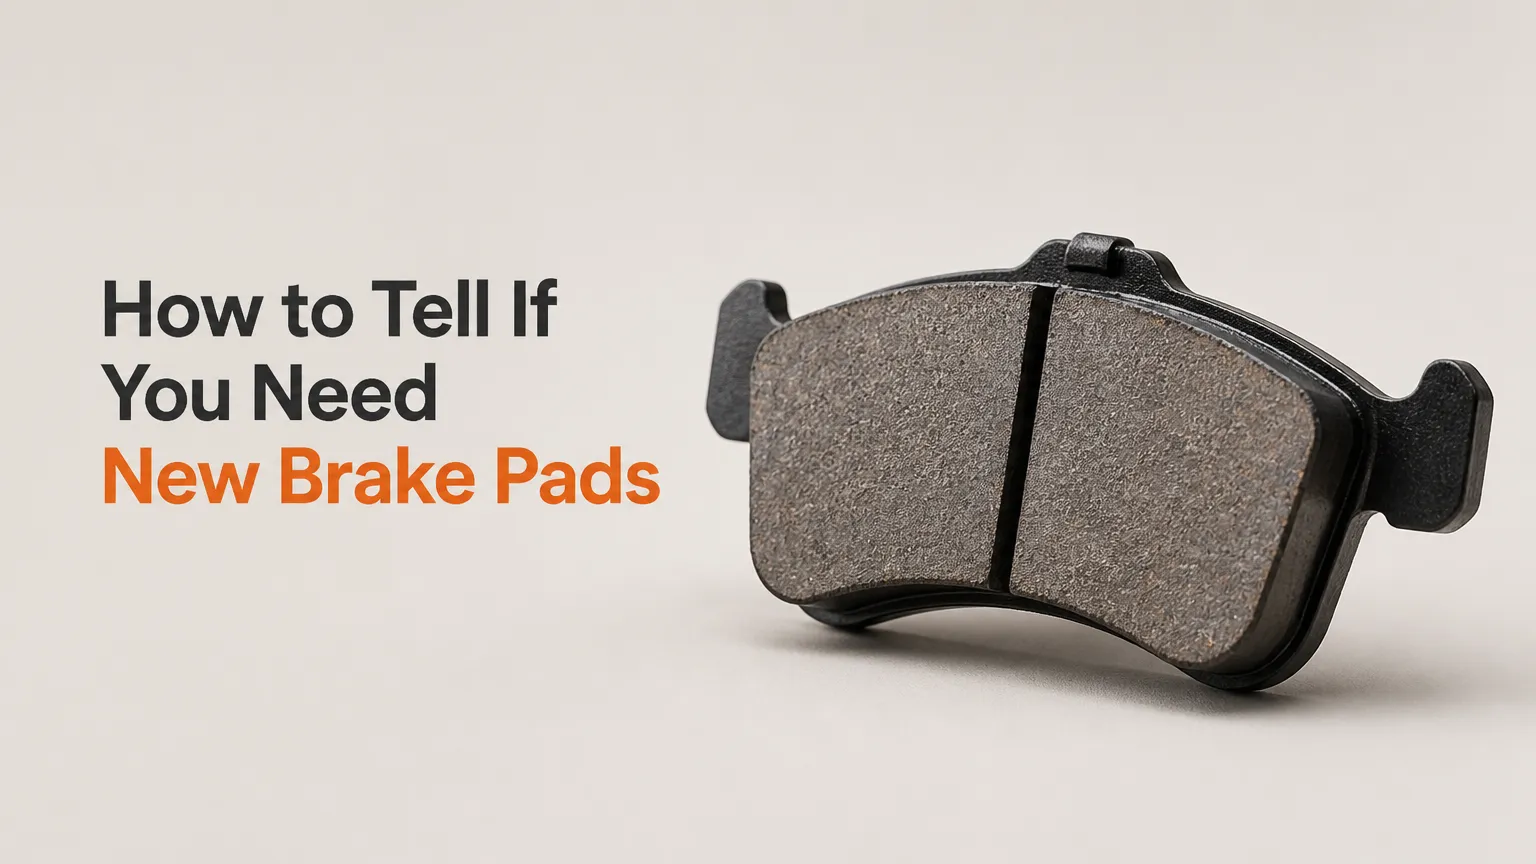
Determining if you need new brake pads requires listening for wear indicators, feeling pedal feedback, and physically measuring the remaining friction material. Following this 7-step diagnostic process takes approximately 45 to 60 minutes, requiring basic hand tools to safely measure whether your pads have reached the critical $3\text{ mm}$ ($1/8\text{ in}$) replacement threshold.
Before You Start
- Time Required: 45–60 minutes total (approx. 20–30 minutes per wheel)
- Difficulty Level: Beginner / DIY Friendly
- Cost: $0 (if using existing home tools) or $10–$15 for a dedicated brake gauge tool
- Prerequisites: Flat, level concrete surface; basic familiarity with operating a vehicle floor jack
Tools & Materials Needed
- Floor jack (rated for your vehicle’s gross weight)
- Jack stands (2 minimum, correctly rated)
- Wheel chocks (2 minimum)
- Breaker bar or lug wrench with matching socket size
- Torque wrench ($10\text{–}150\text{ lb-ft}$ range)
- Brake pad lining thickness gauge (color-coded) or metric steel ruler
- High-lumen flashlight or headlamp
- Mechanic gloves and safety glasses
The 7-Step Brake Pad Inspection Process
Step 1: Perform Audio and Brake Pedal Feel Diagnostics
Listen for acoustic wear indicators and evaluate pedal resistance while driving the vehicle at low speeds on a quiet, safe street.
- How to perform: Drive at $15\text{–}25\text{ mph}$ ($25\text{–}40\text{ km/h}$) in a quiet area, roll down your windows, and apply light to moderate brake pressure. Listen for a high-pitched metallic squeal that occurs while rolling or braking, or a harsh metal-on-metal scraping sound. Pay attention to vibrations in the steering wheel or a spongy, low-sinking pedal.
- Success Check: You’ll know it worked when you can categorize your vehicle’s condition into one of three states: quiet/firm (healthy), metallic squealing (wear indicator triggered), or harsh grinding (friction material fully depleted).
- Common Mistake: Confusing morning surface rust noise with worn brake pads. High humidity creates a microscopic layer of rust on iron rotors overnight that squeaks for the first 2–3 stops. If the squeal persists after 5 minutes of driving, it is a genuine wear indicator.
Step 2: Stabilize the Vehicle on Level Ground
Park the vehicle on a flat, solid concrete surface, engage the parking brake, and install wheel chocks around the tire on the opposite axle you are lifting.
- How to perform: Position the car on flat concrete (never asphalt on a hot day or soft dirt). Engage the parking brake firmly. Place one wheel chock in front of and one chock behind the rear wheel if lifting the front axle (or front wheel if lifting the rear axle).
- Success Check: You’ll know it worked when the vehicle cannot roll in either direction when nudged firmly by hand.
- Common Mistake: Relying solely on the transmission’s “Park” gear or parking brake without wheel chocks. When you lift the front wheels of a front-wheel-drive car, the transmission park pawl loses effective ground contact on that end. Always chock the grounded wheels.
Step 3: Break Loose the Wheel Lug Nuts
Loosen each lug nut on the wheel you are inspecting by one half-turn while the tire is firmly resting on the ground.
- How to perform: Place your socket and breaker bar onto the first lug nut at the 12 o’clock position. Apply steady counterclockwise pressure (lefty-loosey) until the nut cracks free, then turn it approximately $180^\circ$. Repeat for all lug nuts on that wheel in a star pattern.
- Success Check: You’ll know it worked when all lug nuts are slightly loose to the touch but the wheel remains snug against the hub face.
- Common Mistake: Attempting to break lug nuts loose after lifting the car off the ground. The wheel will spin freely in the air, making it dangerous and difficult to loosen stuck nuts without knocking the vehicle off the jack.
Step 4: Lift and Support the Vehicle on Jack Stands
Raise the car using your hydraulic floor jack and immediately set it down onto load-rated jack stands placed under factory lift points.
- How to perform: Locate your vehicle’s factory pinch welds or frame lift points (marked by notches along the rocker panel under the doors). Position the floor jack saddle under the lift point and pump until the tire clears the ground by $2\text{–}3\text{ inches}$ ($5\text{–}8\text{ cm}$). Immediately slide a jack stand directly under the designated frame point next to the jack, extend the stand’s ratchet arm to height, and slowly lower the jack until the car’s weight rests fully on the stand.
- Success Check: You’ll know it worked when the floor jack carries no weight and a firm push on the vehicle’s rear quarter panel yields zero wobble or movement on the jack stand.
- Common Mistake: Placing jack stands under floor pans, suspension control arms, or steering linkages. This causes severe structural bending. Always use designated pinch welds or reinforced frame rails specified in your owner’s manual.
Step 5: Remove the Wheel and Inspect the Caliper Setup
Remove the loosened lug nuts by hand, pull the wheel straight off the hub, and place the wheel flat underneath the frame rail as a secondary safety shield.
- How to perform: Unthread all lug nuts completely. Grasp the tire at the 3 o’clock and 9 o’clock positions, pull it straight off the wheel studs, and slide it flat face-up under the car’s frame rail right beside your jack stand.
- Success Check: You’ll know it worked when the brake caliper, rotor surface, and brake pads are completely accessible and unobscured.
- Common Mistake: Storing removed lug nuts in dirty grass or gravel where debris can coat the threads. Place them inside the turned-up wheel center cap or a clean tool tray.
Step 6: Measure Pad Friction Material Thickness
Locate the brake pad assembly inside the caliper, distinguish the friction material from the steel backing plate, and measure remaining pad depth with your gauge or ruler.
- How to perform: Shine your flashlight through the top inspection window of the brake caliper. Identify the thin metal backing plate glued to the caliper piston, and locate the textured friction pad sandwiched against the smooth rotor surface. Insert your brake lining gauge or steel ruler perpendicular to the rotor surface to measure only the dark friction lining material. Inspect both the outer pad (visible through spokes) and inner pad (visible through the rear caliper slot).
- Success Check: You’ll know it worked when you obtain an exact millimeter reading for both inner and outer pads on the axle.
- Common Mistake: Including the $4\text{–}5\text{ mm}$ thick steel backing plate in your measurement. Measuring the backing plate makes a completely destroyed $1\text{ mm}$ pad appear to have $5\text{–}6\text{ mm}$ of life left, risking total brake failure.
Brake Pad Thickness Wear Scale
| Thickness Measurement | Wear Level Status | Required Action |
| $10\text{ to }12\text{ mm}$ ($3/8\text{ to }1/2\text{ in}$) | Brand New | No action required. |
| $6\text{ to }9\text{ mm}$ ($1/4\text{ to }3/8\text{ in}$) | Good Condition | Normal wear; inspect again in $10,000\text{ miles}$. |
| $4\text{ to }5\text{ mm}$ ($3/16\text{ in}$) | Moderate Wear | Plan for replacement within $2,000\text{–}5,000\text{ miles}$. |
| $\le 3\text{ mm}$ ($1/8\text{ in}$) | Critical Wear Limit | Replace pads immediately. |
| $\le 1\text{ mm}$ ($1/32\text{ in}$) | Bare Metal Contact | Severe hazard; replace pads and rotors immediately. |
Step 7: Remount Wheel and Torque Lug Nuts to Spec
Remount the wheel, hand-tighten the lug nuts, lower the vehicle to the ground, and torque all lug nuts in a crisscross pattern using a calibrated torque wrench.
1.Mount Wheel and Hand-Tighten Lug Nuts:Pre-tightening phase while elevated.
Lift the wheel onto the hub studs. Thread all lug nuts on by hand in a clockwise direction until snug against the wheel taper face. Spin the wheel by hand to ensure it sits flush against the brake rotor face.
2.Snug Nuts in a Star Pattern:Centering the wheel lug holes.
Use your lug wrench to snug each nut in a cross/star pattern until the wheel begins to rotate on the hub. Do not attempt full torque while the car is elevated.
3.Lower Vehicle to Ground:Transferring weight back to tires.
Remove the safety wheel flat from under the frame. Raise the floor jack $1\text{ inch}$ to relieve pressure on the jack stand, pull out the jack stand, and slowly lower the car until the tire rests firmly on the ground.
4.Apply Final Torque to Factory Specification:Critical safety tightening.
Set your torque wrench to your vehicle’s factory specification—typically $80\text{–}100\text{ lb-ft}$ ($110\text{–}135\text{ N}\cdot\text{m}$) for cars, or $100\text{–}140\text{ lb-ft}$ ($135\text{–}190\text{ N}\cdot\text{m}$) for trucks/SUVs. Tighten each lug nut in a star pattern until the wrench handle gives an audible click.
- Success Check: You’ll know it worked when every lug nut yields an audible, tactile click from the torque wrench without further nut rotation.
- Common Mistake: Omission of the star pattern tightening sequence. Tightening lug nuts in a circular clockwise order clamps the wheel unevenly, leading to brake rotor warping, pedal pulsation, or loose lug nuts over time.
Common Mistakes and How to Fix Them
1. Stuck or Rusted Lug Nuts
- The Failure: The lug wrench slips or will not budge the lug nut, risking rounded nut edges.
- The Fix: Apply a penetrating fluid (e.g., PB Blaster or Liquid Wrench) directly to the exposed stud threads. Allow it to soak for 10 minutes. Use a $6\text{-point}$ socket instead of a $12\text{-point}$ socket on a long breaker bar ($24\text{ inches}$) to increase leverage. Never spray penetrating lubricant onto the brake rotor surface or friction pads.
2. Uneven Wear Between Inner and Outer Pads
- The Failure: The outer pad measures a healthy $7\text{ mm}$, but the inner pad is worn down to $2\text{ mm}$.
- The Fix: Uneven inner/outer pad wear indicates frozen caliper guide pins or stuck slide bushings. Unbolt the caliper, pull out the steel guide pins, clean off dried grease and rust with fine steel wool, apply high-temperature synthetic ceramic brake grease, and reassemble with new rubber dust boots.
3. Tapered Pad Wear Across the Surface
- The Failure: The top edge of a single brake pad measures $6\text{ mm}$, while the bottom edge measures $2\text{ mm}$.
- The Fix: Tapered wear occurs when caliper mounting brackets are bent, or caliper hardware clips are packed with rust scale. Replace the stainless steel abutment hardware clips and thoroughly clean the caliper bracket sliding channels down to bare metal with a wire brush.
4. Deep Grooves Cut Into the Brake Rotor
- The Failure: The brake rotor surface shows circular scores or deep ridges deeper than $1.5\text{ mm}$.
- The Fix: Deep grooves mean the friction material ran completely out, causing the metal backing plate or wear tab to grind directly into the iron rotor. You cannot simply install fresh pads onto gouged rotors; you must either have the rotors resurfaced on a brake lathe or replace both rotors alongside the new pad set.
Alternate Inspection Methods & Variations
Option A: Open-Spoke Visual Check (No Wheel Removal Required)
If your vehicle has open alloy wheels (spokes separated by wide gaps), you can inspect outer pad thickness without jacking up the car.
- Park the car on level ground with the steering wheel turned fully toward the side you are inspecting.
- Shine your flashlight directly through the wheel spokes into the caliper assembly.
- Slide a flat-blade brake lining gauge between the rotor and pad backing plate.
- Constraint: This method only measures the outer pad. You must still inspect the inner pad visually from underneath or through the wheel well to confirm even wear.
Option B: Inspection for Vehicles with Enclosed Steel Wheels or Hubcaps
If your vehicle has stamped steel wheels covered by plastic hubcaps, an open visual check is impossible.
- Pry off the plastic hubcap using the flat end of your lug wrench handle or a trim tool.
- You must follow Steps 2 through 6 above to remove the steel wheel completely. Steel wheels offer zero visibility through hub face ventilation holes.
Process FAQ
How often should I check my brake pad thickness?
Inspect brake pad thickness every 10,000 miles ($16,000\text{ km}$) or during every regular tire rotation. If you drive heavily in urban stop-and-go traffic or carry heavy loads, inspect pads every 6,000 miles.
What is the minimum legal thickness for brake pads?
Most state vehicle safety inspections mandate a minimum friction material thickness of $2\text{ mm}$ ($1/16\text{ in}$). However, automotive manufacturers and safety engineers universally recommend replacing pads when they reach $3\text{ mm}$ ($1/8\text{ in}$) to prevent sudden heat fade and rotor damage.
Why do inner brake pads wear out faster than outer brake pads?
Inner pads wear faster because single-piston floating calipers push directly against the inner pad first when hydraulic pressure builds. If caliper slide pins lack lubrication, the caliper body fails to pull the outer pad inward with equal force, putting double the workload on the inner pad.
Can I replace brake pads on just one side of my car?
No. Always replace brake pads in complete axle sets (both front wheels or both rear wheels simultaneously). Replacing pads on only one wheel causes uneven braking force, leading to dangerous vehicle pulling toward one side during hard emergency stops.