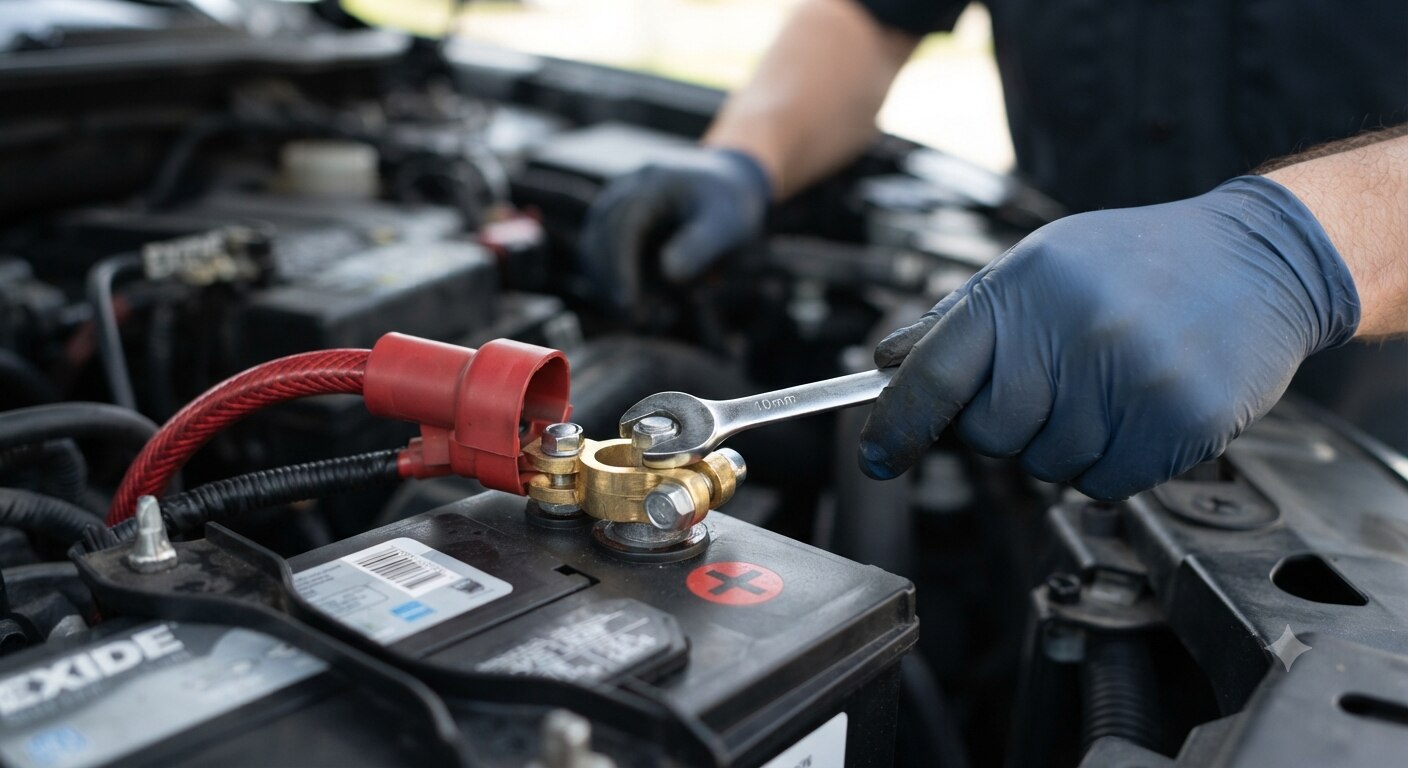
Have you ever turned your key in the ignition only to hear a frustrating click, or experienced flickering dashboard lights that signal a sudden electrical failure? While many drivers instantly assume they need a brand new battery, the true culprit is often hiding right in plain sight: corroded, loose, or physically damaged battery terminals.
Over time, constant exposure to moisture, engine heat, road salt, and chemical reactions from battery acid causes a thick, powdery buildup of corrosion to accumulate. This corrosive barrier erodes the metal connection, restricting the smooth flow of electrical current from your battery to your starter motor and alternator.
Knowing how to install car battery terminals is an essential DIY automotive skill that can save you time, frustration, and a costly trip to the repair shop. Replacing worn out terminals restores reliable starting power, ensures optimal charging system performance, and prevents unexpected roadside breakdowns. In this comprehensive guide, we will walk you through everything you need to know, from gathering the proper equipment to executing a safe and professional installation.
Recognizing the Signs of Failing Battery Terminals
Before diving into the mechanical work, it helps to understand why your current hardware might be failing. Recognizing the warning signs early prevents you from getting stranded with a car that refuses to start.
- Slow Cranking Engine: If your engine turns over sluggishly even after you know the battery is fully charged, high resistance at the terminal connection is likely starving the starter of necessary amperage.
- Visible Corrosion: A heavy crust of white, blue, or green powdery buildup around the terminal clamps indicates advanced acid corrosion.
- Loose or Slipping Clamps: If you can wiggle or twist the terminal connectors by hand with minimal effort, the clamping mechanism has stretched out or worn down.
- Electrical Glitches: Intermittent failures with power windows, radio presets, headlights, or dashboard warnings can stem from unstable power delivery caused by faulty terminal connections.
- Physical Cracks or Damage: Metal fatigue, stress fractures, or stripped clamping bolts mean the terminal can no longer maintain a secure grip on the battery post.
Essential Tools and Materials Needed
Before you begin working under the hood, preparation is key. Having the right tools on hand makes the entire replacement process smooth, efficient, and safe.
| Tool or Material | Purpose | Estimated Cost |
| Wire Cutters / Strippers | Trimming away old, corroded wire sections and exposing fresh copper. | $15 to $30 |
| Utility Knife | Peeling back stubborn plastic wire insulation. | $5 to $10 |
| Wrench / Socket Set | Loosening terminal bolts and securing new hardware. | $15 to $40 |
| Replacement Terminals | High quality brass or lead replacement clamps matching your vehicle. | $10 to $25 |
| Dielectric Grease | Preventing future moisture intrusion and rust formation. | $5 to $10 |
| Safety Glasses & Gloves | Protecting your eyes and skin from battery acid and sharp wire ends. | $10 to $15 |
Step-by-Step Guide: Removing the Old Terminals
Removing old, corroded battery terminals requires patience and strict adherence to safety protocols. Working with automotive electrical systems always carries a minor risk of sparking, so following the correct sequence is vital.
Step 1: Preparation and Safety Precautions
Park your vehicle on a flat, level surface, engage the emergency parking brake, and turn off the ignition completely. Pop your hood and secure it with the prop rod. Put on your safety glasses and heavy duty work gloves to protect yourself from corrosive residue and sharp metal edges.
Step 2: Disconnecting the Negative Cable First
Always take off the negative cable before touching the positive side. The negative cable is typically marked with a minus sign or the color black. Loosen the nut on the negative terminal clamp using your wrench. Once loose, gently twist and pull the clamp upward to disconnect it from the battery post. Tuck the cable safely to the side so it cannot accidentally spring back and make contact with the metal post while you work.
Expert Safety Tip: Disconnecting the negative terminal first breaks the vehicle ground circuit. This crucial step prevents accidental electrical shorts or dangerous sparks if your wrench happens to brush against any surrounding metal framework in the engine bay.
Step 3: Disconnecting the Positive Cable
Next, locate the positive cable, which is usually marked with a plus sign or the color red and often features a protective red plastic cover. Loosen the retaining nut on the positive terminal clamp, wiggle the clamp free from the battery post, and move the cable safely out of the way.
Step 4: Cutting and Stripping the Cable Ends
Inspect the exposed wire ends attached to your old terminals. If the copper strands are heavily corroded, blackened, or brittle, use your heavy duty wire cutters to snip off the damaged portion of the cable. Cut cleanly to expose fresh, healthy wire underneath.
Next, take your utility knife and carefully score and peel back a small amount of the plastic insulation coating. Expose roughly half an inch to three-quarters of an inch of clean, bright copper wire inside.
Step-by-Step Guide: Attaching the New Terminals
Once your cables are properly prepared, you are ready to install the brand new hardware. Precision during this stage guarantees maximum electrical conductivity and mechanical stability.
Step 1: Securing the Bare Wires
Slide your newly exposed, bright copper wires into the opening of the new terminal clamp. If your replacement terminals use a crimp style design with wire lugs, use a proper crimping tool to compress the metal securely around the strands.
Step 2: Tightening Mechanical Connections
If your new terminals utilize built in screw or bolt clamps, insert the stripped wire fully into the designated slot. Tighten the screws or clamping bolts down firmly so that the wire cannot pull out, even under heavy tension. Double check that every individual strand is captured securely within the terminal block.
Step 3: Reconnecting the Positive Terminal First
When putting everything back together, reverse the removal order. Put the positive terminal on the positive battery post first. Push it down flush against the base of the post and tighten the nut until it feels snug and secure. Slide any protective rubber boot back over the positive terminal to insulate it.
Step 4: Reconnecting the Negative Terminal Last
Take your negative cable and place its new terminal clamp onto the negative battery post. Tighten the fastener down completely until the clamp is entirely stationary and cannot be rotated or pulled off by hand.
Step 5: Applying Dielectric Grease for Longevity
To protect your freshly installed hardware from future atmospheric degradation, take a small dab of dielectric grease and rub it generously over all exposed metal parts, including the terminal clamp and the battery post surface. This creates a protective barrier that successfully stops rust and acid buildup in its tracks.
Preventative Maintenance for Long-Lasting Terminals
Installing new terminals is a permanent fix only if you maintain them properly. A few minutes of preventative care every few months will extend the lifespan of your electrical system significantly.
- Periodic Visual Inspections: Check your battery compartment during oil changes to spot early signs of white or green powder formation.
- Baking Soda Solutions: If minor corrosion does appear, mix a solution of baking soda and water, scrub the area gently with a wire brush, rinse with clean water, and dry thoroughly.
- Check Terminal Tightness: Vibration from daily driving can occasionally cause fasteners to loosen. Verify that your terminal bolts remain tight during seasonal vehicle tune-ups.
Frequently Asked Questions
Can I drive with a loose battery terminal?
No, driving with a loose battery terminal is dangerous and bad for your vehicle. A loose connection causes intermittent electrical dropouts, can damage your alternator and sensitive onboard computers, and may prevent your car from starting entirely when you reach your destination.
Why must the negative terminal be disconnected first?
Disconnecting the negative terminal cuts off the vehicle chassis ground. This ensures that if your metal wrench accidentally slips and touches the car body while you are loosening the terminal, it will not create a dangerous electrical short circuit or spark.
What is the difference between top post and side post terminals?
Top post batteries feature cylindrical lead posts protruding upward from the top cover, requiring ring or sleeve style terminals. Side post batteries feature threaded terminal holes recessed into the vertical sides of the battery housing, requiring specialized bolt-in connectors. Always match your new terminals to your battery design.
Do I need to replace the entire cable if the terminal is damaged?
Usually, no. Unless the main battery cable is severely corroded along its entire length or physically frayed in the middle, you can simply cut off the old damaged terminal end and install a universal replacement terminal onto the remaining healthy wire section.
Conclusion
Mastering how to install car battery terminals is a rewarding DIY project that empowers you to handle common electrical maintenance with confidence. By following proper safety procedures, keeping your negative cable disconnected first, and protecting your new hardware with dielectric grease, you ensure reliable engine starts for thousands of miles to come. Prioritize regular under-hood inspections, and your car’s electrical system will reward you with dependable performance every time you turn the key.