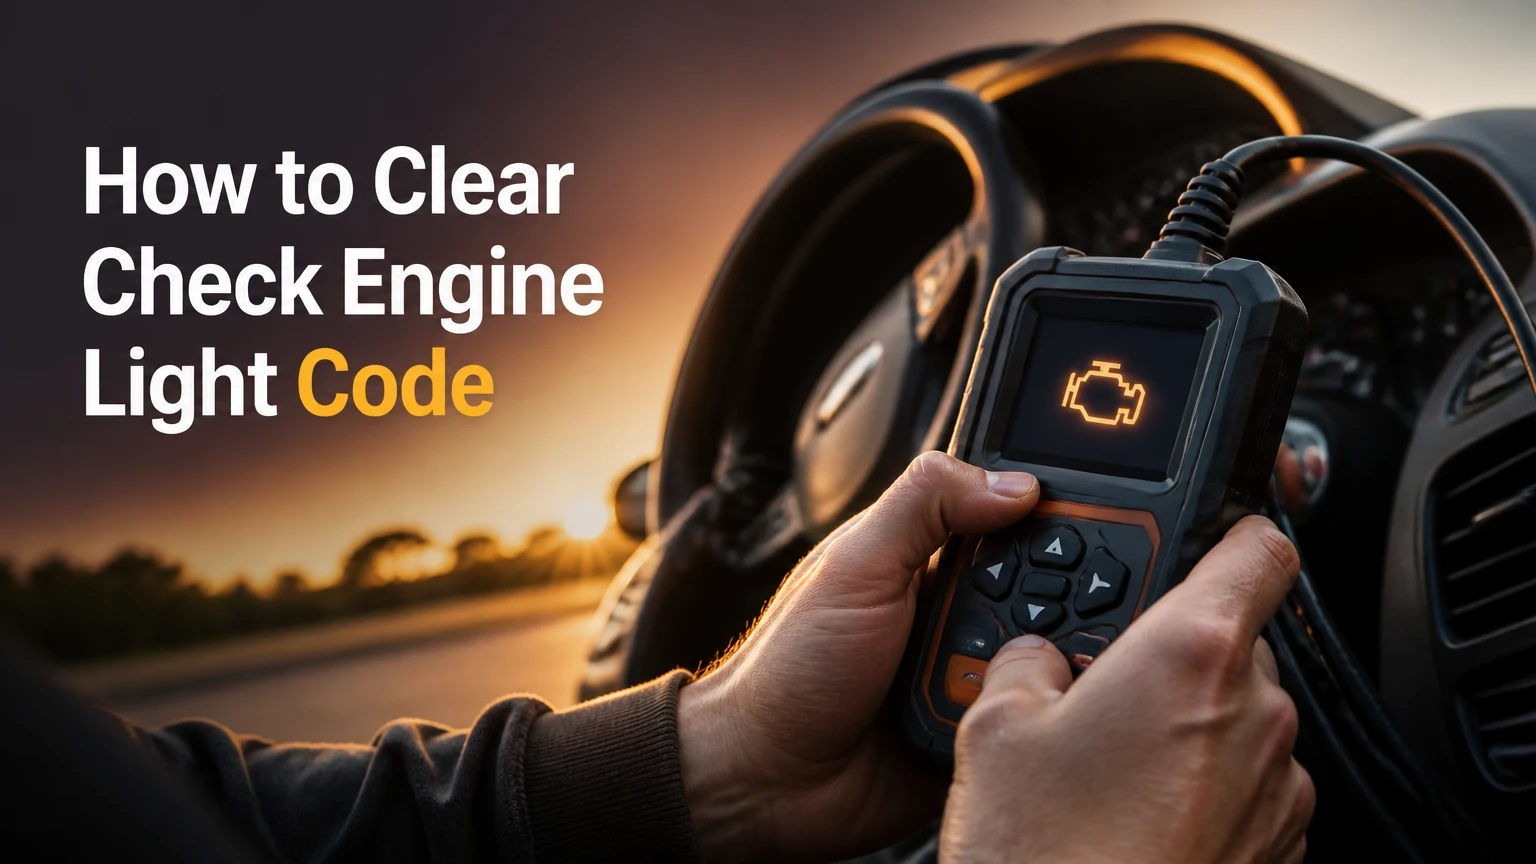
Clearing a check engine light (CEL) code requires sending an erase command to your vehicle’s Engine Control Unit (ECU) using an OBD-II scanner. By following this 6-step process, you can safely reset your ECU memory, extinguish the dashboard light, and verify system status in under 10 minutes. Success depends entirely on performing the erase sequence with the engine off while maintaining uninterrupted electrical power to the diagnostic port.
Before You Start
- Time Required: 5–10 minutes
- Difficulty Level: Beginner
- Estimated Cost: $0 (if borrowing a scanner) or $20–$60 (to buy an entry-level OBD-II tool)
- Tools Needed:
- 1x OBD-II Diagnostic Scanner or Bluetooth/Wi-Fi OBD-II dongle
- 1x Pair of safety glasses
- 1x Smartphone (if using a wireless Bluetooth/Wi-Fi scanner)
- Prerequisites: Vehicle parked in a safe, level location; transmission in Park (or Neutral with parking brake engaged); engine completely turned off.
Step-by-Step OBD-II Clearing Process
Step 1: Locate and Inspect the 16-Pin OBD-II DLC Port
Inspect the lower driver-side dashboard area to find the 16-pin Diagnostic Link Connector (DLC). The DLC port is universally located within 3 feet of the steering wheel—typically directly underneath the steering column, above the brake pedal, or behind a removable plastic trim panel near the fuse box. Ensure the ignition key is out of the ignition switch (or push-to-start system is completely OFF) before inspecting the port pins for dust, bent pins, or debris.
- Success Checkpoint: You’ll know it worked when you locate a black or white trapezoidal 16-pin female connector that is clean and structurally undamaged.
- Common Mistake: Forcing a connector into an auxiliary port or light module socket. The OBD-II port is distinctly trapezoidal; force will bend the internal 12-volt (Pin 16) or ground (Pins 4 and 5) pins.
Step 2: Connect the OBD-II Scanner or Wireless Adapter
Plug your OBD-II scanner cable or wireless adapter directly into the vehicle’s 16-pin DLC port. Align the wider side of the trapezoidal connector with the top of the vehicle’s port and push firmly until the harness locks flush into place. If using a handheld wired scanner, place the unit on your lap or dashboard where the display remains clearly visible.
- Success Checkpoint: You’ll know it worked when the scanner screen powers up immediately (for self-powered handheld units) or the status LED on your wireless adapter turns on, confirming 12-volt battery power at Pin 16.
- Common Mistake: Attempting to connect or disconnect the scanner while the engine is running, which can trigger voltage spikes or communication errors across the Controller Area Network (CAN bus).
Step 3: Turn Ignition to Diagnostic KOEO Mode
Switch the vehicle’s electrical system into Key On, Engine Off (KOEO) mode to establish communication between your scanner and the ECU.
- Mechanical Key Vehicles: Insert the ignition key and turn it two notches clockwise to the “ON” or “RUN” position. Do not crank or start the starter motor.
- Push-to-Start / Keyless Vehicles: Keep your foot completely off the brake pedal and press the engine Start/Stop button twice.
- Success Checkpoint: You’ll know it worked when all dashboard warning lights (battery, oil, ABS, CEL) illuminate, the gauge cluster needles sweep, and the engine remains completely silent.
- Common Mistake: Leaving the ignition in “ACC” (Accessory) mode rather than “ON/RUN.” In ACC mode, the ECU is powered down and cannot receive diagnostic commands.
Step 4: Retrieve, Record, and Categorize Trouble Codes
Navigate your scanner’s main menu using the directional buttons and select Read Codes or Diagnostics. Allow 10 to 30 seconds for the scanner to query all modules (Engine ECU, Powertrain Control Module/PCM). Write down all active 5-character alphanumeric trouble codes (such as P0171 or P0300) along with their designated category:
- Stored / Active Codes: Hard faults currently detected by the ECU.
- Pending Codes: Faults detected during the current or previous drive cycle that haven’t met the threshold to illuminate the light yet.
- Permanent Codes (PDTC): Mandated codes stored in non-volatile memory that cannot be manually deleted by any scanner.
- Success Checkpoint: You’ll know it worked when the scanner screen lists the exact DTC numbers along with text descriptions (e.g.,
P0420 - Catalyst System Efficiency Below Threshold). - Common Mistake: Clearing codes without writing them down or taking a smartphone photo. Once erased, freeze-frame sensor data (engine temp, RPM, fuel trim at time of fault) is lost forever, making troubleshooting vastly harder.
Step 5: Send the Code Erase / Clear ECU Memory Command
Scroll to the Erase Codes, Clear DTCs, or Reset ECU option in your scanner menu and press Enter or Confirm. The scanner will display a prompt asking, “Are you sure you want to clear trouble codes and diagnostic data?” Select Yes. Keep the ignition in KOEO mode and do not disturb the cable during the 5 to 10 second data transfer.
- Success Checkpoint: You’ll know it worked when the scanner screen displays
Erase Successful,Command Sent, orCodes Cleared, and the check engine light on your vehicle’s instrument cluster turns off immediately. - Common Mistake: Turning off the ignition key while the erase command is actively transmitting, which can interrupt ECU writing and leave the module in an uncommunicative state.
Step 6: Turn Off Ignition, Unplug Tool, and Verify Clearing
Turn the vehicle key to the OFF position (or press the Start/Stop button once to shut off ignition power) and wait 10 seconds for ECU relay shutdown. Unplug the OBD-II scanner cable gently from the DLC port. Re-insert the key (or depress the brake pedal on push-to-start models) and start the engine normally.
- Success Checkpoint: You’ll know it worked when the engine starts, runs at idle, and the check engine light illuminates for 2–3 seconds during the bulb check before staying completely unlit.
- Common Mistake: Rushing immediately to a state emissions or smog inspection station. Clearing codes resets all internal I/M Readiness Monitors to “Not Ready,” resulting in an automatic inspection failure.
Common Mistakes and How to Fix Them
1. Scanner Displays “Communication Error” or Won’t Turn On
- Root Cause: The DLC port lacks 12-volt power (Pin 16) or the ignition is in ACC mode rather than ON. In most vehicles, the DLC port shares a 10A or 15A fuse with the 12V auxiliary power outlet (cigarette lighter).
- How to Fix: Check your vehicle owner’s manual for the interior fuse panel location. Inspect and replace the “CIG/AUX” or “DLC” fuse with a new fuse of identical amperage rating. Ensure the key is turned fully to RUN/ON.
2. The Check Engine Light Returns Instantly Upon Starting
- Root Cause: An active, hard electrical or mechanical fault is present (e.g., a completely severed O2 sensor wire, unplugged MAF sensor, or blown ignition coil).
- How to Fix: Read the new code. You cannot bypass active electrical open/short circuits by clearing memory; the ECU re-evaluates sensor continuity within 500 milliseconds of engine start. Fix the physical component first.
3. Disconnecting the Negative Battery Terminal to Clear Codes
- Root Cause: Drivers disconnect the 12V battery terminal for 15 minutes hoping to clear the light without a scanner.
- Why It Fails & How to Recover: On modern vehicles (2000+), battery disconnection erases learned throttle body idle positions, transmission shift adaptations, clock settings, and anti-theft radio codes. In addition, many modern ECUs store DTCs in non-volatile flash memory, meaning the light will return as soon as the battery is reconnected. Always use an OBD-II tool instead.
4. Drive Cycle Rejection at Emissions / Smog Inspection
- Root Cause: Taking the vehicle for an official inspection immediately after erasing codes.
- How to Fix: Drive the vehicle for 50 to 100 miles across a mix of city and highway driving (or perform a complete factory drive cycle) to allow the ECU to re-evaluate system monitors (EVAP, O2 Sensor, Catalyst, EGR). Check your scanner’s I/M Readiness status menu to confirm all monitors read “Ready” or “Complete” before testing.
Process Variations
Variation 1: Using a Bluetooth / Wi-Fi Smartphone Adapter
- Plug the wireless OBD-II dongle into the DLC port.
- Turn ignition to KOEO (Key On, Engine Off).
- Open your smartphone’s Bluetooth settings and pair with the device (e.g.,
OBDIIorVEEPEAK). - Launch your diagnostic app (e.g., Torque Pro, OBD Fusion, Car Scanner ELM OBD2).
- Set communication protocol to Auto-Detect and select Connect.
- Navigate to Fault Codes $\rightarrow$ Read, then tap Clear Fault Codes and confirm.
Variation 2: Vehicles with Permanent Diagnostic Trouble Codes (PDTC)
- Since 2010, regulations mandate Permanent DTCs that reside in non-volatile ECU memory.
- Scanning and selecting “Clear Codes” will erase Stored and Pending codes, but the Permanent code will remain visible on advanced scanners.
- The check engine light will turn off if the problem is fixed. However, to clear the PDTC from ECU memory, you must complete the specific Universal Drive Cycle (cold engine start, idle 5 minutes, 10 minutes steady highway cruise at 55 mph, coasting down to 20 mph without braking). Once the ECU runs its monitor and verifies the fault is gone, it erases the PDTC automatically.
Execution Time & Cost Overview
| Method | Estimated Time | Tool / Equipment Cost | Pros & Cons |
| Handheld OBD-II Scanner | 3–5 minutes | $20 – $50 | Pros: Self-powered, highly reliable, standalone. Cons: Limited screen size on entry-level models. |
| Bluetooth / Wireless Dongle | 5–10 minutes | $15 – $40 | Pros: Deep live sensor graphing, smartphone UI. Cons: Requires app setup and wireless pairing. |
| Auto Parts Store Service | 10–15 minutes | $0 (Free Service) | Pros: No tool purchase required. Cons: Some stores/states restrict staff from pressing the “Erase” button due to liability. |
Frequently Asked Questions
Can I drive my car with the check engine light on?
If the light is solid yellow or amber, you can drive safely to your destination or repair shop. However, if the light is flashing/blinking, a severe engine misfire is occurring that can dump unburned fuel into the exhaust, destroying the catalytic converter within minutes. Pull over safely and turn off the engine immediately.
Will clearing the check engine light pass an inspection?
No. Clearing codes resets your vehicle’s I/M Readiness Monitors to “Incomplete” or “Not Ready.” State emissions computers test these monitors first; if more than one monitor is “Not Ready,” your vehicle automatically fails inspection until you complete a full drive cycle.
How many miles does it take for a check engine light to turn back on?
If the underlying mechanical fault was not repaired, the check engine light typically turns back on within 5 to 50 miles, or as soon as the ECU completes two consecutive drive cycles that detect the failing component or sensor parameter.
Why won’t a permanent code (PDTC) clear with my scanner?
Permanent Diagnostic Trouble Codes (PDTCs) are hardcoded into non-volatile memory by vehicle manufacturers to prevent drivers from clearing codes right before an inspection. A scanner command cannot delete them; only the ECU itself can clear a PDTC after running its internal self-diagnostic drive cycle test and confirming the fault is resolved.