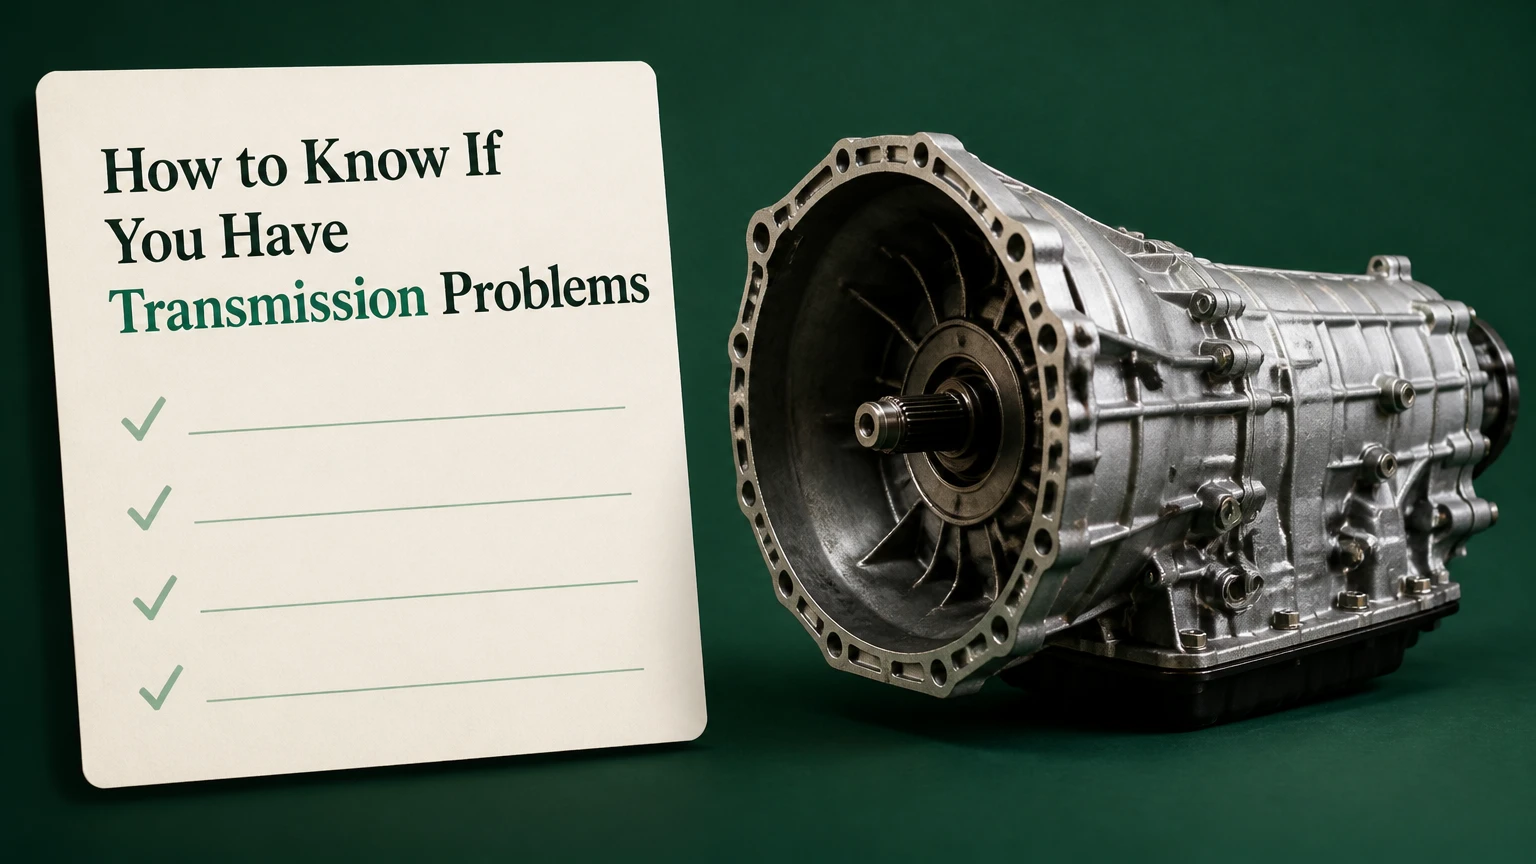
Knowing how to know if you have transmission problems requires a systematic diagnostic approach that evaluates electronic trouble codes, hydraulic fluid integrity, dynamic shift behavior, and underbody leaks. By following this 5-step diagnostic process—taking 45 to 70 minutes—you can pinpoint internal mechanical wear or low fluid levels before catastrophic failure occurs, saving thousands in overhaul costs.
Before You Start
| Metric / Requirement | Specification / Value |
| Total Time Required | 45–70 minutes |
| Difficulty Level | Beginner to Intermediate |
| Estimated Cost | $0 (if tools owned) to $40–$120 (scanner & fluid) |
| Required Prerequisite | Parking vehicle on level concrete ground |
Diagnostic Tools Checklist
- OBD2/TCM Diagnostic Scanner: 1 unit (capable of reading enhanced manufacturer transmission codes P0700–P0899).
- Automatic Transmission Fluid (ATF): 1–2 quarts matching exact OEM specification (e.g., Mercon V, Dexron VI, ATF WS, or Honda DW-1).
- Clean White Paper Towels: 3–4 sheets.
- Neodymium Magnet: 1 small magnet (for debris testing).
- Infrared Thermometer or Scanner Live Data: 1 unit (to verify fluid temperature).
- LED Flashlight: Minimum 300 lumens.
- Personal Protective Equipment: Safety glasses and nitrile gloves.
Step-by-Step Transmission Diagnostic Process
Step 1: Scan the On-Board Diagnostic Port for Powertrain Codes
Plug your OBD2 scanner into the diagnostic port beneath the driver-side dashboard, turn the ignition key to the “ON” position (engine off), and select a full system scan.
Access the Powertrain Control Module (PCM) and Transmission Control Module (TCM) menus to record all active, pending, and historical diagnostic trouble codes (DTCs). Focus specifically on codes ranging from P0700 through P0899, as well as manufacturer-specific P1700+ codes.
Success Checkpoint: You’ll know it worked when your scanner displays either “No DTCs Present” or lists specific codes with frame data (e.g.,
P0730for Incorrect Gear Ratio orP0740for Torque Converter Clutch Circuit).
Common Mistake: Clearing codes immediately after reading them. Never clear codes before completing all repairs; clearing erases vital freeze-frame data (such as fluid temperature and engine RPM at the time of failure) needed for accurate troubleshooting.
Step 2: Bring Fluid to Temperature and Cycle Hydraulic Circuits
Start the engine, park on level ground, and allow the vehicle to idle until the transmission fluid reaches normal operating temperature—verified between $160^\circ\text{F}$ and $175^\circ\text{F}$ ($71^\circ\text{C}$ to $79^\circ\text{C}$) using an infrared thermometer aimed at the oil pan or via scanner live data.
With your foot firmly on the brake pedal, slowly move the shift lever through every gear position (P – R – N – D – L), pausing for 3 seconds in each position to charge the internal valve body passages and clutch packs, then return the shifter to Park (or Neutral if required by vehicle manufacturer specifications, such as Chrysler/Dodge).
Success Checkpoint: You’ll know it worked when the transmission temperature registers between $160^\circ\text{F}$ and $175^\circ\text{F}$ and the engine idle stabilizes after shifting through all gear positions.
Common Mistake: Checking fluid level while the engine is turned off or cold. Transmission fluid expands significantly with heat; checking cold leads to an inaccurate low reading and dangerous overfilling.
Step 3: Pull Dipstick and Analyze Fluid Level, Color, Smell, and Debris
Pull the transmission dipstick from the engine bay, wipe it clean on a fresh white paper towel, reinsert it fully into the dipstick tube, and pull it back out to read the level against the HOT crosshatch indicators.
Inspect the fluid left on the paper towel under bright lighting to evaluate condition, smell, and particle composition:
- Healthy Fluid: Bright pinkish-red color with a translucent appearance and a faint petroleum smell.
- Degraded Fluid: Light brown or dark dark-red color without heavy burnt odors; indicates fluid oxidation requiring a fluid refresh.
- Burnt / Failed Fluid: Opaque black or dark brown color smelling strongly of burnt toast or charred plastic.
To test for internal mechanical wear, run a neodymium magnet under the paper towel directly beneath the fluid spot:
[ Fluid Spot on Towel ]
       |
[ Neodymium Magnet ]  --->  Slight metallic haze = Normal clutch/gear break-in wear
                      --->  Shiny silver flakes/shards = Hard mechanical gear/bearing failure
                      --->  Non-magnetic metallic paste = Bronze/copper bushing or friction lining destruction
Success Checkpoint: You’ll know it worked when the fluid level sits squarely in the middle of the “HOT” indicator zone and you have identified the exact degradation state of the fluid.
Common Mistake: Wiping the dipstick with a linty rag or dirty shop towel. Lint and dirt particles introduced into the dipstick tube can clog sensitive solenoid valves inside the transmission control body.
Step 4: Conduct a Dynamic Road Test for Operational Symptoms
Drive the vehicle on a safe, open road featuring stop-and-go conditions, acceleration ramps, and highway cruising speeds to evaluate transmission response across all gear changes.
Monitor the vehicle for four core operational failure symptoms:
- Slipping: The engine RPM surges higher (“flares”), but the vehicle fails to accelerate proportionally during gear shifts.
- Harsh or Rough Engagement: Hard thumping, clunking, or shuddering when upshifting or downshifting.
- Delayed Engagement: A delay longer than 1.5–2 seconds between moving the shifter into Drive or Reverse and feeling the hydraulic drive engage.
- Whining or Buzzing Noises: Continuous high-pitched whining that alters frequency with engine RPM, often caused by a clogged fluid filter or starving fluid pump.
Success Checkpoint: You’ll know it worked when you have safely cycled the transmission through all upshifts, downshifts, and torque converter lockup stages while recording any shifting anomalies.
Common Mistake: Confusing an engine misfire shudder with transmission torque converter clutch (TCC) shudder. While cruising at $45\text{–}60\text{ mph}$ with gentle accelerator pressure during a shuddering episode, tap the brake pedal lightly with your left foot without releasing the gas pedal. If the shudder instantly stops, the issue is TCC shudder; if it continues, the issue is an engine misfire.
Step 5: Perform an Underbody Visual Leak Inspection
Park the vehicle on level ground, turn off the ignition, engage the parking brake fully, and illuminate the undercarriage using a flashlight ($\ge 300\text{ lumens}$).
Inspect the key hydraulic leak paths:
- Transmission Oil Pan Gasket: Look for wet, reddish-brown droplets clinging to the pan bolt heads or perimeter flange.
- Cooler Lines: Check metal lines and rubber hose connections running from the transmission case to the radiator/cooler.
- Front Main Seal (Pump Seal): Inspect the bellhousing seam where the transmission meets the engine block for wet oil accumulation.
- Rear Output Shaft Seal: Check the junction where the driveshaft or axle shafts exit the transmission case.
Success Checkpoint: You’ll know it worked when you have visually confirmed whether all external seals, cooler lines, and pan gaskets are dry or actively leaking fluid.
Common Mistake: Assuming reddish fluid under the car is always transmission fluid. Power steering fluid on older vehicles can also be red; trace the wetness to its highest physical origin on the vehicle frame to confirm the source.
Common Mistakes and How to Fix Them
| Diagnostic Error | Direct Consequence | Recovery & Correction Steps |
| Misinterpreting P0700 Code | Replacing parts prematurely based on a generic code. | P0700 is simply an informational flag sent by the TCM to turn on the check engine light. Use a professional scan tool to access sub-codes (e.g., P0751 Shift Solenoid A Performance) inside the TCM module. |
| Flushing Severely Burnt Fluid | Total loss of drive immediately after flushing. | If fluid is jet black and smells burnt, internal friction plates are worn. Flushing fresh, high-detergent fluid strips away remaining suspended friction material, causing slippage. Perform a pan-drop and filter change instead of a high-pressure flush. |
| Overfilling Transmission Fluid | Fluid foaming, overheating, and seal blowouts. | If fluid is overfilled above the “HOT” mark, use a fluid extractor pump through the dipstick tube to pull excess fluid until it reaches the correct indicator level. |
| Clearing Codes Before Diagnosis | Loss of freeze-frame diagnostic metrics. | Re-drive the vehicle under identical operating conditions (speed, engine load, fluid temp) to force the PCM/TCM to re-set the pending diagnostic codes and freeze-frame data. |
Process Variations
Sealed Transmissions (No Dipstick)
Modern vehicles (e.g., Toyota, Ford, BMW) often lack an engine bay dipstick.
- Secure the vehicle level on jack stands or a lift.
- Connect a scan tool to monitor Transmission Fluid Temperature (TFT) until it reaches the manufacturer spec window (typically $95^\circ\text{F}$ to $113^\circ\text{F}$ / $35^\circ\text{C}$ to $45^\circ\text{C}$).
- With the engine idling, remove the fluid level check plug on the side or bottom of the oil pan.
- Fluid should trickle out in a thin stream. If nothing comes out, add fluid via the fill plug until it begins to drip.
Manual Transmissions
Manual transmissions use heavy gear oil ($75\text{W-90}$ or syncromesh fluid) rather than ATF.
- Diagnosing shifts involves checking clutch pedal free-play and mechanical synchro wear.
- Inspect fluid level by removing the fill plug on the side of the transmission case; fluid should sit level with the bottom edge of the fill hole.
- Grinding during gear changes typically indicates synchronizer wear or incomplete clutch disengagement rather than hydraulic failure.
How Long Does It Take and What Does It Cost?
Diagnostic Time Breakdown
- OBD2 Scanner Check: 5–10 minutes
- Fluid Level & Paper Towel Inspection: 10–15 minutes
- Dynamic Test Drive: 20–30 minutes
- Underbody Leak Inspection: 10–15 minutes
- Total Diagnostic Duration: 45–70 minutes
Cost Comparison Matrix
| Option | Cost Range | Key Advantage / Trade-off |
| DIY Home Diagnostic | $0–$50 | Uses basic handheld tools; minimal cost; requires basic mechanical knowledge. |
| Professional Diagnostic Fee | $120–$200 | Performed by certified technicians; includes advanced pressure testing and live graphing. |
| Minor Fluid/Filter Repair | $150–$350 | Resolves low fluid, minor leaks, pan gasket drips, or degraded fluid issues. |
| Major Rebuild or Replacement | $2,500–$5,500+ | Required when internal hard parts, torque converter, or friction clutches suffer mechanical failure. |
Frequently Asked Questions
Can I drive my car if I suspect transmission problems?
Driving with minor transmission issues like slightly degraded fluid is possible short-term, but driving with low fluid, active slipping, or heavy burnt smells risks catastrophic internal hardware failure. Low fluid causes friction clutches to overheat and burn out within miles, transforming a simple fluid leak repair into a complete transmission replacement.
What are the earliest warning signs of transmission failure?
The earliest warning signs include slight hesitation when shifting into Drive or Reverse, unexpected high RPM surges during acceleration, minor fluid spots on your driveway, or a subtle whining noise during idle. Catching these symptoms early allows you to address fluid levels or leaks before internal clutches suffer permanent wear.
What does burnt transmission fluid smell like?
Burnt transmission fluid has a pungent, acrid smell similar to burnt toast, scorched electrical wiring, or burnt rubber. Healthy fluid smells faintly sweet or oily. If your fluid smells burnt and appears dark brown or black, internal friction material has overheated and degraded inside the transmission assembly.
How do I know if my transmission issue is electrical or mechanical?
Electrical transmission issues typically trigger specific OBD2 solenoid error codes (e.g., P0750 Shift Solenoid A), cause sudden limp-mode operation, or happen erratically regardless of fluid temperature. Mechanical issues usually present as physical slipping, loud grinding noises, metal debris on the dipstick, or symptoms that grow progressively worse as fluid temperature rises.