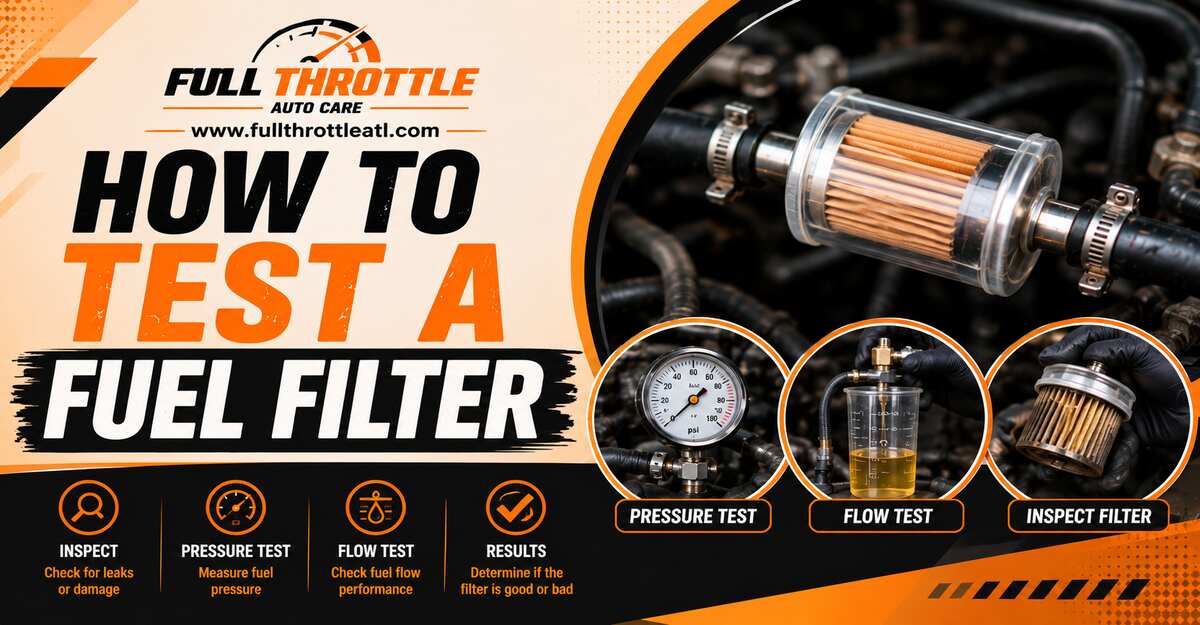
To test a fuel filter effectively, you must perform an on-vehicle fuel pressure test followed by an off-vehicle bench blow test. This 5-step process takes 45 minutes, requires intermediate DIY skills, and definitively diagnoses fuel restriction. Your success hinges entirely on safely relieving fuel system pressure before disconnecting any lines.
Before You Start
- Total Time Required: 45 minutes (15 min prep, 20 min testing, 10 min cleanup)
- Difficulty Level: Intermediate
- Typical Cost: $30–$60 (for a fuel pressure gauge kit; $0 if rented from an auto parts store)
- Prerequisites: A cooled-down engine (sitting for at least 2 hours to prevent fire hazards) and your vehicle’s factory fuel pressure specifications (KOEO and KOER).
Tools and Materials Needed:
- Fuel pressure gauge kit (must include a Schrader valve adapter)
- Fuel line disconnect tool set (scissor-style or plastic collar sleeves)
- Safety glasses and chemical-resistant gloves (Nitrile or Viton)
- Class B fire extinguisher (Dry chemical or CO2)
- 1-quart clear glass or plastic fuel-safe container
- 3 to 5 heavy-duty shop towels
- Replacement Viton O-rings or copper crush washers
Phase 1: On-Vehicle Diagnostics
Step 1: Relieve the Fuel System Pressure
Pull the fuel pump fuse, run the engine until it stalls, and disconnect the battery to safely depressurize the fuel lines. Locate your vehicle’s under-hood fuse box and remove the fuel pump fuse or relay (check the fuse box lid diagram). Turn the ignition key and start the engine, allowing it to idle until it sputters and stalls from fuel starvation. Crank the engine for an additional 5 seconds to clear any residual line pressure. Turn the ignition completely off, reinstall the fuse, and immediately disconnect the negative battery terminal using a 10mm wrench.
- You’ll know it worked when: The engine cranks but refuses to fire, and pressing the center pin of the fuel rail Schrader valve (with a rag wrapped around it) results in zero fuel spraying out.
- Common Mistake: Attempting this on a hot engine. Spilling even residual fuel onto a hot exhaust manifold is a severe fire hazard; let the vehicle sit for at least 2 hours before starting.
Step 2: Conduct the On-Vehicle Pressure Test
Connect a fuel pressure gauge to the fuel rail test port to measure system pressure drops under engine load. Reconnect your negative battery terminal. Locate the Schrader valve on your engine’s fuel rail (it looks identical to a tire air valve) and thread your fuel pressure gauge adapter onto it tightly. Turn the ignition key to the “ON” position without starting the engine to prime the pump; record this Key-On Engine-Off (KOEO) pressure. Next, start the engine, let it idle, and record the Key-On Engine-Running (KOER) pressure. Finally, manually open the throttle body or have a helper press the gas pedal to hold the engine at exactly 2500 RPM while you watch the gauge needle.
- You’ll know it worked when: The gauge needle stabilizes at your vehicle’s factory baseline PSI during idle, providing a steady baseline to compare against higher RPMs.
- Common Mistake: Ignoring a pressure drop. If the pressure drops by more than 3 to 5 PSI when held at 2500 RPM or during heavy acceleration, the fuel filter is restricted and failing to pass the required volume of fuel.
Phase 2: Off-Vehicle Bench Testing
Step 3: Remove the Fuel Filter Safely
Disconnect the fuel lines using the proper release tool, noting the flow direction, and remove the filter from its mounting bracket. Disconnect the negative battery terminal a second time. Locate the filter (usually mounted along the driver’s side frame rail under the vehicle) and place your shop towels and 1-quart clear container directly beneath it. Look at the filter casing and find the arrow stamped “FLOW”—mark this side with a sharpie if it’s hard to see. Push the plastic fuel line slightly inward toward the filter, slide your specific fuel line disconnect tool into the fitting to spread the internal garter spring, and pull the line straight off. Repeat for the other side, unbolt the 10mm or 13mm bracket retaining bolt, and carefully pull the unit free.
- You’ll know it worked when: Both lines are completely detached without any broken plastic clips, and the filter is free to drain into your catch container.
- Common Mistake: Forcing the fuel lines off with pliers. This will permanently snap the brittle internal retaining clips, forcing you to replace the entire fuel line assembly.
Step 4: Perform the Fuel Contamination Analysis
Inspect the drained fuel in your clear container for physical debris, rust, and water separation. Take the fuel you just drained from the filter and swirl it gently in your 1-quart clear container. Hold the container up to a bright flashlight or the sun. You are looking for three specific failure indicators: heavy black sediment, suspended orange rust flakes, or a distinct, cloudy separation layer at the very bottom (which indicates water in the fuel tank).
- You’ll know it worked when: You can clearly see the fluid’s condition. If the fuel is pristine and translucent, the filter is internally clean; if it looks like muddy water, the filter element has trapped maximum capacity and is failing.
- Common Mistake: Reusing a filter that dropped highly contaminated fuel. Even if a heavily contaminated filter passes the next step, the internal paper media is compromised and must be replaced.
Step 5: Execute the Bench Blow Test
Blow air through the inlet nozzle of the drained filter to check the internal paper element for physical airflow restriction. Wipe the exterior of the filter’s inlet nozzle completely clean (this is the nozzle on the side the “FLOW” arrow is pointing away from). Place a clean shop towel over the nozzle, or attach a spare 3-inch piece of 3/8-inch clean rubber hose to it. Blow forcefully through the inlet using your mouth, pushing air in the exact direction of normal fuel flow.
- You’ll know it worked when: Air passes freely out the other side with virtually zero resistance—it should feel identical to blowing air through a standard drinking straw. If your cheeks puff out and you meet heavy resistance, the filter is clogged.
- Common Mistake: Blowing backward through the outlet nozzle. Testing airflow against the flow direction forces trapped dirt out of the media, gives a false passing reading, and permanently ruins the filter.
Common Mistakes and How to Fix Them
- Failure Mode: Getting sprayed with high-pressure fuel.
- The Fix: If you crack a line and fuel violently sprays out, immediately push the line back onto the fitting until it clicks. You skipped or improperly performed Step 1. Re-run the engine-stall procedure and manually depress the Schrader valve to verify zero pressure before trying again.
- Failure Mode: Severe fuel leak after reinstallation.
- The Fix: This occurs when you reuse old O-rings or crushed copper washers on banjo bolt fittings. Disconnect the leaking line, remove the flattened seal with a pick, and install a brand-new Viton O-ring or copper washer.
- Failure Mode: Breaking a quick-disconnect clip.
- The Fix: If you snapped the plastic retaining clip inside the line by prying it, you cannot safely reinstall the filter. You must purchase a fuel line repair kit from an auto parts store, cut the broken fitting off, and splice on a new nylon connector using a specialized insertion tool.
- Failure Mode: Filter passes the blow test, but pressure is still low.
- The Fix: You misdiagnosed the root cause. If the filter flows freely but engine PSI drops under load, your fuel pump is weak, the in-tank “sock” filter is clogged, or the fuel pressure regulator is bypassing early. Test the pump’s amperage draw and volume output next.
Variations of This Process
- In-Tank Fuel Filters: Most vehicles built after 2005 do not have an inline filter under the car; they use a “lifetime” filter integrated directly into the fuel pump module inside the gas tank. You cannot perform a blow test on these. Diagnosis relies entirely on Phase 1 (On-Vehicle Pressure Testing). If it fails, you must replace the entire pump assembly.
- Banjo Bolt Fittings (Older Imports): Older Japanese and European vehicles often secure the fuel lines to the filter using 17mm or 19mm hollow “banjo bolts” rather than plastic quick-disconnects. For these, use a line wrench to break the bolt loose, and ensure you have two new copper crush washers per bolt before beginning, as they cannot be reused.
How Long Does It Take / What Does It Cost
- Time: Testing an accessible inline fuel filter takes exactly 45 to 60 minutes. If your vehicle utilizes an in-tank filter, diagnosing and replacing the module can take 2 to 4 hours, as it often requires dropping the fuel tank or removing the rear seats.
- Cost: Performing the test costs between $30 and $60 if you need to purchase a fuel pressure gauge kit. However, most major auto parts stores will loan you this tool for free (with a refundable deposit). If the filter fails, a replacement inline filter costs between $15 and $30.
FAQ
Can I clean and reuse a fuel filter? No. Automotive fuel filters utilize tightly pleated paper elements designed to trap microscopic particulates. Attempting to back-flush or clean them with compressed air will tear the paper media, allowing raw dirt to flow directly into your vehicle’s fuel injectors and engine.
What are the symptoms of a bad fuel filter? A restricted filter starves the engine of fuel under load. Common symptoms include engine sputtering or hesitating during highway acceleration, a crank-but-no-start condition, rough idling, and occasionally triggering a Check Engine Light with a P0171 (System Too Lean) code.
Which way does the fuel filter go on? Fuel filters are strictly directional. The filter housing will have an arrow stamped into the metal or plastic casing labeled “FLOW”. This arrow must point toward the engine (following the path of fuel traveling from the gas tank to the fuel rail).
Will a bad fuel filter throw a check engine light? Not directly, as there are no electronic sensors plugged into the filter itself. However, the resulting lack of fuel pressure will often trigger a P0171 or P0174 lean code, indicating the engine’s oxygen sensors are detecting too much air and not enough fuel in the exhaust.