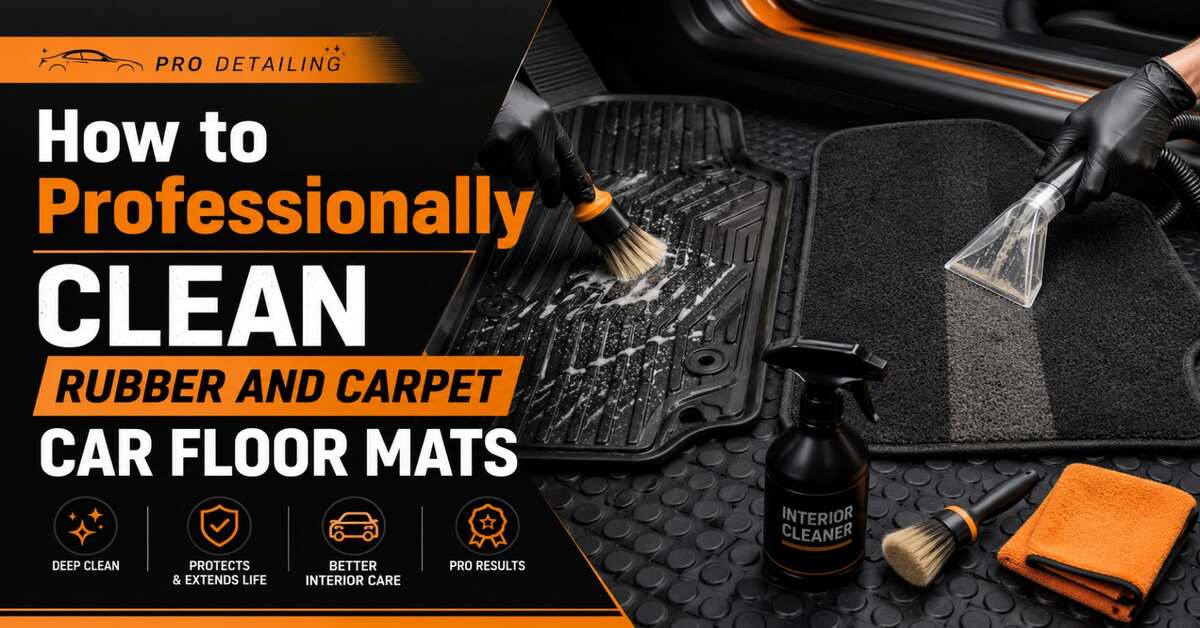
Professionally cleaning your vehicle’s mats transforms your interior and neutralizes deep-seated odors. By executing a strict sequence of dry soil removal, chemical agitation, targeted extraction, and force-drying, you can restore both rubber and carpet mats in under two hours. The primary factor determining success is maintaining precise moisture control during extraction to prevent fungal growth.
Before You Start
- Time Required: 1 to 2 hours (plus 4–6 hours passive drying time).
- Difficulty Level: Intermediate.
- Cost Range: $40–$150 (depending on extractor ownership).
- Tools Needed: High-suction shop vacuum with claw nozzle, pressure washer (max 1,500 PSI) or garden hose, cordless drill, white (soft) and yellow (medium) drill brush attachments, hot water extractor (e.g., Bissell SpotClean Pro), box fan, microfiber towels, nitrile gloves, safety glasses.
- Materials Needed: All-Purpose Cleaner (APC), enzyme-based carpet shampoo (pH 7–9), white vinegar, polymer-based rubber restorer (non-silicone).
- Prerequisites: Work in a shaded, well-ventilated driveway or garage. Do not wash mats in direct sunlight.
Phase 1: Preparation and Dry Soil Removal
Step 1: Extract Mats and Inspect for Backing Damage
Remove all mats from the vehicle and flex them gently to inspect the bottom backing for dry rot, deep cracks, or exposed heating elements. If a carpet mat’s rubber backing drops yellow dust or shows deep cracks, do not soak or extract it; switch to low-moisture surface cleaning only.
- Success Checkpoint: You’ll know it worked when all mats are isolated on a clean concrete surface and sorted by material (rubber vs. carpet).
- Common Mistake: Throwing heated luxury mats into a wash pile. Submerging mats with internal heating elements will cause electrical failure.
Step 2: Perform Initial Dry Vacuuming and Pet Hair Removal
Vacuum each carpet mat dry for a minimum of 2 minutes using a claw tool, and firmly tap rubber mats against a wall to dislodge heavy, loose debris. For embedded pet hair, drag a rubber squeegee or pumice stone across the carpet in short, 3-inch unidirectional strokes before vacuuming the gathered piles.
- Success Checkpoint: You’ll know it worked when running your bare hand across the dry carpet yields zero grit or loose hair.
- Common Mistake: Skipping dry extraction and immediately wetting the mats. Adding water to loose dirt creates mud, embedding stains deeper into the fibers.
Phase 2: Restoring Rubber and TPE Mats
Step 3: Pre-Rinse with Controlled Pressure
Blast away stuck mud using a pressure washer held 12 inches from the surface, strictly limiting the output to between 100 and 150 PSI.
- Success Checkpoint: You’ll know it worked when the surface is uniformly wet and all three-dimensional chunks of mud are gone.
- Common Mistake: Using the 0-degree (red) pinpoint nozzle or exceeding 1,500 PSI. High pressure will instantly scar, slice, or tear aged rubber and TPE (WeatherTech) mats.
Step 4: Apply Alkaline Cleaner and Agitate
Spray a dedicated rubber cleaner or a 1:10 dilution of heavy alkaline All-Purpose Cleaner (pH 11 to 12) heavily over the mat, then scrub vigorously with a medium-stiff nylon bristle brush for 2 to 3 minutes.
- Success Checkpoint: You’ll know it worked when the white foam turns brown, pulling the oxidized layer and grease into a slurry.
- Common Mistake: Letting the degreaser dry on the rubber. This bakes the chemicals into the pores, causing an off-gassing chemical smell that requires a re-wash with mild dish soap to neutralize.
Step 5: Rinse and Apply Non-Slip Restorer
Flush all soap residue away with clean water, wipe dry with a microfiber towel, and apply a polymer-based, non-silicone rubber restorer (like McKee’s 37 Mat Cleaner) to rehydrate the ashy surface.
- Success Checkpoint: You’ll know it worked when the mat looks deep black but feels completely dry and grippy to the touch.
- Common Mistake: Applying silicone-based dressings (like Armor All). Silicone makes pedal-area mats dangerously slick, causing foot slip while braking.
Phase 3: Shampooing and Extracting Carpet Mats
Step 6: Pre-Treat Stains and Neutralize Salt Crusts
Apply an enzyme-based carpet cleaner directly to organic spots and let it dwell for 5 minutes; for white winter salt crusts, spray a 1:1 mixture of hot water and white vinegar (pH 2–3) and let it fizz for 3 minutes.
- Success Checkpoint: You’ll know it worked when the rigid, white calcium chloride crystals dissolve into a soft, wipeable liquid.
- Common Mistake: Using standard alkaline soap on road salt. Standard soap cannot break down sodium chloride bonds; an acid is strictly required.
Step 7: Shampoo and Drill Brush Agitate
Mist a low-foaming carpet shampoo (pH 7 to 9) evenly across the fibers, attach a soft white brush to your cordless drill, and run it at 1,000 RPM in slow, overlapping cross-hatch passes.
- Success Checkpoint: You’ll know it worked when the carpet fibers stand upright and a light, uniform foam covers the entire mat.
- Common Mistake: Using a heavy-duty or wire brush on embroidered logos. High RPMs will instantly fray brand stitching; cover logos with painter’s tape and agitate that section by hand.
Step 8: Perform Hot Water Extraction
Pull your hot water extractor nozzle across the mat in straight, overlapping lines at a rate of 2 inches per second, using water heated strictly between 45°C and 60°C.
- Success Checkpoint: You’ll know it worked when the liquid passing through the clear plastic nozzle transitions from muddy brown to entirely clear.
- Common Mistake: Using water hotter than 65°C. Excessive heat will instantly melt the industrial glue binding the carpet fibers to the rubber backing, ruining the mat.
Phase 4: Proper Drying and Reinstallation
Step 9: Force-Dry to Prevent Mildew
Hang the extracted carpet mats vertically in a well-ventilated area and point a high-velocity box fan directly at them for 4 to 6 hours.
- Success Checkpoint: You’ll know it worked when pressing a dry paper towel firmly into the thickest part of the mat pulls zero moisture. The mat must be under 10% moisture content.
- Common Mistake: Reinstalling damp mats in a closed vehicle. Trapping moisture for over 24 hours creates an incubator for fungal spores, guaranteeing a sour mildew smell.
Common Mistakes and How to Fix Them
- The Mats Smell Like Mildew After Cleaning: Standard shampooing masks smells but cannot kill fungal spores trapped in the backing. The Fix: Saturate the dry mat with a 70% isopropyl alcohol mixture or an antimicrobial enzyme. Let it dwell for 10 minutes, re-extract, and run an ozone generator inside the closed car for 30 minutes once reinstalled.
- Rubber Mats Look “Ashy” or Grey Even When Clean: Washing removes dirt but cannot fix UV oxidation that degrades the top layer of rubber. The Fix: Apply a polymer-based rubber restorer. Buff the product into the pores and vigorously wipe off all excess until it is dry to the touch.
- Gum is Embedded Deep in the Carpet: Solvents turn gum into a sticky, unmanageable paste. The Fix: Freeze the gum using an aerosol freeze spray (or ice cubes in a Ziploc bag) for 3 to 5 minutes. Once the gum is brittle, shatter it with a blunt tool, vacuum the shards immediately, and remove the microscopic residue with a citrus solvent.
- Fibers are Fraying After Vacuuming: Using stiff drill brushes or aggressive claw angles tears older fibers. The Fix: Trim the “fuzz” carefully with fabric shears. For vintage/classic loop carpets, abandon the drill brush entirely and hand-groom using a horsehair brush and low-moisture upholstery foam.
Variations for Edge Cases
- You Don’t Own a Hot Water Extractor: Substitute the extractor with a standard wet/dry shop vacuum. Mist hot water from a spray bottle over a small section, then immediately vacuum it up using the crevice tool pressed firmly into the pile. It takes longer but achieves 85% of the same extraction capability.
- Laser-Cut TPE Mats (e.g., WeatherTech): Thermoplastic Elastomers react poorly to heavy degreasers. Skip the APC entirely. Use standard Dawn dish soap or proprietary TPE cleaners, and agitate gently with a microfiber wash mitt rather than a stiff nylon brush.
- Vintage or Classic Vehicle Mats: Older vehicles use fragile loop fibers and degraded backing glue. Never use drill brushes or hot water extraction. Switch to “encapsulation cleaning”: spray a low-moisture foam, gently agitate with a natural horsehair brush, and vacuum out the crystallized dirt once dry.
How Long Does It Take and What Does It Cost?
- Time Investment: Active labor takes 15–20 minutes per mat (roughly 1 to 1.5 hours for a full set of four). Passive drying takes 15–20 minutes for rubber and 4–6 hours for carpet.
- Financial Cost: If you already own a shop vacuum and drill, chemicals and brushes will cost $30–$40. Buying an entry-level heated carpet extractor (like a Bissell Little Green) adds $100–$120.
Frequently Asked Questions
Can I put my carpet car mats in the washing machine?
No. The aggressive agitation of the spin cycle will delaminate the heavy rubber or plastic backing from the carpet fibers. It will permanently warp the mat’s shape, destroy the backing, and can easily unbalance or break your washing machine.
How do I remove pet hair that the vacuum misses?
Use a rubber pet hair brush, a silicone squeegee, or a pumice stone. Drag the tool lightly across the carpet in short, one-directional strokes. The friction generates static electricity, bunching the microscopic, embedded hairs into visible piles for easy vacuuming.
Why do my rubber mats smell like chemicals after cleaning?
This happens when strong degreasers (high pH APCs) dry into the rubber pores, off-gas, and react with UV light inside the hot car. To fix it, wash the mats again using a mild pH-neutral dish soap, rinse thoroughly, and let them air out in the shade for 24 hours.