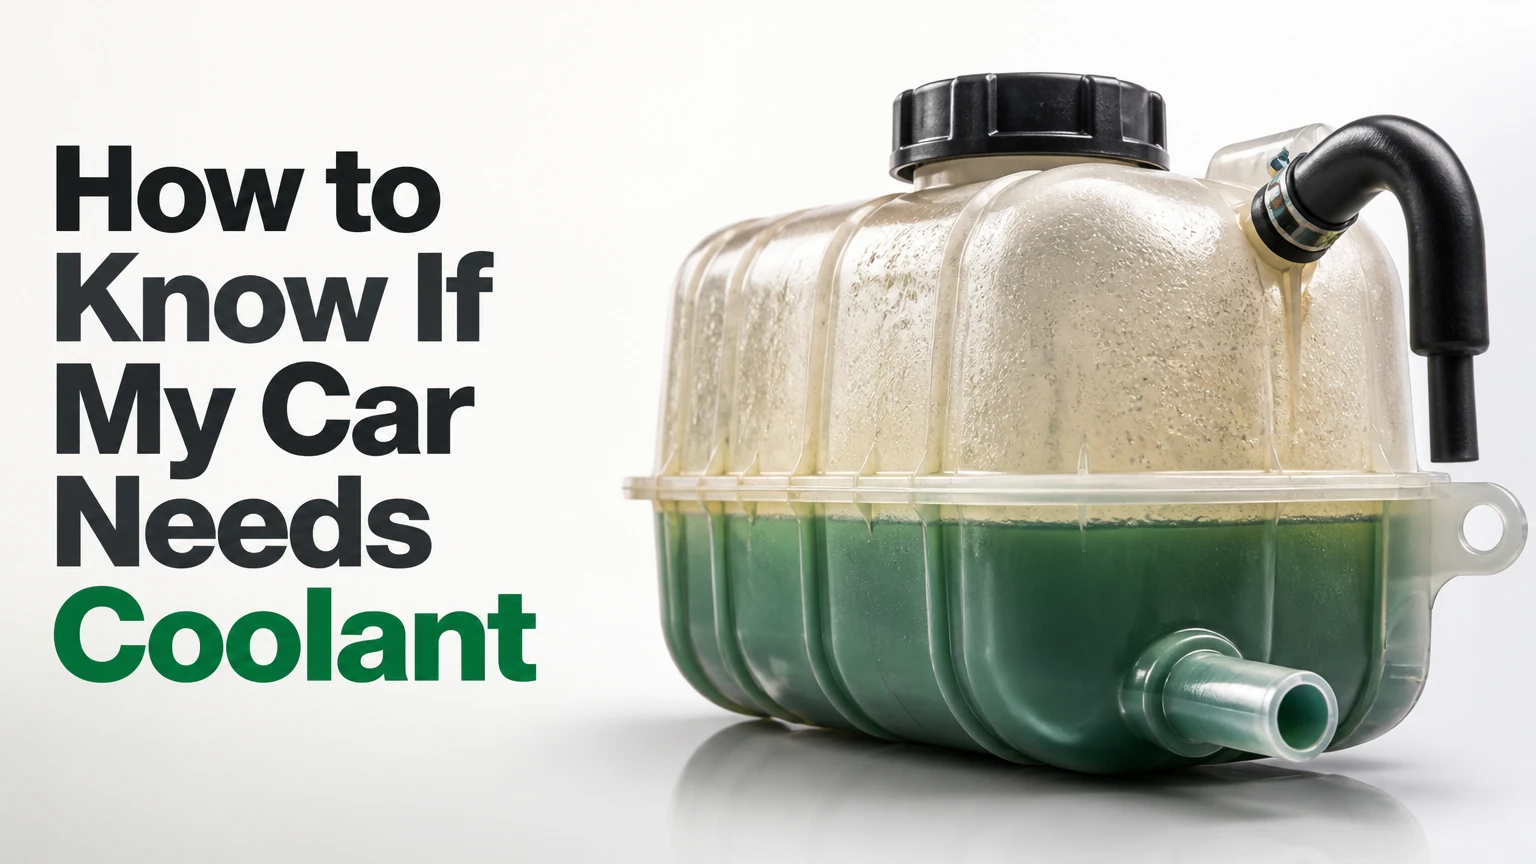
Determining whether your car needs coolant requires recognizing physical driving symptoms and inspecting the coolant reservoir level with a cold engine. This diagnostic guide walks you through a 5-step inspection process taking 15 to 20 minutes, requiring no specialized mechanic tools, and prioritizing thermal safety.
Before You Start
Safety Warning: Never open a coolant reservoir cap or radiator cap while the engine is hot. The cooling system operates under 10 to 15 PSI of pressure, and boiling fluid ($220^\circ\text{F}$ / $104^\circ\text{C}$) can spray violently, causing severe second- or third-degree burns.
- Time Required: 15–20 minutes (includes a mandatory 15-minute engine cool-down period).
- Skill Level: Beginner / Absolute First-Timer.
- Estimated Cost: $0 (inspection) to $18–$28 (if 1 gallon of pre-diluted coolant is needed).
- Tools & Materials Required:
- Safety glasses (ANSI Z87.1 rated)
- Work gloves (heat-resistant nitrile or mechanic style)
- LED flashlight (100+ lumens)
- Clean microfiber cloth or white shop towel
- Vehicle owner’s manual (for fluid specification verification)
- 1 gallon of pre-diluted 50/50 vehicle-specific coolant (OAT, HOAT, or IAT as mandated by your manufacturer)
Phase 1: Identifying Driving Symptoms
Before opening the hood, evaluate your vehicle’s recent behavior. Operating symptoms often confirm low coolant before you physically examine the expansion tank.
Step 1: Monitor Cabin Heating Performance
Observe whether your vehicle’s heater blows freezing or lukewarm air when the engine is fully warmed up and idling at a stoplight.
The heating, ventilation, and air conditioning (HVAC) system relies on hot engine coolant circulating through the interior heater core. When coolant drops below functional capacity, air pockets form at the highest point in the system—typically the heater core—starving the cabin of heat during low RPM idling.
- Success Check: You’ll know this check is conclusive when cabin air turns noticeably cold at idle but recovers warm air once you accelerate above 2,000 RPM.
- Common Mistake: Blaming a faulty blower motor or climate control module. Avoid replacing interior components until you have verified the fluid volume in the engine bay.
Step 2: Check Temperature Gauge and Warning Indicators
Inspect your dashboard instrument cluster while driving for temperature spikes or dedicated warning icons.
A healthy engine maintains an operating temperature between $190^\circ\text{F}$ and $220^\circ\text{F}$ ($88^\circ\text{C}$ to $104^\circ\text{C}$), which positions the analog needle precisely in the center of the gauge. If coolant drops, the needle sweeps into the upper red zone, or a red dashboard icon resembling a thermometer floating in fluid illuminates.
- Success Check: You’ll know it worked when you identify whether the temperature needle remains strictly in the middle 35%–50% sector during normal driving.
- Common Mistake: Continuing to drive when the gauge enters the red zone. Pull over immediately within 30 seconds to prevent thermal warping of the aluminum cylinder head or head gasket failure.
Phase 2: Inspecting the Engine Bay
1.Park and Cool the Engine Completely:Mandatory safety window: 15–30 minutes.
Park the vehicle on flat, level pavement, switch off the ignition, engage the parking brake, and allow the engine bay to cool down for at least 15 to 30 minutes.
Thermal expansion alters fluid levels; checking a hot engine gives a false high reading. Additionally, residual pressure must bleed down naturally. Touch the upper rubber radiator hose with a gloved hand; if it feels hard and rigid like a fully inflated basketball, the system is still pressurized and unsafe to touch.
- Success Check: You’ll know it worked when the upper radiator hose squishes easily under thumb pressure and the engine intake manifold is cool to touch with a bare hand.
- Common Mistake: Parking on an incline or driveway slope. A $5^\circ$ slope can shift fluid against the reservoir wall, producing a false “LOW” or “FULL” reading.
2.Locate the Coolant Expansion Reservoir:Differentiate expansion tank from washer fluid.
Pop the hood latch and locate the translucent white or off-white plastic reservoir connected by rubber hoses to the radiator or engine block.
The coolant reservoir cap is typically black, yellow, or silver metal, marked with a warning symbol (a hand backing away from steam or a radiator icon) and pressure ratings such as $1.1\text{ bar}$ or $15\text{ PSI}$. Do not confuse this tank with the windshield washer fluid reservoir, which features a blue cap with a windshield wiper icon.
- Success Check: You’ll know it worked when you locate the translucent plastic tank featuring molded fluid indicator lines on its outer side wall.
- Common Mistake: Pouring coolant into the windshield washer fluid or power steering reservoir, which ruins pumps and contamination seals instantly.
3.Read the Fluid Level Against Molded Indicator Markings:Compare fluid height against cold baseline.
Position an LED flashlight behind or directly against the side of the translucent reservoir to illuminate the fluid line from within.
Locate the molded raised letters on the outside wall of the tank. Systems use either “MIN / MAX”, “LOW / FULL”, or “COLD FILL / HOT FILL” text lines. When the engine is cold, the fluid level must sit squarely between the MIN and MAX lines (or directly at the COLD FILL line).
- Success Check: You’ll know it worked when you see a distinct fluid line positioned between the MIN and MAX markers. If the fluid line sits at or below the MIN mark, your vehicle officially needs coolant.
- Common Mistake: Misinterpreting internal dipsticks on non-pressurized recovery tanks. If your reservoir lacks outer markings, unscrew the pop-off cap and read the plastic dipstick attached to the underside of the lid.
4.Evaluate Coolant Clarity and Chemical Condition:Identify fluid breakdown or internal contamination.
Unscrew the expansion tank cap slowly using a white microfiber towel over the grip, and inspect the color, clarity, and consistency of the fluid.
Healthy coolant is clear and brightly colored—typically neon green, orange, pink, blue, or purple (depending on whether it is IAT, OAT, or HOAT formulation). Dip a clean white shop towel $1\text{ inch}$ into the fluid.
- Success Check: You’ll know it worked when the towel reveals vibrant, translucent liquid free of floating debris, oil sheen, or rust slimes.
- Common Mistake: Adding new coolant over brown or milky fluid. Fluid that resembles chocolate milk indicates engine oil mixing with coolant via a blown head gasket; adding fresh fluid will not resolve this mechanical failure.
Common Mistakes and How to Fix Them
| Failure Mode / Mistake | Root Cause | Immediate Recovery Instruction |
| Opening hot pressure cap | Removing cap before system pressure drops below $0\text{ PSI}$. | Re-tighten cap immediately with a thick towel. Step back and wait 45 minutes until the radiator hose is completely soft. |
| Mixing incompatible coolant colors | Blending Silicated (IAT) and Organic Acid (OAT) formulas. | Flush system immediately. Mixing causes chemical gelling that clogs heater cores and destroys water pump impellers within 500 miles. |
| Top-off using 100% tap water | Emergency filling with tap or mineral water. | Perform a cooling system drain and refill with distilled water/coolant 50/50 mix. Tap minerals form scale deposits that insulate cooling passages. |
| Overfilling past the MAX line | Pouring fluid to the top rim of the expansion tank. | Use a fluid suction syringe or turkey baster to draw out excess fluid until it aligns with the MAX line. Overfilling causes high-pressure fluid venting onto hot engine components. |
| Ignoring a sweet syrupy smell | Small pinhole leak dripping onto hot exhaust components. | Inspect heater hoses, radiator seams, and water pump housing for crusty white, pink, or green chalky residue. |
System Variations: Pressurized vs. Non-Pressurized Systems
How you inspect fluid depends on your vehicle’s specific cooling system architecture:
Pressurized Expansion Tank (Degas Bottle)
Common on European vehicles (BMW, VW, Volvo) and modern Ford/GM models. The reservoir is part of the pressurized cooling loop.
- Cap Style: Heavy-duty threaded cap with built-in pressure release valves ($1.4\text{ bar}$ / $20\text{ PSI}$).
- How to Check: Read lines on the outside of the heavy translucent plastic. Never remove the cap while hot.
Non-Pressurized Overflow Bottle (Recovery System)
Common on Japanese vehicles (Toyota, Honda, Subaru) and older domestic cars. The reservoir acts purely as a catch tank for fluid displaced past the radiator cap.
- Cap Style: Simple push-on rubber or plastic pop-top with a rubber tube attached inside.
- How to Check: Pull the rubber cap and read the integrated dipstick attached to the lid, or check the markings on the lower half of the bottle near the inner fender wall.
Cost and Time Breakdown
| Maintenance Action | DIY Cost | Professional Shop Cost | Time Required |
| Coolant Level Check & Diagnostic | $0 | $45 – $90 (Diagnostic fee) | 15–20 minutes |
| Fluid Top-Off (1 Gallon Pre-Mix) | $18 – $28 | $40 – $65 | 5 minutes |
| Complete Cooling System Flush | $30 – $55 (Materials) | $150 – $260 | 1–2 hours |
Frequently Asked Questions
Can I drive my car if the coolant level is low?
You can drive short distances (under 5 miles) if the fluid level is slightly below the MIN line but still visible in the reservoir. However, if the reservoir is completely empty or the engine temperature gauge climbs above normal mid-point levels, do not drive. Operating without coolant causes catastrophic thermal engine damage.
What happens if I use tap water instead of coolant?
Tap water contains dissolved minerals (calcium, magnesium) that precipitate out under high heat, forming scale deposits inside the radiator passages and heater core. Water also freezes at $32^\circ\text{F}$ ($0^\circ\text{C}$) and boils at $212^\circ\text{F}$ ($100^\circ\text{C}$), whereas proper 50/50 coolant provides freeze protection down to $-34^\circ\text{F}$ ($-37^\circ\text{C}$) and boiling protection up to $265^\circ\text{F}$ ($129^\circ\text{C}$).
Why is my car losing coolant if there are no leaks underneath it?
If no puddles appear under your vehicle, coolant is likely escaping as vapor through a pinhole hose leak under pressure, leaking internally through a blown head gasket into the combustion chambers, or venting past a weak reservoir pressure cap. White, sweet-smelling exhaust smoke confirms internal coolant consumption.
How often should I check my car’s coolant level?
Check your coolant level once a month during routine maintenance and before embarking on road trips over 200 miles. Additionally, inspect the reservoir at every oil change interval ($5,000$ to $7,500\text{ miles}$) to establish a baseline consumption pattern and catch slow leaks early.