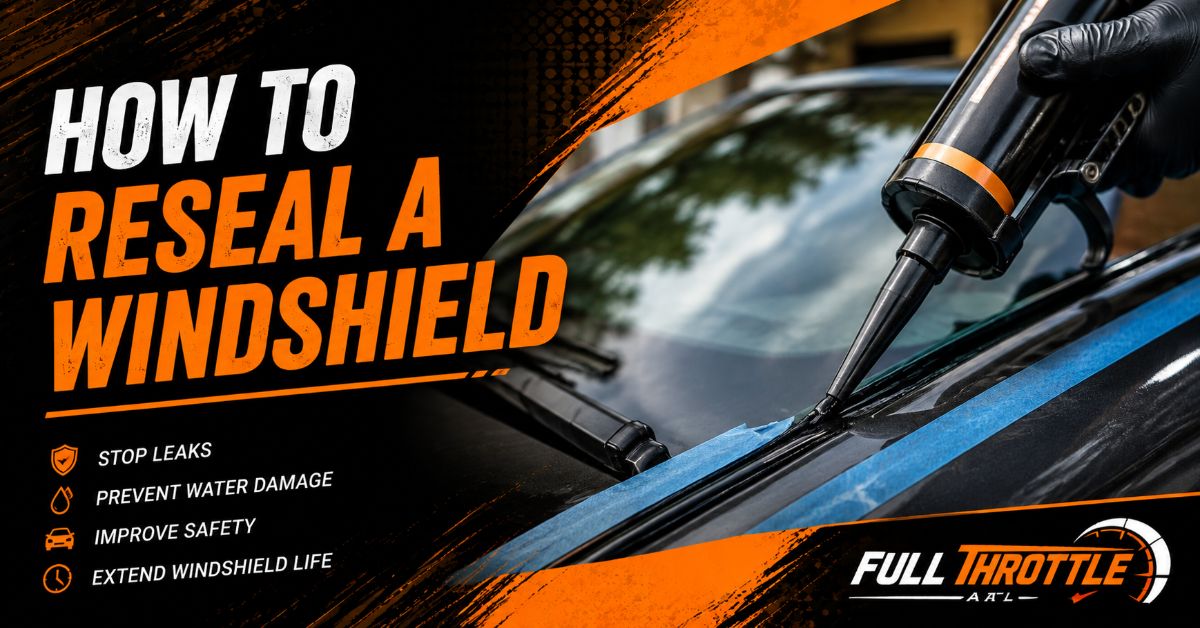
Resealing a windshield requires precision cutting, thorough surface preparation, and correct polyurethane application to maintain structural integrity and prevent leaks. The entire procedure consists of 9 steps taking 2 to 2.5 hours of active labor, plus a 4 to 24-hour curing window. Overall success depends entirely on leaving a $1\text{ to }2\text{ mm}$ base layer of existing urethane for optimal chemical bonding.
Before You Start
⚠️ Safety Warning: The windshield provides up to 45% of a vehicle’s structural roof-crush strength during a rollover and serves as the backstop for passenger airbag deployment. Never use household silicone or construction adhesives. Always use dedicated automotive polyurethane.
Project Overview
- Time Required: 2.5 hours active labor + 4–24 hours curing (Safe Drive-Away Time)
- Difficulty Level: Intermediate (Requires steady hands and an assistant for lifting)
- Estimated Cost: $65 – $120 (DIY tools & materials) vs. $300 – $650 (Professional auto glass shop)
- Environmental Conditions: Ambient temperature between $50^\circ\text{F}$ and $90^\circ\text{F}$ ($10^\circ\text{C}$ to $32^\circ\text{C}$) with relative humidity above 30%.
Required Tools and Materials Checklist
| Item | Exact Specification / Quantity | Primary Purpose |
| Auto Glass Urethane | 1–2 cartridges ($310\text{ ml}$ each; e.g., 3M 08609 or Dow Betaseal) | Structural bond and watertight seal |
| High-Thrust Caulking Gun | 18:1 or 26:1 mechanical advantage ratio | Dispensing thick professional urethane |
| Single-Step Glass Primer | 1 small bottle ($1.2\text{ oz}$ / $35\text{ ml}$) | UV protection and adhesion promoter |
| Windshield Cold Knife / Wire Cutout Tool | 1 cold knife tool with L-shaped blade or braided wire | Slicing through old urethane bead |
| Pinchweld Scraper / Razor Blades | 1 heavy-duty handle with 5 fresh single-edge blades | Trimming old urethane to a uniform $1\text{–}2\text{ mm}$ bed |
| Heavy-Duty Suction Lifters | 2 dual-cup suction handles ($100\text{+ lb}$ lifting capacity) | Safe glass handling and positioning |
| 99% Isopropyl Alcohol | 1 pint bottle with lint-free microfiber towels | Surface degreasing without leaving residue |
| Automotive Painter’s Tape | 1 roll ($2\text{-inch}$ width) | Holding glass in place during initial cure |
| Personal Protective Equipment | Nitrile gloves, safety glasses, cut-resistant gloves | Safety from glass shards and chemical primers |
Step-by-Step Windshield Resealing Process
Step 1: Disassemble Exterior Trim, Wipers, and Interior Accessories
Remove all components obstructing access to the glass edge. Pop off the plastic wiper arm nut caps, unbolt the wiper arms using a $14\text{ mm}$ or $15\text{ mm}$ socket, and pull them off the splined shafts. Remove the plastic push-pins holding the cowl panel at the base of the windshield, then detach the rubber side moldings and top reveal trim using a non-marring plastic trim tool. Disconnect any interior rearview mirror wire harnesses, rain sensors, or camera covers attached to the upper glass.
- Action: Strip away all exterior moldings, wiper arms, cowl covers, and interior mirror sensors.
- Settings/Quantities: Store plastic clips in a labeled container; torque wiper nuts to $25\text{ ft-lbs}$ upon reassembly.
- Success Checkpoint: You’ll know it worked when the perimeter of the windshield glass is completely exposed with a $1/2\text{-inch}$ clear gap around all four edges.
- Common Mistake: prying plastic moldings with a metal screwdriver, which snaps cold plastic clips or chips the glass edge. Always use a plastic wedge tool.
Step 2: Cut Out the Existing Urethane Seal
Insert the blade of a cold knife or a braided cutout wire through the urethane bead from inside or outside the cabin. Keeping the cutting blade flat against the glass surface, work your way completely around the perimeter to sever the polyurethane bond.
  CORRECT COLD KNIFE ANGLE:
  [ Windshield Glass ]
  ====================  <-- Blade flat against glass surface
  --------------------  <-- Old Urethane Bead
  ====================
  [ Metal Pinchweld  ]
- Action: Cut through the old adhesive bead around all four sides of the windshield.
- Settings/Quantities: Maintain a $90^\circ$ orientation between the cold knife handle and the glass face to prevent blade slippage.
- Success Checkpoint: You’ll know it worked when the windshield separates from the frame and shifts freely when pushed gently from inside the vehicle.
- Common Mistake: Tilting the cutting blade toward the body frame, which gouges the paint down to raw steel and triggers hidden rust beneath the seal.
Step 3: Perform a Glass Removal and Dry-Fit Alignment
With your partner, attach heavy-duty suction lifters to the lower-middle portion of the glass exterior. Lift the windshield straight up off the vehicle frame and set it down on a padded glass stand or soft blanket. Position the windshield back into the opening temporarily without adhesive to test fitment. Place two vertical strips of blue painter’s tape across the top glass edge onto the roof line, then slice the tape along the glass edge with a razor to create alignment registration marks.
- Action: Remove the glass, set up alignment marks with painter’s tape, and place the glass on a padded stand.
- Settings/Quantities: Place tape strips $6\text{ inches}$ inward from the left and right upper corners.
- Success Checkpoint: You’ll know it worked when the cut tape lines match up seamlessly when the glass is lifted into position.
- Common Mistake: Skipping the dry fit, leading to crooked placement once wet adhesive is applied, which forces you to slide glass across wet urethane.
Step 4: Trim the Pinchweld Urethane Bed and Treat Metal Scratches
Using a fresh pinchweld scraper blade, shave down the old urethane bead around the metal frame. Leave a flat, clean layer of existing urethane approximately $1\text{ to }2\text{ mm}$ thick. Fresh polyurethane forms a cohesive chemical bond with clean old polyurethane. If you encounter rust spots or bare metal scratches, scrape them completely clean with a wire brush, apply an anti-corrosion zinc primer, and allow it to dry for 20 minutes.
- Action: Trim the old urethane down to a uniform $1\text{ to }2\text{ mm}$ base layer and treat any bare steel.
- Settings/Quantities: Target depth: $1\text{ mm}$ min to $2\text{ mm}$ max remaining urethane bed.
- Success Checkpoint: You’ll know it worked when the pinchweld frame shows a flat, rubbery track with zero loose debris or bare metal showing.
- Common Mistake: Scraping the entire frame down to shiny bare metal. New urethane bonds significantly better to old urethane than to smooth metal.
Step 5: Clean and Degrease Contact Surfaces
Wipe down the trimmed urethane bed on the vehicle frame and the ceramic frit band (the black border) on the inner side of the windshield using 99% isopropyl alcohol applied to a clean, lint-free microfiber towel. Wipe in a single direction to pull contaminants away rather than smearing oil.
- Action: Degrease the glass ceramic frit band and the trimmed pinchweld track.
- Settings/Quantities: Allow 5 minutes of air-dry time after wiping until solvent vanishes completely.
- Success Checkpoint: You’ll know it worked when a clean microfiber cloth wiped across the perimeter shows zero black grime or oil residue.
- Common Mistake: Using glass cleaner containing ammonia or silicone additives, which ruins polyurethane adhesion and guarantees water leaks.
Step 6: Apply Single-Step Glass Primer
Shake the urethane primer bottle vigorously for at least 30 seconds until the internal mixing ball rattles freely. Using the included felt applicator dauber, apply a single, continuous coat of primer to any bare metal spots on the frame, and around the inner ceramic frit band of the glass where the new adhesive will touch.
- Action: Paint an unbroken strip of primer on bare metal and the glass border.
- Settings/Quantities: Allow the primer to flash off and dry for exactly 10 to 15 minutes (refer to manufacturer bottle instructions).
- Success Checkpoint: You’ll know it worked when the primer cures to a solid, non-tacky, deep matte-black finish.
- Common Mistake: Applying adhesive over wet primer or applying multiple thick coats. One thin coat is required; double-layering causes flaking.
Step 7: Cut Nozzle and Dispense the Urethane Bead
Using a utility knife, cut a triangular notch into the tip of the plastic applicator nozzle. The notch must measure $1/2\text{-inch}$ ($13\text{ mm}$) tall and $1/4\text{-inch}$ ($6\text{ mm}$) wide. Load the urethane cartridge into an 18:1 or 26:1 high-thrust caulking gun. Holding the gun at $90^\circ$ perpendicular to the surface, dispense a continuous, unbroken triangular bead directly onto the existing $1\text{–}2\text{ mm}$ urethane bed around the pinchweld frame (or onto the glass frit band, following OEM preference).
   NOZZLE CUT SPECIFICATION:
      /\       <-- 1/2 inch (13 mm) Height
     /  \
    /____\     <-- 1/4 inch (6 mm) Width
- Action: Dispense a triangular $1/2\text{-inch}$ high urethane bead continuously around the frame.
- Settings/Quantities: Maintain a steady movement speed; overlap the starting and ending points by $1\text{ inch}$ ($25\text{ mm}$) at the bottom-center of the windshield.
- Success Checkpoint: You’ll know it worked when the adhesive stands as a crisp, triangular pyramid shape around the entire perimeter with zero gaps or thin spots.
- Common Mistake: Cutting a standard round nozzle hole. Round beads flatten unevenly and leave air pockets that whistle at highway speeds.
Step 8: Set Glass, Compress Bead, and Secure Tape
Attach suction lifters to the outside of the glass. With your partner, lift the windshield, align your registration tape marks from Step 3, and lower the glass gently onto the fresh urethane bead. Press firmly around the entire perimeter with the palm of your hand to compress the triangular bead by roughly 30% to 50%. Stretch 3 to 4 strips of 2-inch painter’s tape tightly from the top glass edge to the roof panel to hold the windshield in place.
- Action: Place the glass into the frame using registration marks and compress the urethane bead.
- Settings/Quantities: Apply uniform hand pressure ($10\text{–}15\text{ lbs}$ force) along the entire perimeter.
- Success Checkpoint: You’ll know it worked when the glass sits flush with the vehicle roof line and adhesive squeezes outward uniformly without oozing into the visible interior.
- Common Mistake: Slapping or pounding the glass with a fist, which shatters the windshield or creates localized air gaps.
Step 9: Reinstall Trim and Respect Safe Drive-Away Time (SDAT)
Reinstall the exterior cowl, wiper arms, and trim moldings in reverse order of removal. Roll down one door window by $2\text{ inches}$ to prevent cabin air pressure build-up when doors are closed. Park the vehicle on a flat, level surface and allow the polyurethane to cure undisturbed for the full Safe Drive-Away Time specified on your urethane bottle (typically 4 to 24 hours depending on humidity and ambient temperature).
- Action: Reassemble exterior hardware, drop a window slightly, and leave the vehicle motionless during curing.
- Settings/Quantities: Keep speed below $45\text{ mph}$ and avoid high-pressure car washes for 48 hours post-SDAT.
- Success Checkpoint: You’ll know it worked when the urethane passes a fingernail-indentation test—feeling dense, rubbery, and completely non-tacky.
- Common Mistake: Closing a car door with all windows fully closed during the curing phase. The air pressure pulse pops the wet seal out, creating a permanent leak.
Common Mistakes and How to Fix Them
1. The Urethane Bead Has Gaps or Skips
- Cause: Pausing or speeding up while pumping the high-thrust caulking gun.
- Recovery: Do not try to smooth it out with a finger or spatula. Immediately dispense a short $2\text{-inch}$ overlay segment of urethane across the gap, overlapping the existing bead edges by $1/2\text{ inch}$ on both sides before setting the glass.
2. Water Leak Discovered After Curing
- Cause: A micro-gap or incomplete compression of the urethane bead.
- Recovery: Locate the leak by spraying soapy water on the exterior frame while running an interior air compressor hose along the seam (look for bubbles). Clean the leak location with 99% alcohol, apply glass primer, and inject flowable silicone or additional automotive urethane into the seam gap from the outside. If water leaks along more than $12\text{ inches}$, the glass must be cut out and reinstalled.
3. Glass Sags or Slides Downward
- Cause: Failure to use painter’s tape or improper vertical tension while curing on an incline.
- Recovery: If caught within 10 minutes of setting, attach suction lifters, adjust the glass upward to realign registration marks, and apply heavy-duty painter’s tape anchored to the vehicle roof. If the urethane has already cured, the glass must be removed completely with a cold knife and re-sealed.
4. Excessive Urethane Oozed Onto Interior Dash
- Cause: Dispensing too thick of a bead or applying excessive downward pressure when setting the glass.
- Recovery: Let the excess urethane cure completely. Do not attempt to wipe wet urethane, as it will smear black residue across surfaces. Once fully cured (24 hours), carefully slice the excess bulge off with a sharp razor blade.
Variations: Alternate Scenarios and Tools
Variation A: Spot-Repairing a Localized Leak (Without Glass Removal)
If the glass is fully intact and the factory seal has a tiny $1\text{-inch}$ leak point near the top molding:
- Do not cut out the entire windshield.
- Remove the outer reveal molding covering the leak area.
- Clean the gap thoroughly with isopropyl alcohol and a small nylon detail brush.
- Inject high-viscosity flowable windshield sealant (e.g., Permatex 81730) directly into the seam gap. It flows into micro-cracks by capillary action and cures within 1 hour.
Variation B: Using a Braided Cutout Wire Instead of a Cold Knife
In tight corners or vehicles with deeply recessed pinchwelds:
- Pass a braided wire through the urethane using a wire feeder needle tool.
- Attach T-handles to both ends of the wire (one person inside the car, one outside).
- Work in a gentle sawing motion around the perimeter. Keep the wire pulled tight against the glass edge to prevent tearing interior headliner fabric or scratching body paint.
Cost and Time Breakdown
| Expense Category | Professional Shop | DIY Resealing | Notes |
| Labor Costs | $200 – $400 | $0 | Requires 2.5 hours of active labor |
| Urethane & Primer | $50 – $80 | $30 – $45 | Professional grade cartridges (e.g., Dow Betaseal) |
| Specialized Tools | Included | $35 – $75 | Suction lifters, cold knife, high-thrust gun |
| Total Cost | $250 – $480 | $65 – $120 | DIY Savings: ~$200 – $360 |
Frequently Asked Questions
Can I use clear 100% silicone sealant to reseal my windshield?
No. Silicone lacks the shear and tensile strength required to hold glass during frame flexing, airbag deployment, or a vehicle rollover. Furthermore, silicone leaves a residue that prevents automotive polyurethane from bonding in the future. Always use dedicated automotive polyurethane adhesive.
How long must I wait before driving after resealing a windshield?
You must wait until the Safe Drive-Away Time (SDAT) specified on your urethane cartridge passes. Rapid-cure urethanes allow driving in as little as 1 to 3 hours, while standard DIY urethanes require 12 to 24 hours at $70^\circ\text{F}$ ($21^\circ\text{C}$) and 50% humidity.
What temperature is required to apply windshield urethane?
Automotive polyurethane requires an ambient temperature between $50^\circ\text{F}$ and $90^\circ\text{F}$ ($10^\circ\text{C}$ to $32^\circ\text{C}$) to cure correctly. Cold temperatures (below $40^\circ\text{F}$) slow down chemical cross-linking significantly, while high humidity accelerates curing speed.
Do I need to replace the rubber molding around the windshield?
If the outer rubber reveal molding is cracked, stiff, or torn during removal, it should be replaced. While the molding is primarily cosmetic and diverts water away from the body seam, a pliable new molding protects the edges of the windshield from road debris.