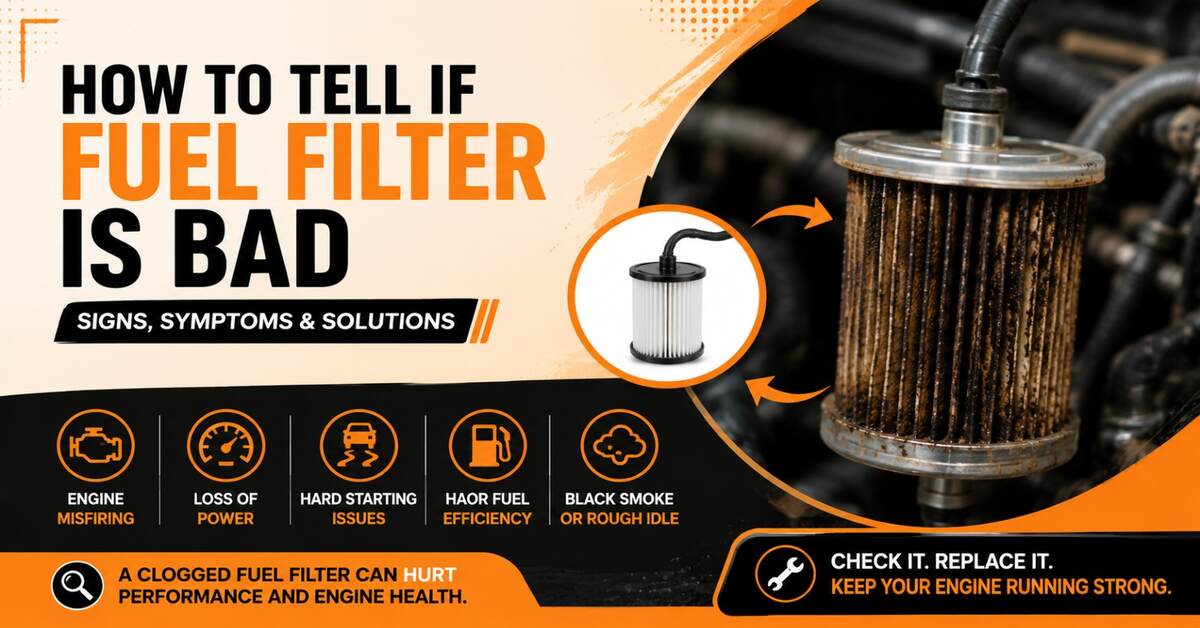
Wondering exactly how to tell if fuel filter is bad before replacing expensive parts? The most reliable diagnostic method is a manual fuel pressure test. In six straightforward steps, you will relieve system pressure, connect a diagnostic gauge, and test fuel flow under load to determine if a restriction is starving your engine.
Before You Start
- Time Required: 25 minutes (15 minutes prep, 10 minutes testing)
- Difficulty Level: Intermediate
- Cost: $40–$80 (for the pressure gauge kit; renting from an auto parts store is often free)
- Tools and Materials:
- Fuel pressure gauge kit (must include a Schrader valve adapter)
- Chemical-resistant safety glasses
- Fuel-resistant nitrile gloves
- 2–3 shop rags or towels
- 1 Class B fire extinguisher (dry chemical)
- Vehicle repair manual (for exact factory PSI specifications)
- Prerequisites: You must know how to safely locate and pull a fuse from your vehicle’s fuse box.
Phase 1: Preparation and Safe Setup
Step 1: Cool the Engine and Locate Components
Park the vehicle on a level surface, engage the parking brake, and let the engine sit with the hood open. Leave the engine off for exactly 10 minutes to eliminate hot surface burn hazards and allow exhaust manifolds to cool. Put on your safety glasses and nitrile gloves. Locate the Schrader valve on your engine’s fuel rail (it looks identical to a threaded metal tire valve stem, usually covered by a black plastic cap). Check your fuse box lid diagram to locate the exact fuse or relay for the fuel pump.
- Success checkpoint: You’ll know it worked when you have physically touched the Schrader valve on the fuel rail and have your fuse puller resting on the correct fuel pump fuse.
- Common mistake: Attempting this test on an engine that was just driven aggressively. Spilled fuel on a 600°F (315°C) exhaust manifold will instantly ignite.
Step 2: Relieve Fuel System Pressure
Remove the fuel pump fuse, start the engine, and let it run until it stalls out. Once the engine sputters and dies, turn the key to the “Start” position and crank the engine for 3 additional seconds to clear any remaining line pressure. Turn the ignition key completely to the “Off” position, then immediately reinstall the fuel pump fuse so the system is ready for testing.
- Success checkpoint: You’ll know it worked when the engine cranks smoothly but refuses to fire, confirming the pressurized fuel in the rail has been fully consumed.
- Common mistake: Skipping this step to save time. Opening a pressurized fuel system will spray 40 to 60 PSI of raw gasoline directly into your face.
Step 3: Connect the Pressure Gauge
Screw the fuel pressure gauge hose tightly onto the test port to create a sealed diagnostic connection. Place 2–3 shop rags directly underneath the Schrader valve to catch any residual drops. Remove the black plastic valve cap and thread the gauge adapter clockwise onto the port. Hand-tighten it firmly until it seats completely against the internal O-ring. Verify that the pressure relief button on the side of your gauge block is closed.
- Success checkpoint: You’ll know it worked when the hose is physically rigid on the rail, the threads are straight, and no fuel is dripping onto the rags.
- Common mistake: Cross-threading the brass adapter onto the steel rail, or using pliers to overtighten it, which crushes the internal rubber gasket and causes an immediate leak.
Phase 2: Executing the Pressure Tests
Step 4: Record Static Pressure (KOEO)
Turn the ignition key to the “On” position to prime the pump and read the static pressure. Do not start the engine. Turn the key one click forward (Key On, Engine Off – KOEO). Listen closely; you should hear the fuel pump buzz from the rear of the vehicle for exactly 2 seconds. Watch the gauge needle rise and write down the final number. Compare this to your repair manual’s KOEO target (typically between 30 and 60 PSI).
- Success checkpoint: You’ll know it worked when the needle shoots up rapidly and stops holding solid at a specific number without dropping.
- Common mistake: Misinterpreting a 0 PSI reading as a massive failure. If the needle doesn’t move and you didn’t hear a 2-second buzz, the pump didn’t prime. Check if you forgot to reinstall the fuel pump fuse in Step 2.
Step 5: Perform the Idle and Load Test (KOER)
Start the engine, record the idling pressure, and monitor the gauge while raising the RPMs. Start the vehicle and let it idle (Key On, Engine Running – KOER). The idle pressure should naturally sit 3–5 PSI lower than your KOEO reading due to engine vacuum. Now, have an assistant safely press the accelerator to hold the engine at a steady 2,500 RPM for 10 seconds while you watch the gauge needle.
- Success checkpoint: You’ll know it worked when you have successfully recorded the pressure behavior under high fuel demand. (A normal system will hold steady or rise 1–2 PSI under load).
- Common mistake: Only checking the pressure at idle. A clogged fuel filter almost always passes an idle test because fuel demand is low, but fails the load test by dropping 10+ PSI when the engine demands high volume.
Step 6: Safely Depressurize and Disconnect
Turn off the engine, monitor residual pressure, and bleed the gauge before removal. Shut the engine off and watch the gauge for 5 minutes. The pressure should hold steady; if it drops to 0 PSI immediately, your fuel pump check valve or pressure regulator is blown. To remove the tool, route the gauge’s clear plastic bleed hose into a safe catch-container, press the bleed release button on the gauge to dump the line pressure, and then unthread the adapter from the Schrader valve.
- Success checkpoint: You’ll know it worked when the gauge reads 0 PSI before you start unscrewing the fitting, allowing for a completely dry, spill-free disconnection.
- Common mistake: Unthreading the gauge while it still reads 50 PSI, which shoots high-pressure fuel across the top of the hot engine.
Analyzing Your Test Results
Your pressure test gives you definitive proof of what is failing in the system:
- The Filter is Bad (Clogged): Pressure is completely normal at idle (e.g., 45 PSI), but drops drastically (e.g., plunges to 30 PSI or lower) when the engine is revved to 2,500 RPM. The restricted filter simply cannot physically flow enough volume to keep up with high demand.
- The Filter is Fine: Pressure is normal at idle and remains rock-steady, or rises slightly (1–3 PSI), when the engine is revved.
- The Pump or Regulator is Bad: Pressure is consistently 15+ PSI below factory specifications across all tests, or the pressure immediately plummets to 0 PSI the exact second you turn the key off.
Common Mistakes and How to Fix Them
- Fuel Leaks at the Gauge Connection: If fuel begins dripping or spraying the moment the pump primes, turn the key off immediately. Bleed the gauge pressure, remove the hose, and inspect the inside of the adapter. The rubber gasket is likely missing, torn, or seated crooked. Replace the gasket and reattach.
- Engine Will Not Start for the Idle Test: If the engine just cranks and the gauge reads near zero, the restriction is absolute. To confirm this isn’t a spark issue, pull a spark plug. If the plug is bone dry after 10 seconds of cranking, complete fuel restriction is confirmed.
- Assuming Low Idle Pressure Means a Bad Pump: Many DIYers immediately buy a $300 fuel pump when they see low static pressure. A severely clogged $20 fuel filter will also cause low static pressure. Always replace the cheap inline filter first if it hasn’t been changed in 30,000 miles before condemning the pump.
Variations for Different Fuel Systems
- Vehicles Without a Schrader Valve: Many Asian imports (like Honda and Toyota) do not have a Schrader valve on the rail. You cannot simply screw the gauge on. You must use a fuel pressure gauge kit that includes a “T-adapter.” You will disconnect the rubber fuel feed line from the metal rail, insert the T-adapter securely between them using hose clamps, and attach your gauge to the center of the “T”.
- Returnless Fuel Systems: Modern returnless fuel systems run at much higher pressures (often 60–80 PSI) and the KOER pressure will not drop 3–5 PSI under idle vacuum like older systems do. Check your specific repair manual to know which system you have.
How Long Does It Take and What Does It Cost?
- Time: A manual fuel pressure test takes about 25 minutes. Allowing the engine to cool takes 10 minutes, setting up the gauge takes 5 minutes, and running the actual Key-On and Load tests takes about 10 minutes.
- Cost: Buying a quality master fuel pressure test kit costs between $40 and $80. However, most major auto parts stores will lend you this exact kit through their free tool rental program (requiring a fully refundable deposit).
Frequently Asked Questions
Can I clean a bad fuel filter instead of replacing it?
No. Modern automotive fuel filters use densely pleated paper or specialized synthetic micro-fibers designed to trap microscopic debris. Once these pores are packed with rust or sediment, they cannot be back-flushed or dissolved. The unit must be replaced.
Where is the fuel filter located?
Location depends on the vehicle. Older vehicles (pre-2005) usually feature an inline metal canister bolted to the frame rail under the driver’s seat. Modern vehicles typically use an integrated filter mesh attached directly to the fuel pump module inside the gas tank.
What are the earliest symptoms of a bad fuel filter?
Before pressure drops enough to cause a stalling engine, you will experience sputtering during hard acceleration (like merging onto a highway), slightly longer cranking times in the morning, and an intermittent check engine light for “lean” engine codes.
Will a bad fuel filter throw an OBD2 code?
A clogged filter does not have an electronic sensor to trigger a specific “bad filter” code. Instead, the resulting fuel starvation causes the engine to run lean, frequently triggering codes like P0171 (System Too Lean Bank 1) or P0300 (Random Misfire).
Knowing exactly how to tell if fuel filter is bad removes the guesswork from engine diagnostics. By executing a safe, accurate load test, you can confidently determine whether your engine is starving for fuel, saving you from replacing perfectly good parts.